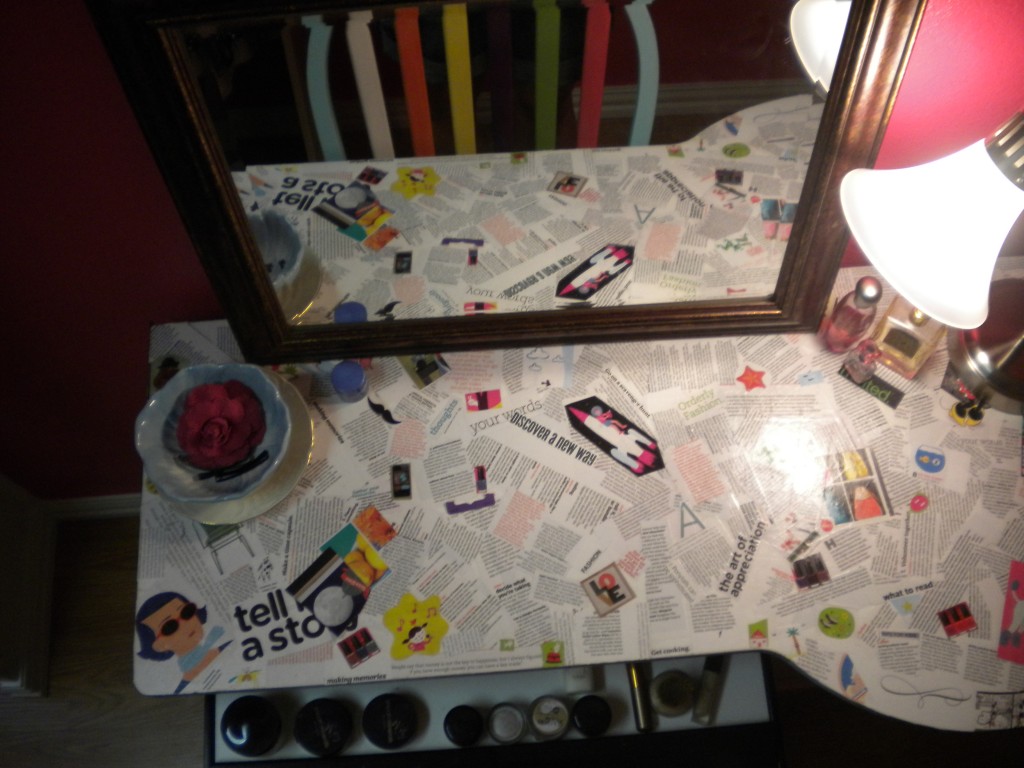
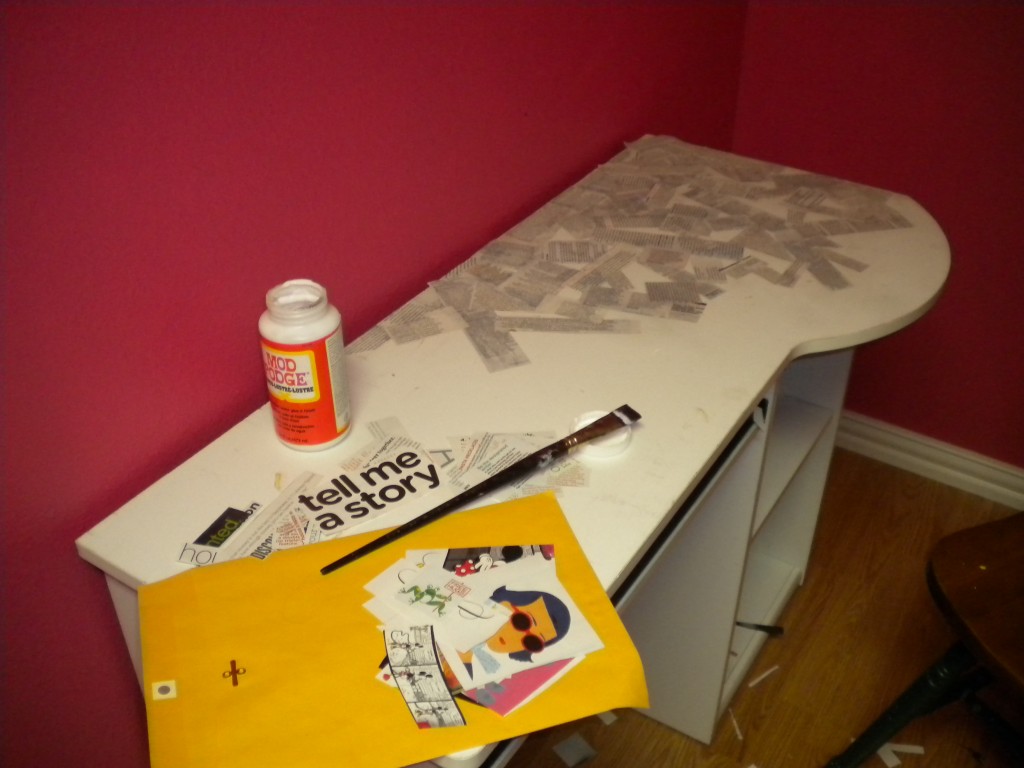
I love to decoupage. It’s a simple process that has huge results. I needed a desk for my new dressing room and I was hoping to use a nasty old desk I found in my garage that was left here by the previous owners. It was a sturdy desk but it was really stained. After much scrubbing I gave up and decided to decoupage the top.
My daughter is 11 and loves to help me with my projects. Her and I spent about an hour cutting strips of paper and pictures of out magazines. If you’re going to try this project and you’ll be covering a large surface like a desk top, cut out more strips than you think you’ll need. You’ll be surprised to see how much paper you need. We had to cut strips of paper two different times before we had enough.
Once we had all of the paper strips and pictures we needed, it was time to get to work. I started in the back left corner of my desk. Because I’m right handed, I should’ve started in the back right corner so I wouldn’t keep getting my arm in my work (I’ll have to remember that for next time!). Take a thick artist brush and brush on some Mod Podge (purchased at Hobby Lobby for around $6. I prefer the gloss finish but you can choose which ever finish you like best). Immediately place your strip of paper on the gluey section and cover with more Mod Podge. You’ll have to watch out for air bubbles or the paper wrinkling. After you put each piece down, rub it a little with your finger to remove any bubbles and straighten out the paper. It’s OK if you have some air bubbles. It’s really not that noticeable.
Continue to glue strips of paper to your surface. Glue some sideways, some at an angle, some upside down, overlapping them a little as you go. We glued all of the strips of paper with words on them first, then glue the pictures on last.
When you’re finished, cover with another coat of Mod Podge and let it dry. The surface can remain a little sticky feeling even after it’s dry. To stop the tackiness, paint the top with a clear acrylic paint. Now you have a one of a kind item!
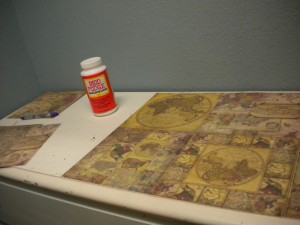
I did this same thing to my husband’s dresser, but instead of using magazine articles, I used scrap book paper. I found 8×8 sheets of paper that looked like they had old maps printed on them. I lined up the papers and, using Mod Podge, glued each one down. I then put a thin layer of Mod Podge over the top, paying careful attention to any air bubbles. There was one sheet of paper that had a rather large air bubble in it and, no matter what I did, I couldn’t get it to go away. I was surprised to see that when it dried the air bubble was gone. Once it was completely dry, I painted a layer of clear acrylic paint over the top.
I’ve also done this same process to table legs and chair legs and the results are amazing. This is a fun project that kids even enjoy getting involved with. I have to warn you though, once you start, you’ll want to do everything in your house!


