Tag Archives: painting

Simple Dog Painting

Simple Dog Painting

Dog Painting


My sweet daughter is a perfectionist. She used to love art but as she has gotten older she has come to almost despise it. She can picture what she wants to do, but her skill level hasn’t caught up to her imagination yet (I believe it will with practice). When I mention that her and I should do an art project together you would think I just asked her to clean the garage. I don’t mind if my kids don’t like the same things I do, but I don’t like the reason that she hates art – that it’s too hard. Art doesn’t have to be hard!

I came up with this simple little art project that is fool-proof. It looks amazing and requires no skill what so ever. She did it and was very proud of the end results. With simple little projects like this she is starting to enjoy art again.

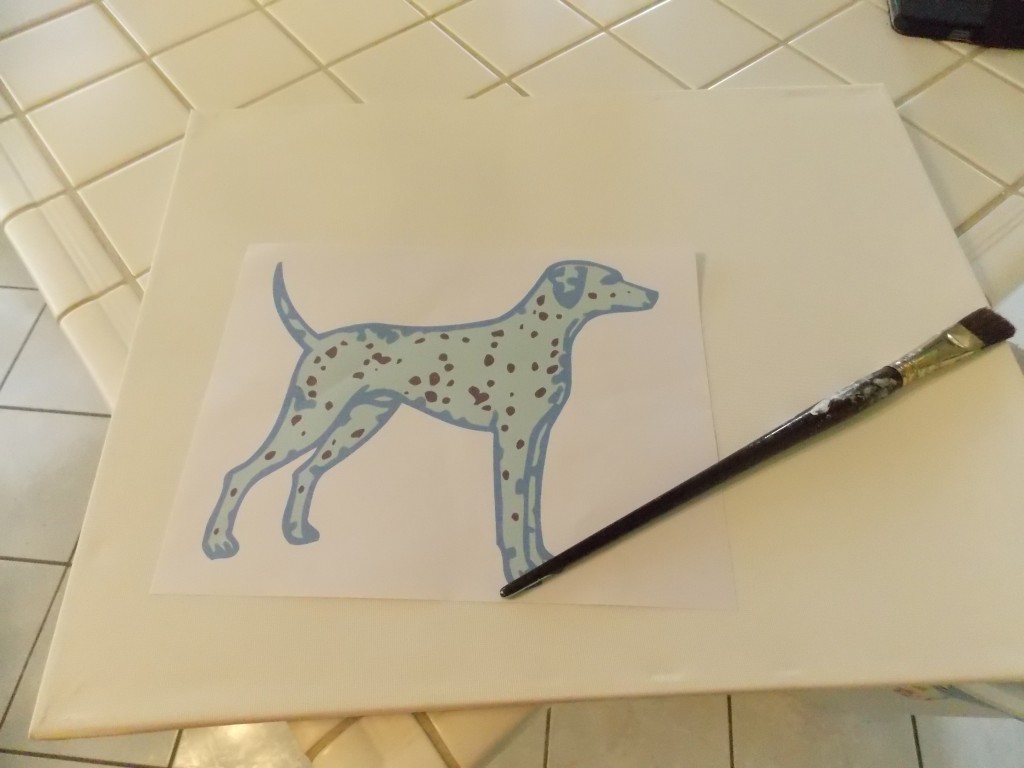
Here’s what we did. I purchased a canvas (the kind with the wooden frame, these are easy to hang) at Hobby Lobby (half off of course). We looked on Print Shop and found a simple profile of a dog. We made it the size we wanted and printed it out.

Dog Print Out From Print Shop

Once it was printed, she cut the dog out and, using double sided tape, attached it to the canvas. Then she chose the paint colors she wanted to use. Even though you can’t really tell from this picture, she used orange, yellow and cream colored acrylic paints. Simply paint the entire canvas (don’t forget the sides). You don’t have to use more than one color. When you’re painting the canvas, lightly push down on the paper as you paint close to it so you don’t accidentally get paint where you don’t want it. Once you have the whole thing painted, remove the paper. You should have a white image of whatever you printed out. I went through with some white paint and a small paint brush and cleaned up any little spots where the orange paint seeped under the paper.

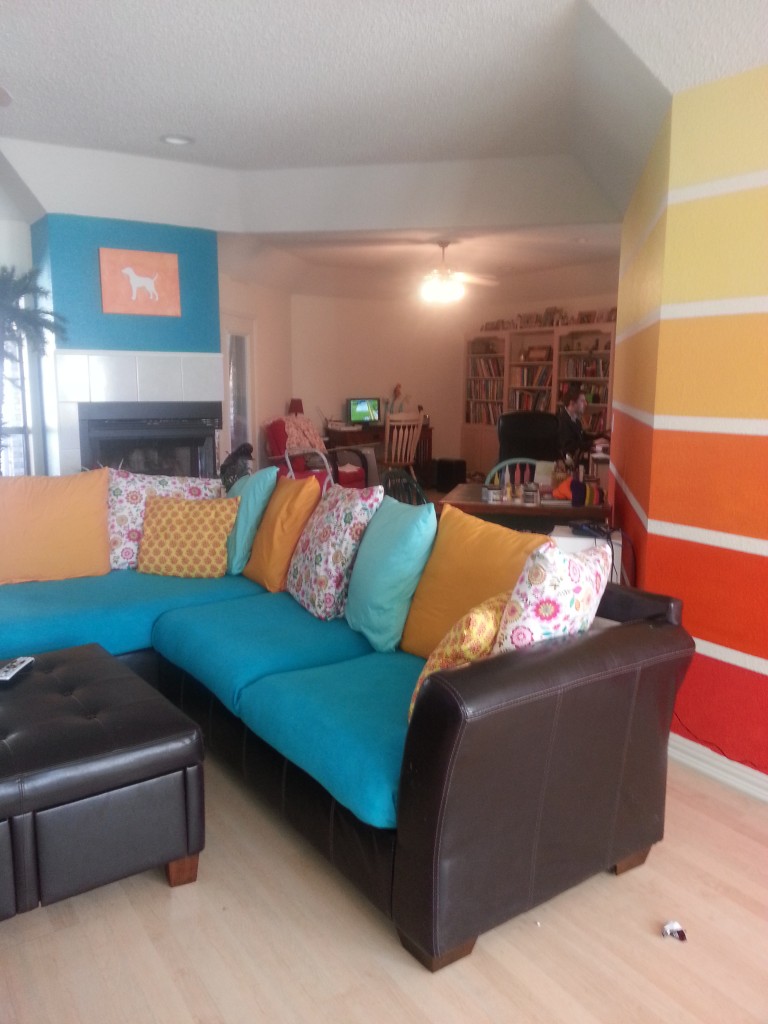
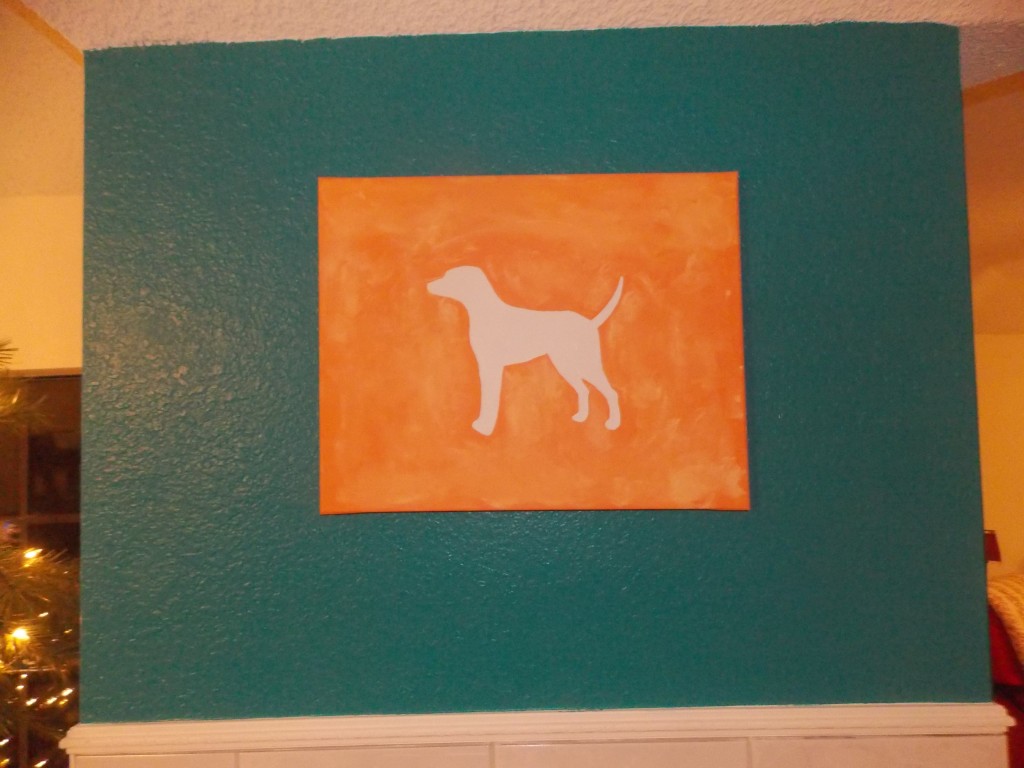
Here is the finished project above the fireplace.

Dog painting in living room

I love art projects that are super easy, super cheap, and super cute! And thankfully, now my daughter does too!
Liven Up The Living Room With Color

Liven Up The Living Room With Color

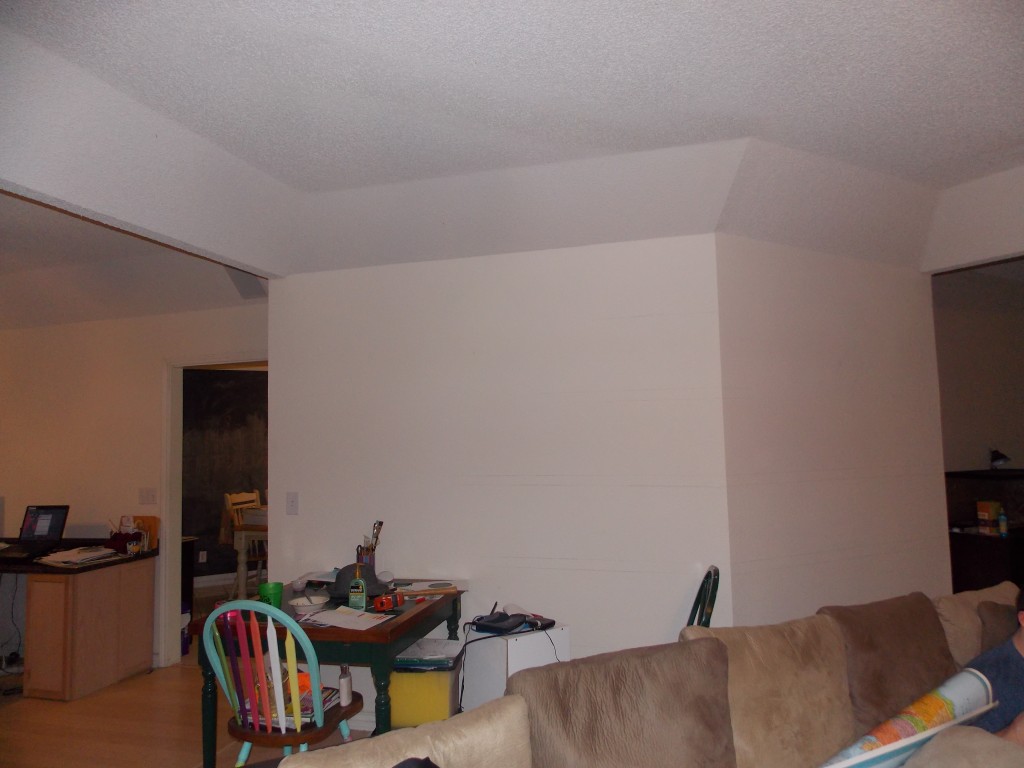
Living room before stripes


White – Every thing in this house was white when I first moved in. It has taken me a year but I’m down to two white rooms, and with any luck, they won’t be white by the end of the month.

I love color…and I love to paint. One of my sisters jokes with me that it isn’t so much that I love painting as much as it is that I’m addicted to the fumes and couldn’t stop painting if I wanted to. Another sister jokes that every year I actually lose square footage in my home because of all the layers of paint on the walls. She may be right – I’ve painted my kitchen three times since October (3 colors in 10 months).

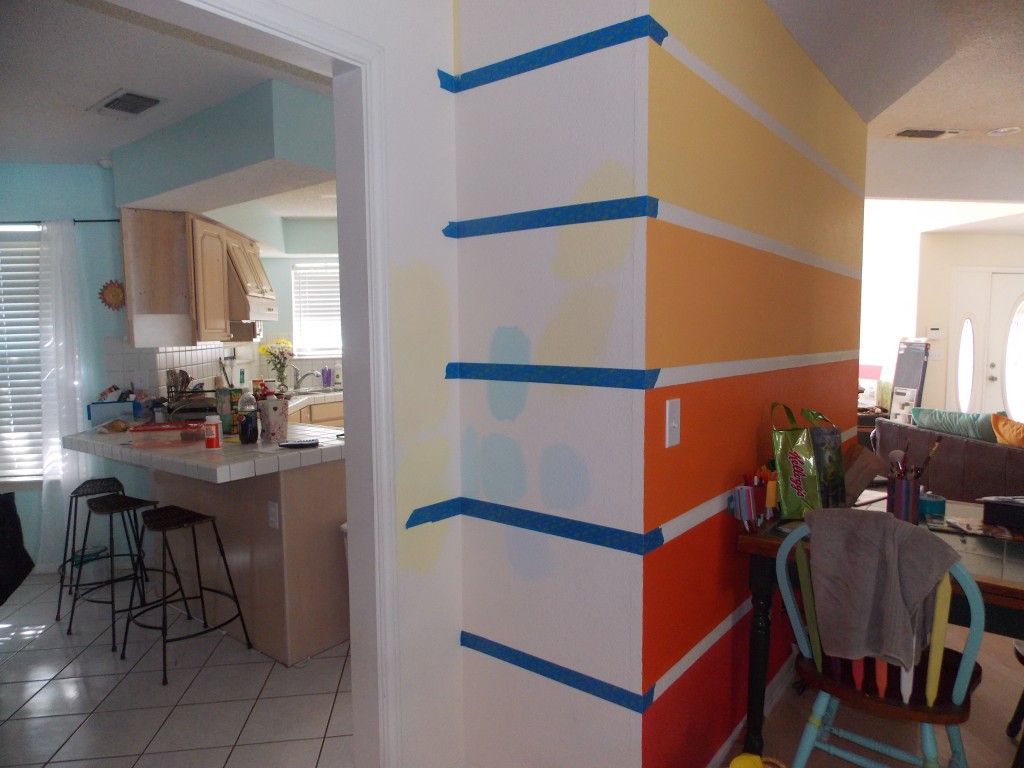
I decided to add stripes to this room to make one of the walls really stand out. After I finish a project with stripes I always tell myself I’ll never do stripes again. But, I’m a sucker for stripes. I love them. They are really not that hard to do. It just takes time, some good painters tape, and a level.

Making the stripes

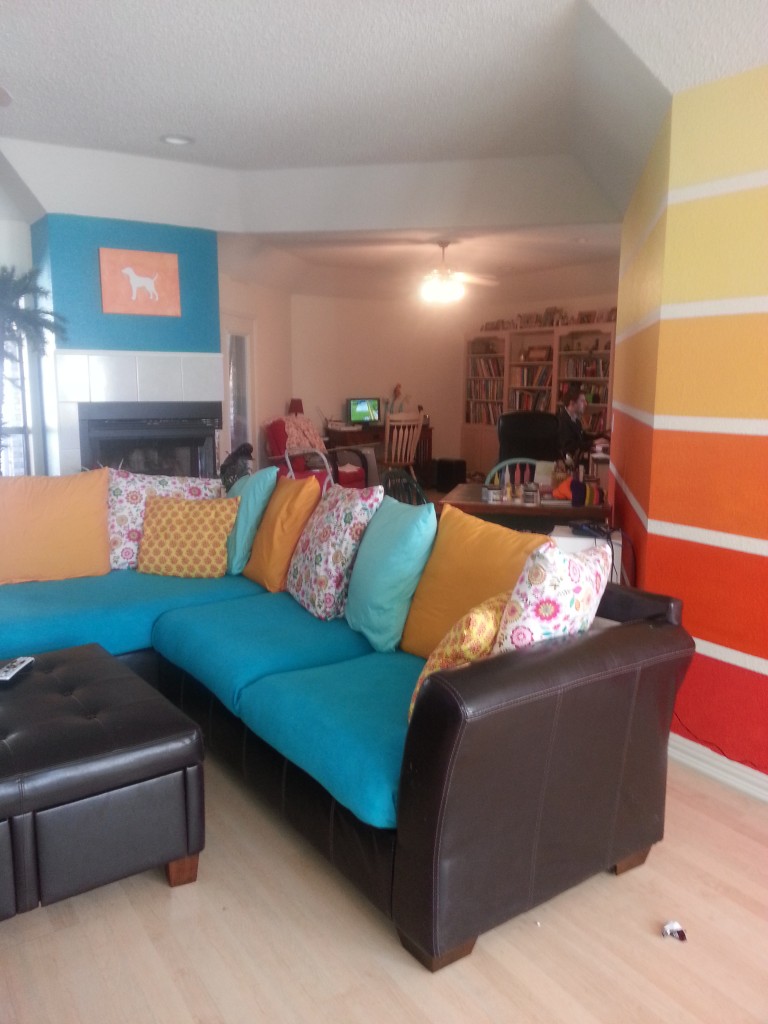
Now look how bright and colorful this room is! I love the stripes and the turquoise around he fireplace. I love the pillows (which are actually just simple pillow cases I made for the pillows that came with the couch). Instead of buying a whole new couch I bought micro-fiber blankets to cover the micro-fiber cushions. Both the pillow cases and the blankets can easily be removed at the end of the week for a good washing.

Living room after

I love when people come over to my house and see all the colors – their eyes light up and they want to walk right on in. This room makes me happy and I love that it makes other people happy too.

P.S. See that adorable dog painting above the fireplace? My 11 year old did that! Click here to see how it’s done and make one for yourself!

My Black Bathroom

My Black Bathroom


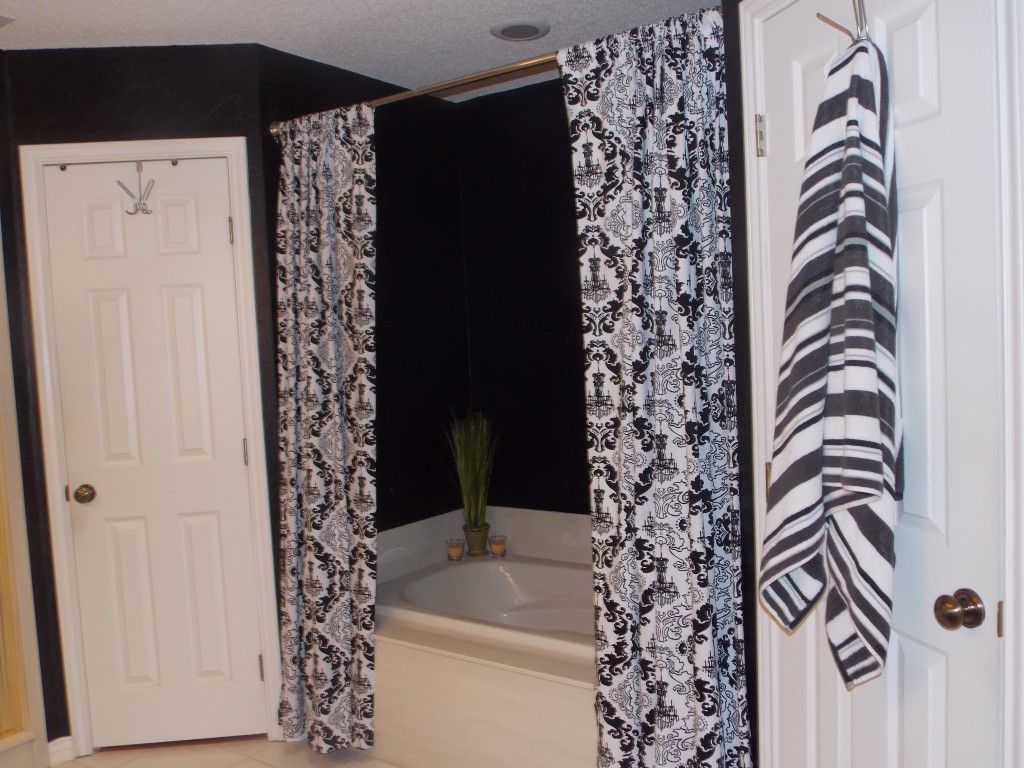
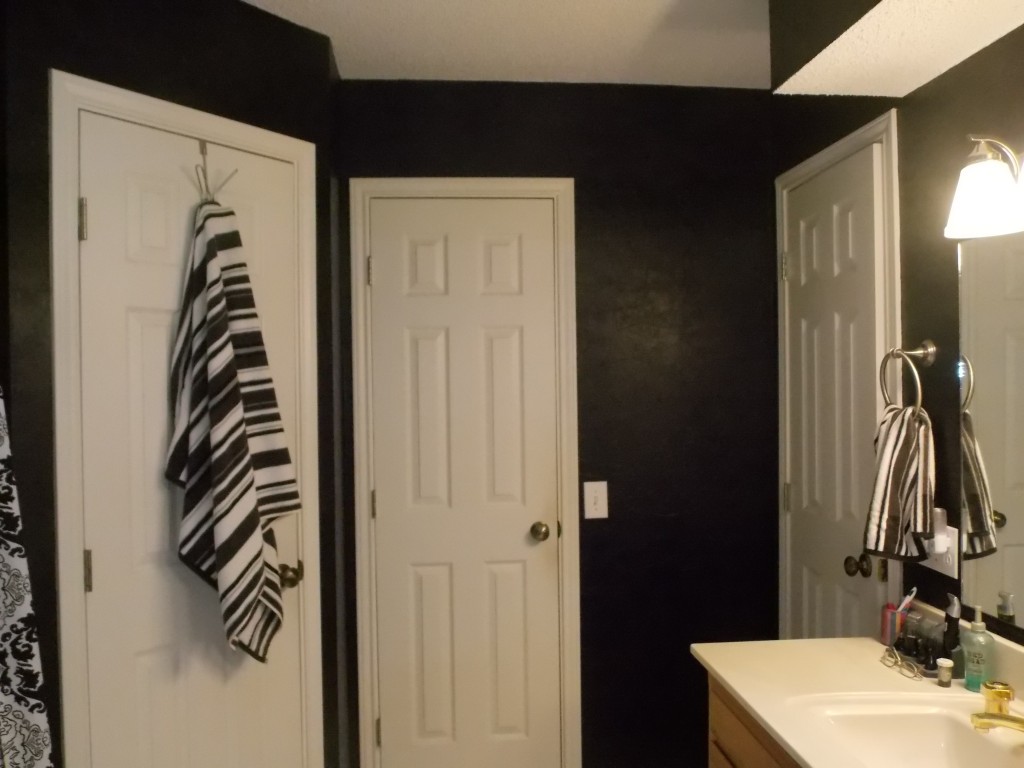
My master bedroom is a light green color. I wanted my master bathroom to be just a few shades darker. After 6 different shades of green samples painted on the walls (all of them hideous) I decided to rethink the green. Maybe I didn’t like the green samples because in my heart I knew I didn’t really want green – I wanted black. Could I convince the husband that a black bathroom would be awesome? I called him in there and broke the news to him gently. Thankfully he just shrugged and said to give it a try. I love that man. He’s used to my crazy ideas but even this felt a little over the top for me. Before either one of us could change our minds I rushed out and got a black paint from Lowes.

Here’s why I thought I could pull off black walls in my bathroom:
* All of my trim in the bathroom is white.
* The bathroom floor is white.
* I have a sky light. You don’t have to have a skylight to use black in a room, just make sure you have plenty of light from some source. If your bathroom lights aren’t bright enough consider replacing them.
* I used a satin paint instead of a really glossy paint. The glossier the paint the more it shows imperfections. Stick with either satin or a matte finish.
* I used a few yellow items in the room to brighten things up a little.

I love to paint and I think out of all the rooms I’ve painted, this one may be my favorite. The room is beautiful and comfortable. Plus our his and hers closets look fabulous with the black. To see our closets check out here (my closet) and here (my husband’s closet).

Make Your Own Chalk Board

Make Your Own Chalk Board

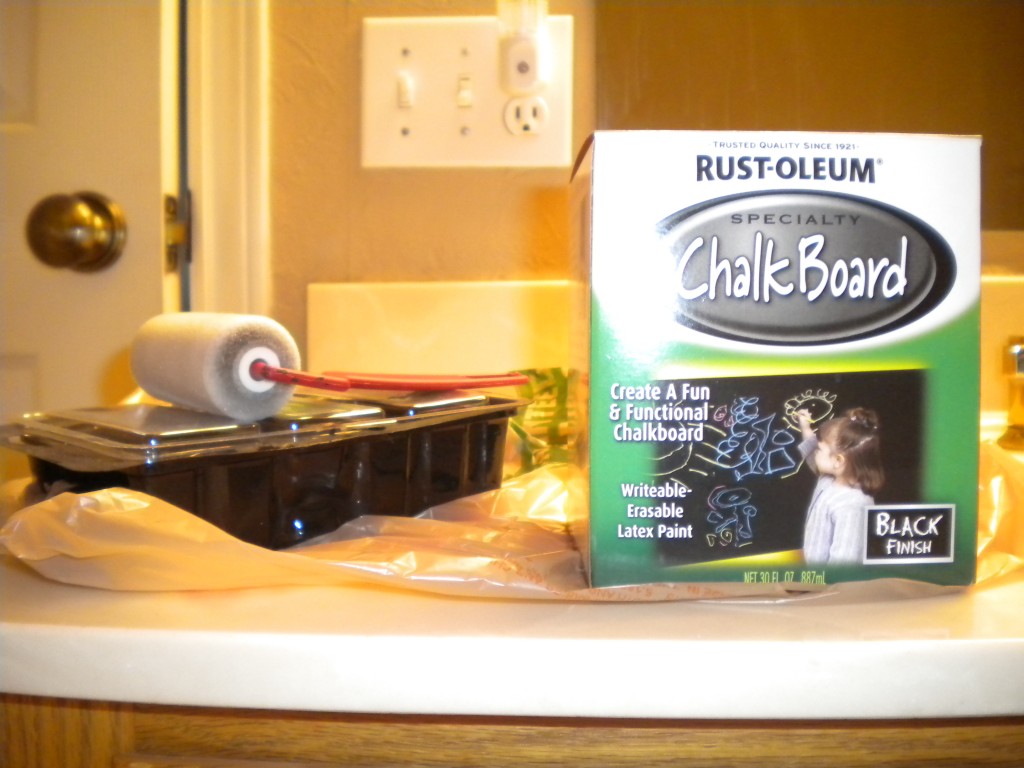
Rust-oleum Chalkboard Paint

I love chalkboard paint! You can turn just about anything into a chalkboard:
*The inside of one of your kitchen cabinets – keep your to-do’s written on it
*The side of a cabinet in your kitchen – jot down grocery items you need
*The side of shelves in a closet – write down random thoughts (I did this in my husband’s closet)
*Cover a thin piece of wood with chalkboard paint and hang it in your office
*Turn an entire wall into a giant chalkboard – fun for the whole family!

I usually get my chalkboard paint at Home Depot but you can get it at any place that sells paints. I’ve tried it as a spray paint (it costs around $6) and as a paint in a can ($10). I liked them both. Which one you’ll use depends on the project you’re doing. If you’re spraying something that you can take outside (like a cabinet door, a shelf, or a board) you could use the spray paint. If you’re painting something that can’t be taken outside, I would use the can of paint.

Back in the day, if you wanted to make yourself a chalkboard, you were restricted to black. Not anymore! You can now buy it in any color you want. Rust-oleum makes a chalk board paint that you can take up to the counter in your paint section and have them mix in any color you want.

If you want to mix your own, you could try this recipe:
*Mix 1/2 cup of latex paint (or acrylic) in your desired color with 1 tablespoon of unsanded tile grout and stir together.
*Use a paint brush to paint it onto your surface. When it’s dry sand lightly with 150 grit sandpaper.
*Apply several coats for best results (sanding in between each coat).
*This may dry rather quickly so I would make it in small batches and work quickly.

Why would you make your own chalkboard paint if you can have the color you want custom made for you at a paint store? Covering something with chalkboard paint takes very little paint. If you buy it in a can, you’ll have 30 ounces of chalkboard paint sitting around. That’s a lot of extra paint! When you mix it up yourself with the recipe above, you are just making what you need.

Whether you go with chalkboard paint in a spray can, in a paint can, or make your own, be sure to lightly chalk the entire surface area of your project when the paint is dry (Rust-oleum recommends waiting three days for the paint to cure). This will insure that the messages and notes you write on it, can be erased easily.

If you have used chalkboard paint, I’d love to hear about it! Either post it on this message, send me a message using the “Contact” tab, or tell me about it on Facebook!

Organizing a Hall Closet

Organizing a Hall Closet

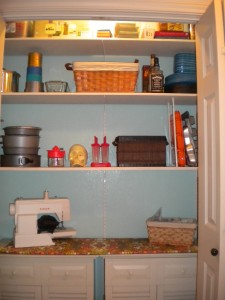
I have this large closet in my hall way that I use to store all kinds of things – extra pots and pans, cleaning products, craft items, home school stuff (see the skull, it’s not real I promise)….pretty much anything I can’t find a home for. Yesterday when I opened it up to take something out I thought about how boring and bland it was. It’s so depressing to look in there! Plus things were starting to get out of hand in there – time to make a change!

Before

By nature I’m not an organized person, I have to really work at it. I’m a willy nilly, fly-by-the-seat-of-your-pants kind of gal. I don’t like structure or schedules and I would rather be making messes than cleaning them up. I have learned over the last few years that the best way for me to stay organized is to also make things beautiful. If my closet is pretty, I will keep it clean and organized. This closet needed to be a little prettier…and cleaner.

All it really needed to spruce it up was a little paint. I had some left over paint from a bathroom I painted a few weeks ago. The great thing about painting a closet is it forces you to take everything out first. Once everything was out and the closet was painted I was able to look at the space I had and all the things that were originally in there. I discovered that a lot of it I really didn’t need any more. I filled three garbage bags full of stuff to take to Good Will.

Before I started painting the closet, I had five shelves in there. After getting rid of things I didn’t need any more I decided to only put three back up. This gave me space at the bottom to bring in two cabinets I had sitting in my garage. These cabinets not only made the closet look a little nicer but it gave me some drawer space to put my large kitchen utensils that I don’t use very often.

After

I like the way my closet looks now and it’s much more organized. I can very easily see exactly what’s in there.

Below are a few great tips to organize your closets:
*Use baskets to hold both large and small items
*Use two tension curtain rods and attach to shelf vertically, one in front of the other, up against the wall. Use this space to store muffin pans and other slender items upright (see picture).
*Paint the walls a fun color, just make sure the paint is completely dry before putting shelves and other items back in.
*Put seldom used items at the top of your closet and items you use more often towards the middle or bottom so they are easier to get to.
*Don’t put boxes or other paper items too close to the light on the top shelf. This could cause a fire.

Happy organizing!