Mod-Podge is so much fun! I just finished a project using Mod-Podge and paper to jazz up a tile back splash. Click here to see that project! The problem is, once I get started using that stuff I can’t stop!
I had 40 plain, white cabinet knobs in the my kitchen that were just BEGGING for some color. I bought a package of green tissue paper from Walmart for 92 cents. I did ALL 40 knobs and didn’t even use half of the package of tissue paper! Can you believe that?!? It’s true! This has to be the cheapest project I’ve ever done.
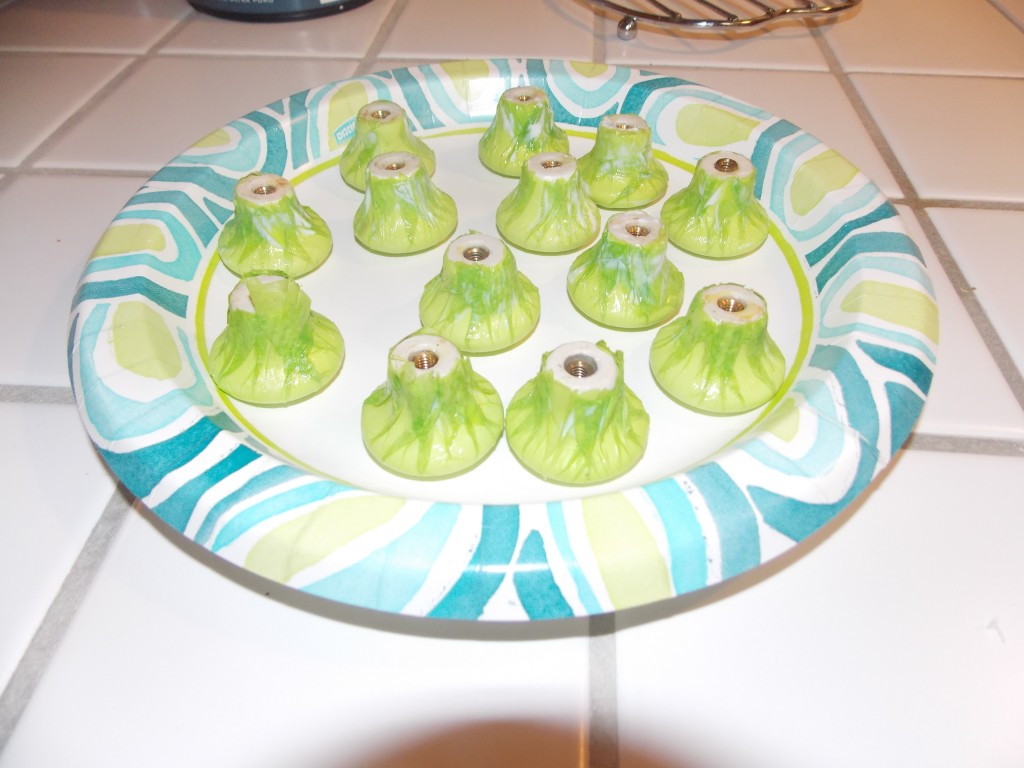
First I made sure all the knobs were clean and dry. Then I cut out a 3 1/2 inch square of tissue paper. I brushed the Mod-Podge on the knob and stuck the paper on immediately. Then I smoothed the paper over the top of the knob and carefully folded it around the base of the knob. Once the paper was on I added a layer of Mod-Podge to the base of the knob only. That way the knob could sit on a paper plate upside down and dry without it sticking to the plate. Once I finished with all 40 of them, I turned them over and painted the tops of them with Mod Podge.
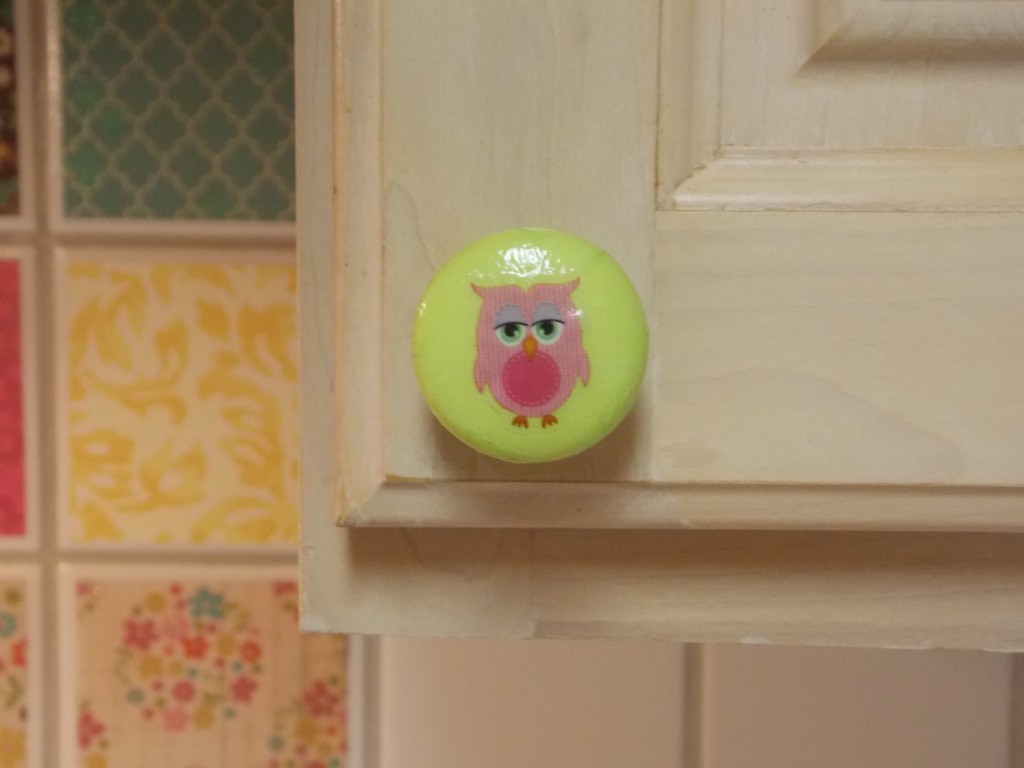
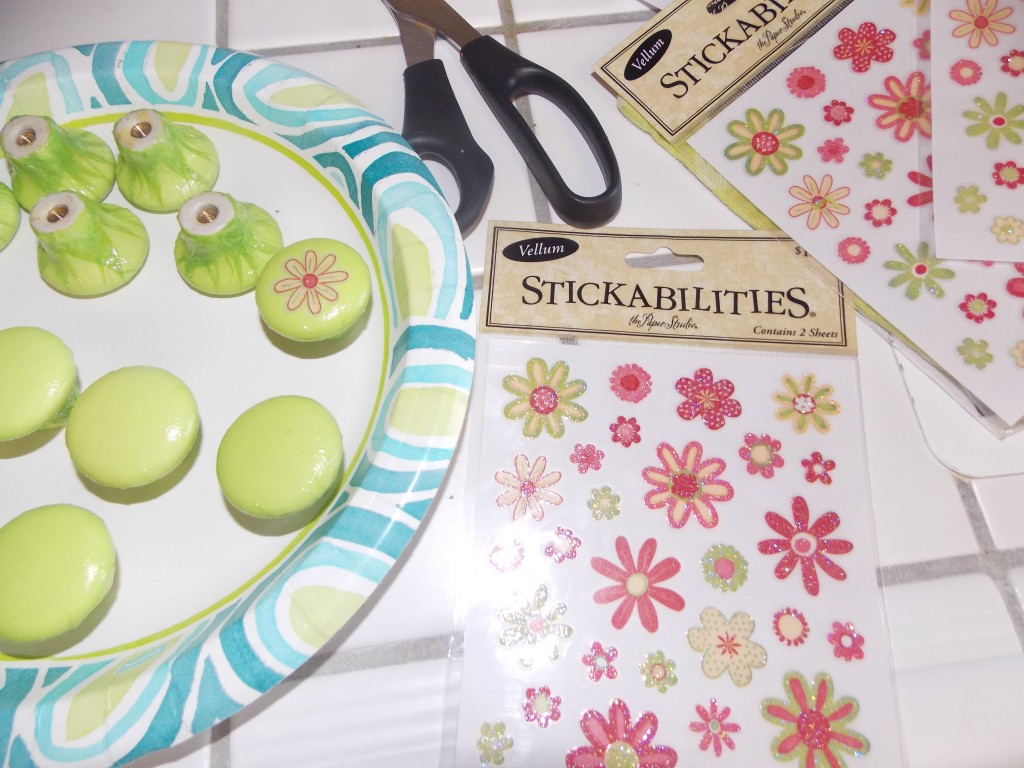
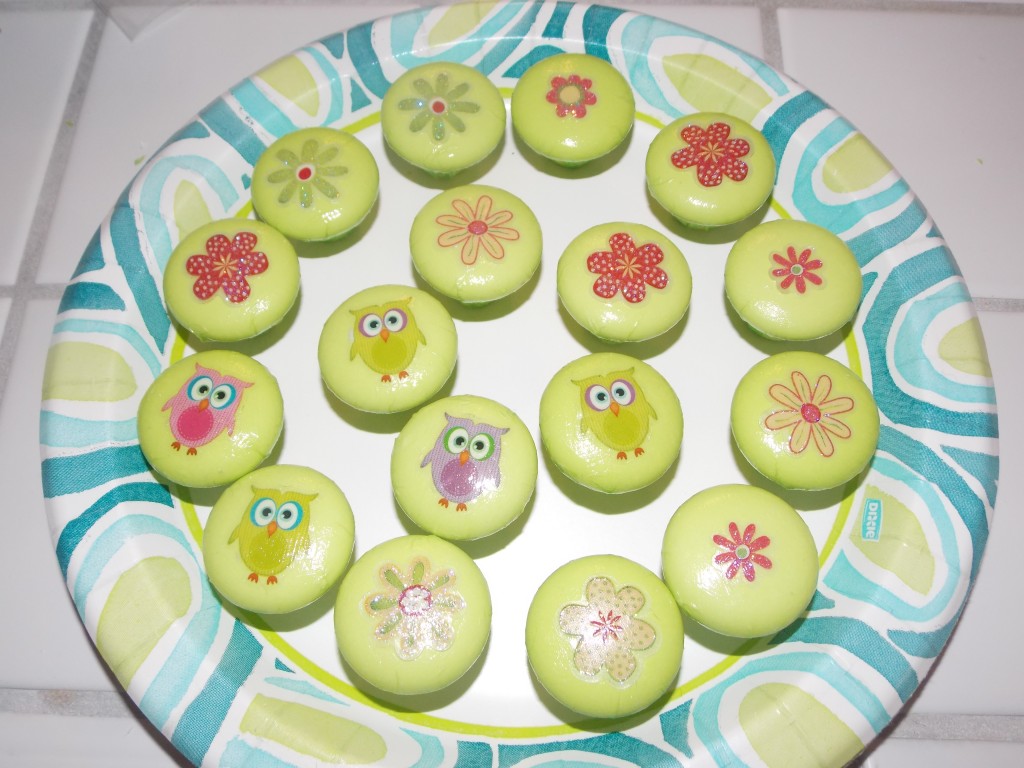
Because these knobs will be handled often I put several layers of Mod-Podge on the base and top of each knob. I probably put 7 or 8 coats on each one. About half way through this process I looked at my beautiful green door knobs and thought to myself “Self, they are cute the way they are…but they need a little somethin’ to jazz them up”. So I ran out to Hobby Lobby and bought some small stickers. I put the stickers on each knob, making sure to push out any air bubbles and immediately adding a layer of Mod Podge to each one. After each one had a sticker they got several more coats of that magical glue/sealant. If you’re going to use stickers make sure the knob all ready has a few coats of Mod Podge. When the tissue paper is glossy you can reposition the sticker if you have to. If you put it directly on the tissue paper, without make it glossy first, that sticker isn’t going anywhere. If you try to remove the sticker, you’ll tear the paper. When I was satisfied with them I added a layer of clear latex paint just to be on the safe side.
I let them dry for 24 hours and then put them back on the cabinet doors.
I’m so happy with how easy and super cheap this was. The stickers were 50% off so it only cost me $2 for the owls and flowers. Aren’t those little owls cute!!


