Category Archives: Organizing

How To Organize Your Pantry Part 3 – Dealing With Spice Packets

How To Organize Your Pantry Part 3 – Dealing With Spice Packets


So far we’ve addressed the spices and the bread items in your pantry. Now it’s time for those little packets of sauces, gravies, and seasoning mixes.

I’ve tried several ways to organize these little guys in the past – alphabetizing them by name in a little container, organizing them by type, and just simply throwing them in a little basket. Unfortunately when I went to grab one the other day I realized over half of them were expired. I always forget what I have and end up buying more than I need (I had 6 taco seasoning packets in there!).

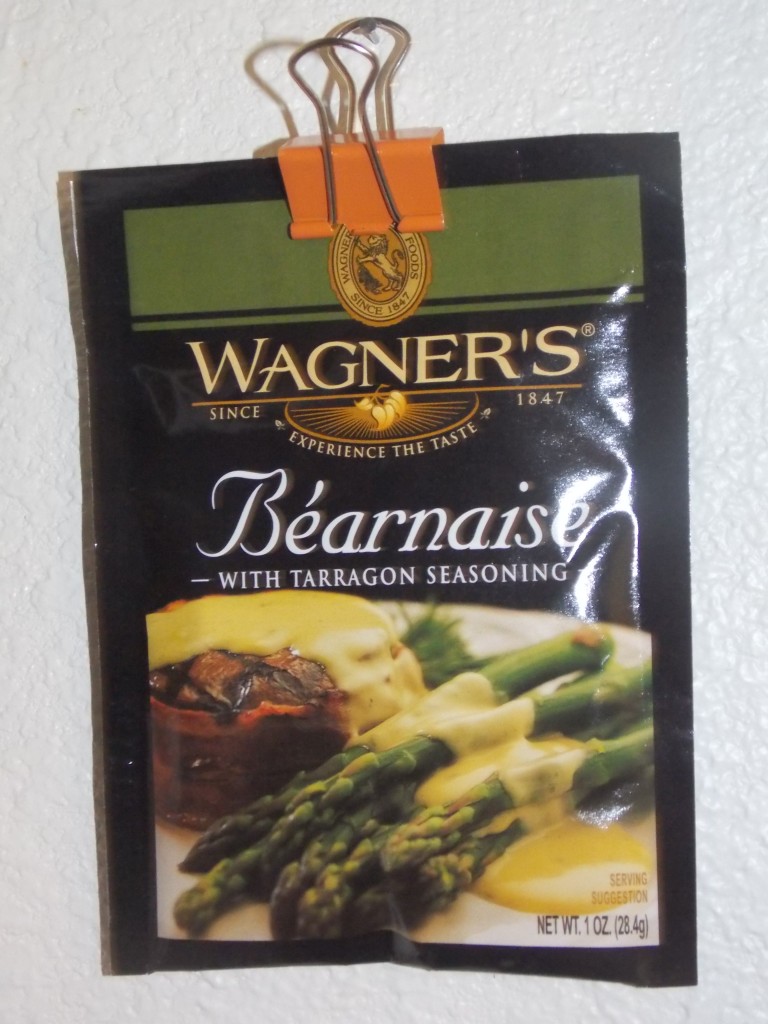
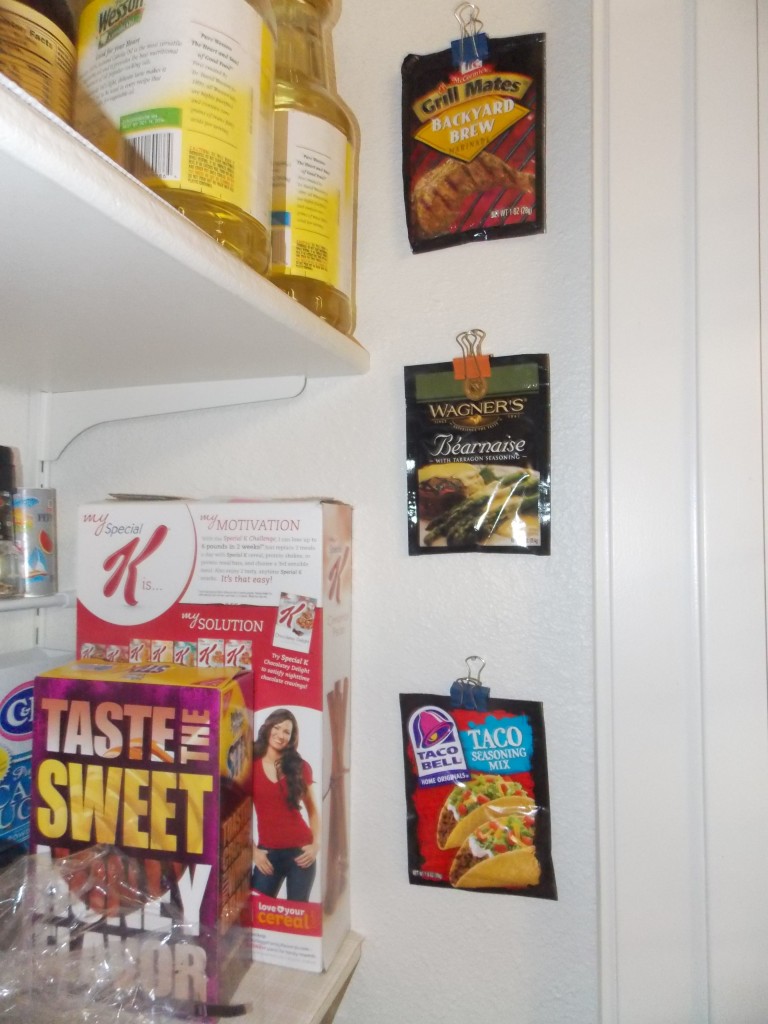
Then I came up with this little idea. Why not use little binder clips just like I did for the magazines! Super simple! I nailed a few holes in the wall in my pantry (you can even use the 3m hooks if you want to attach them to the inside of your cabinet doors with out making any holes). Then I simply attached the binder clip to my little packets (keeping gravies together on one clip, taco packets on another, etc) and hung the clip on the nail. Ta-da! All done! It’s organized, out of the way (this is a good use of wasted space), and still right where I can see them!

Spice packets hung up with binder clips

Fun Way To Organize Markers And Colored Pencils

Fun Way To Organize Markers And Colored Pencils

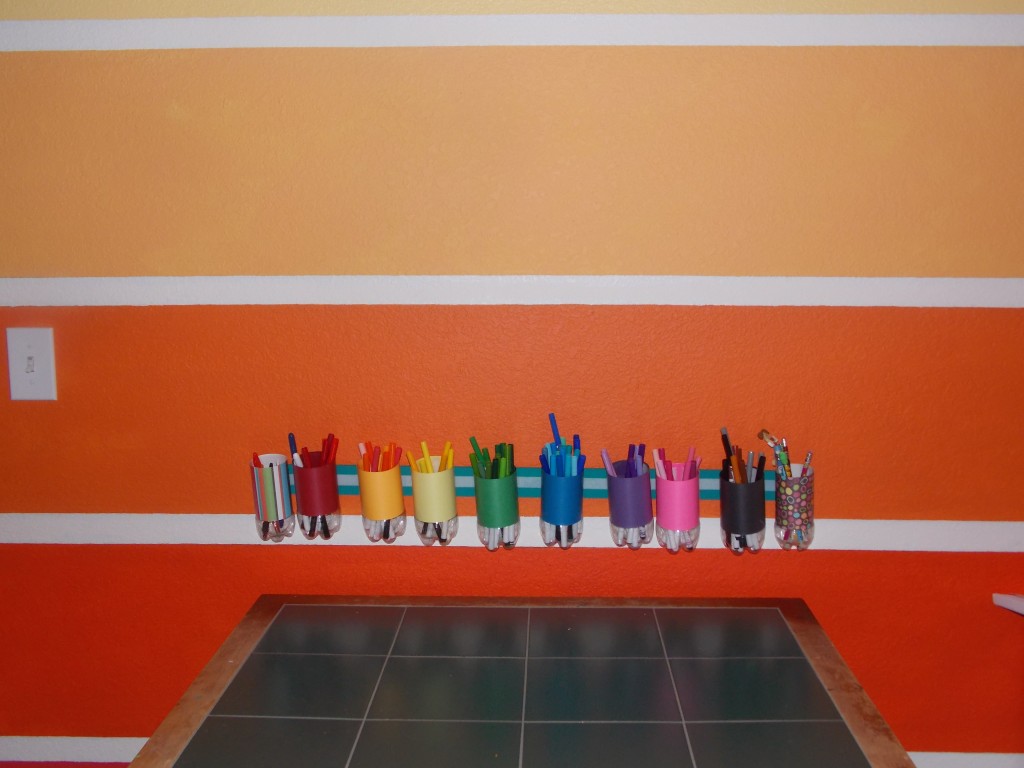
Finished Product


I have so many markers and colored pencils lying around here. Because I enjoying drawing (and coloring) I’ve always tried to keep some kind of coloring agent in each room of the house in case inspiration strikes.

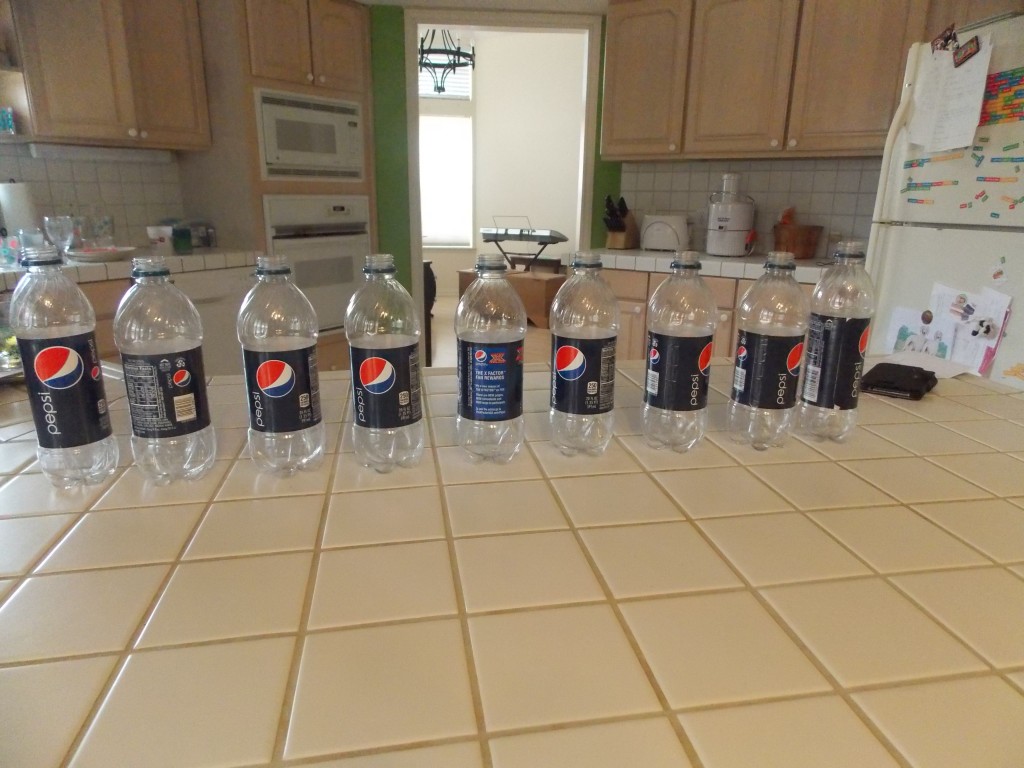
I decided I wanted to have a little “art center” area near the living room. I have a table in there all ready but I didn’t want to crowd the table with art supplies. My solution was a pencil/marker organizer using a strip of wood and empty Pepsi Bottles.

Empty Pepsi Bottles

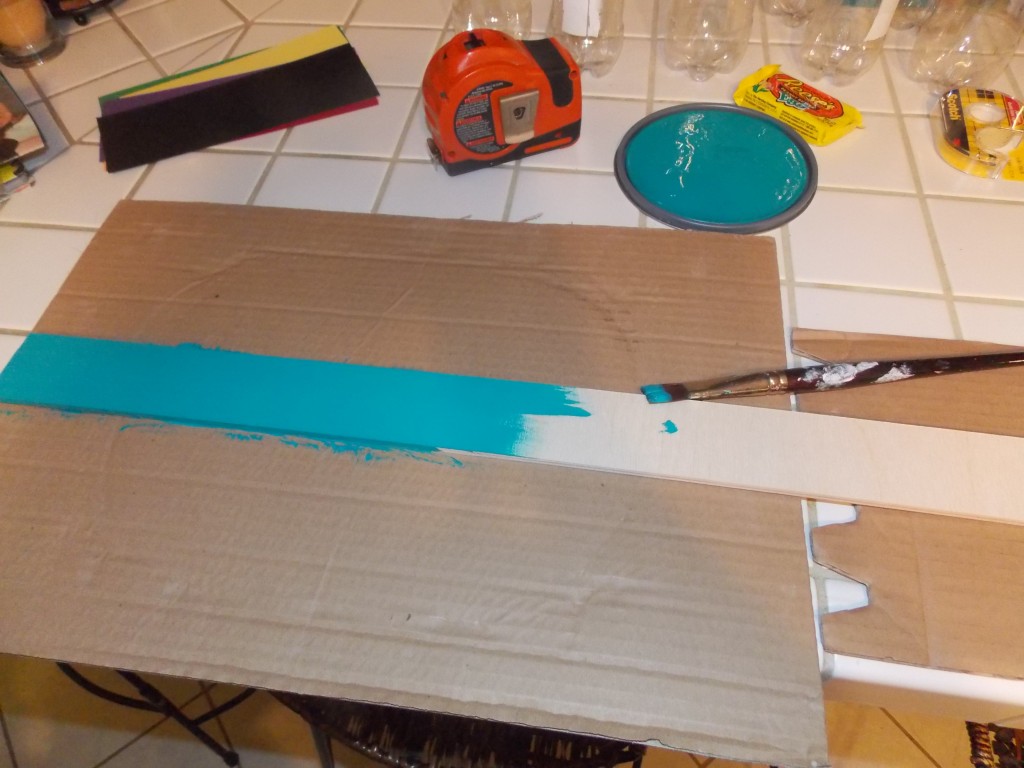
I started with a strip of wood I bought from Hobby Lobby. They had several lengths and widths to chose from. I went with the one I thought would best fit my space. I painted it a turquoise color.

Painting The Wood Strip

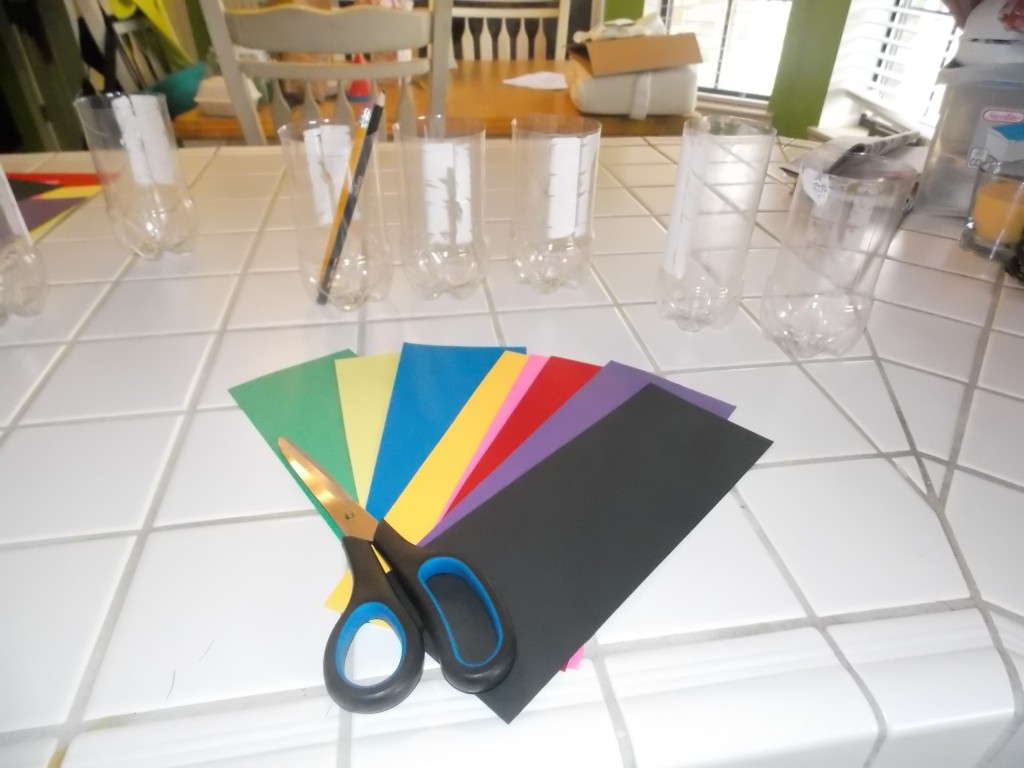
Then I removed the labels from the Pepsi bottles. I cut out strips of colored paper (green paper for the green markers and pencils, etc) and covered each one with clear contact paper. Then I glued each one onto a bottle. I covered two bottles with patterned paper. These would be used for regular pencils and pens.

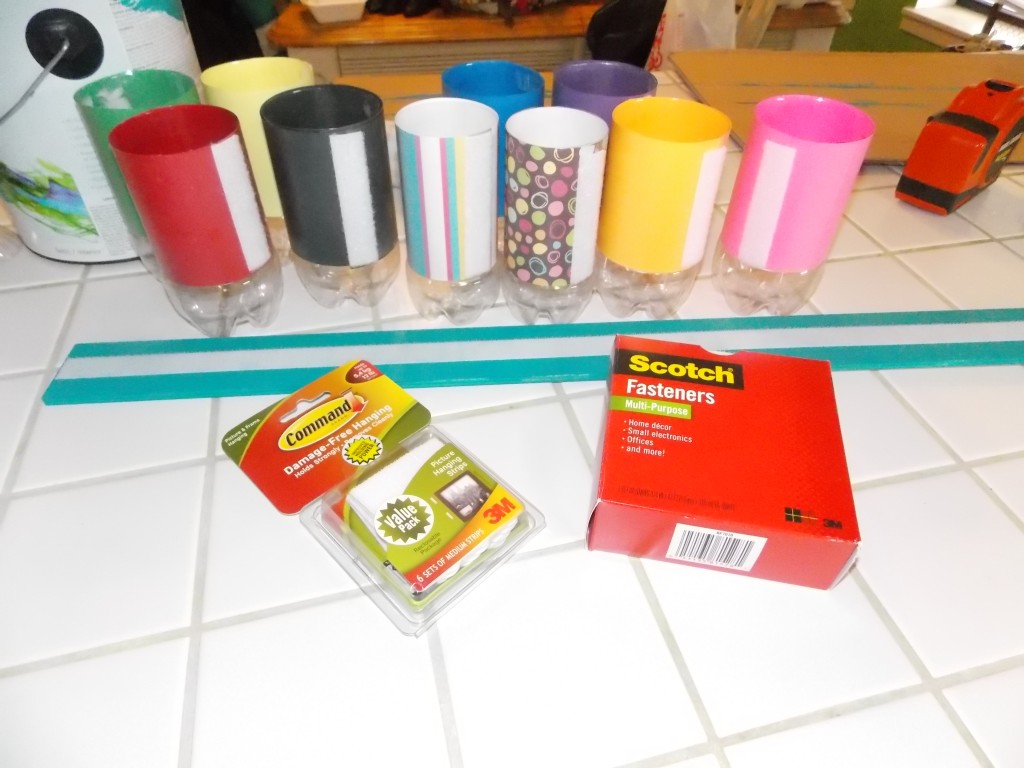
Once the paper was on each bottle I stuck a piece of Velcro on the back of each one. I also put one long strip of Velcro down the entire length of my painted wooden board. This is how my bottles would be attached to the board. This makes it easy for the kids to remove a bottle if they need to and easily return it to it’s place on the board.

Covered Bottles With Velcro Box

This can simply be nailed to the wall with a nail at each end. Now I have a great place, that’s off of the table, to store pens, pencils and markers!

Finished Product

How to Organize Your Pantry Part Two – Dealing with Bread

How to Organize Your Pantry Part Two – Dealing with Bread

Tension rod bread shelf


So far I’ve dealt with the snacks and spices and now it’s time to deal with the bread items.

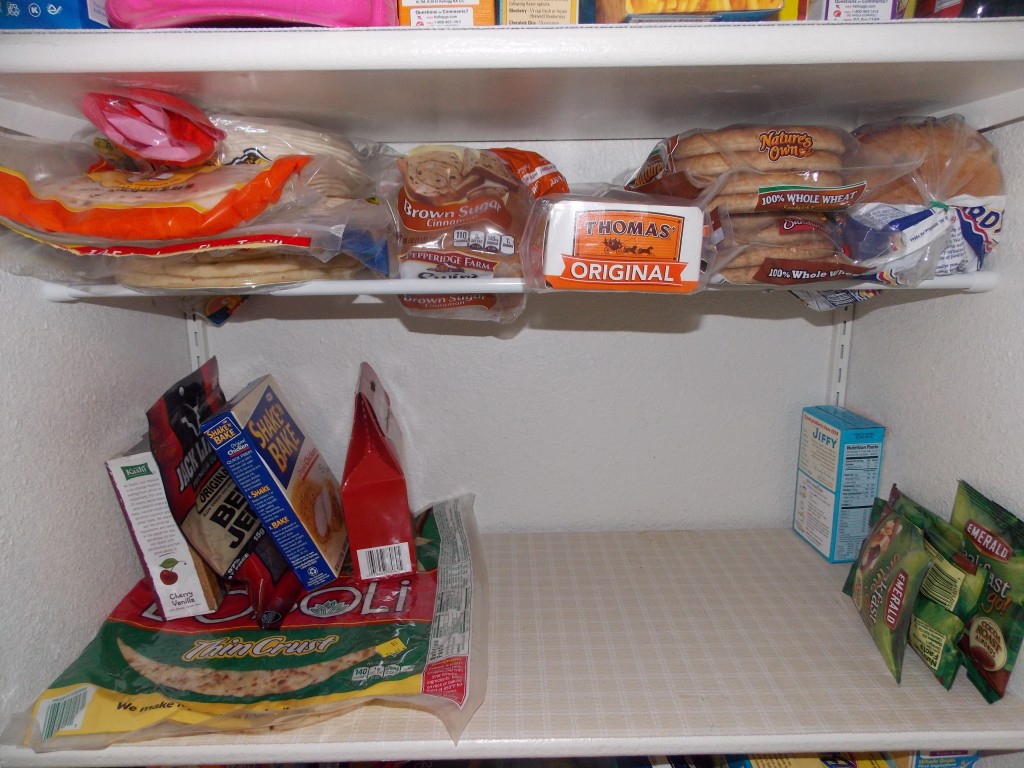
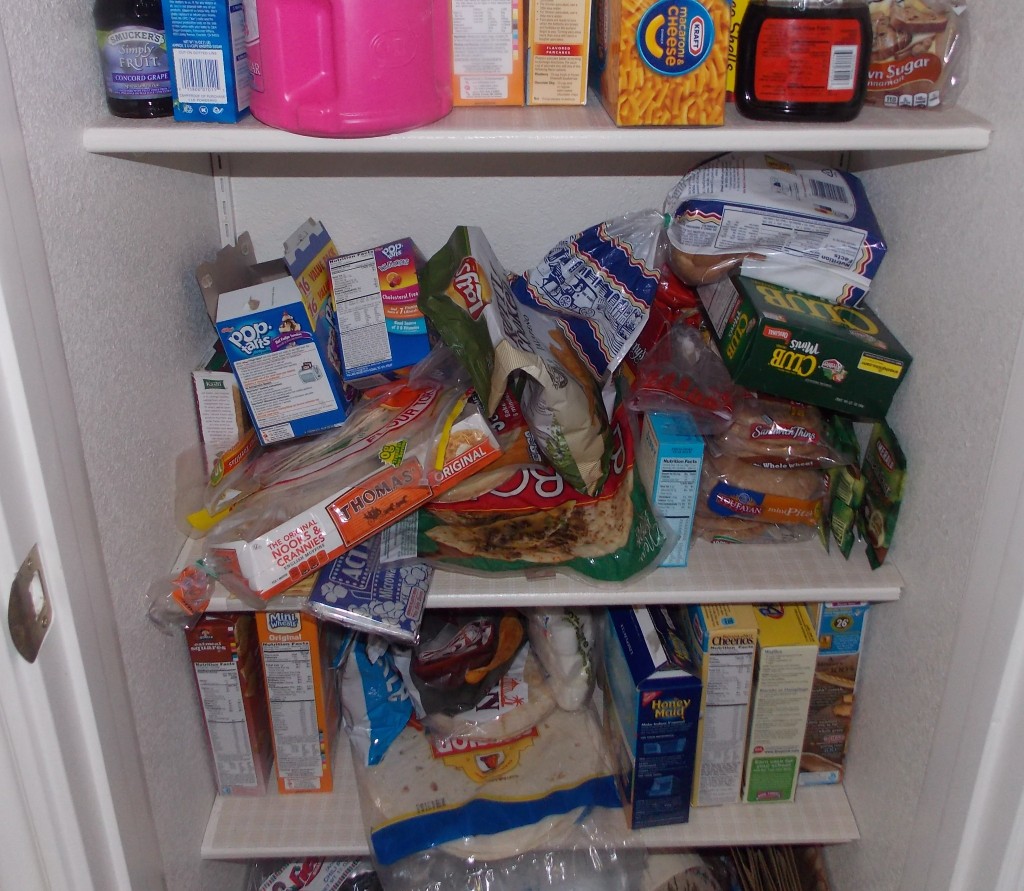
Breads and buns and bagels, oh my! All of these items take up a lot of space in a pantry. If you’re not careful they can also be squished by other pantry items. As if the space issue AND the squishing aren’t enough, these items can also get moldy quickly. What’s a gal with a small pantry to do? Tension rods of course!

Scary "before" picture


Remember how we took care of the spices? We’re going to do the same thing with the bread – only this time we are going to use TWO tension rods.

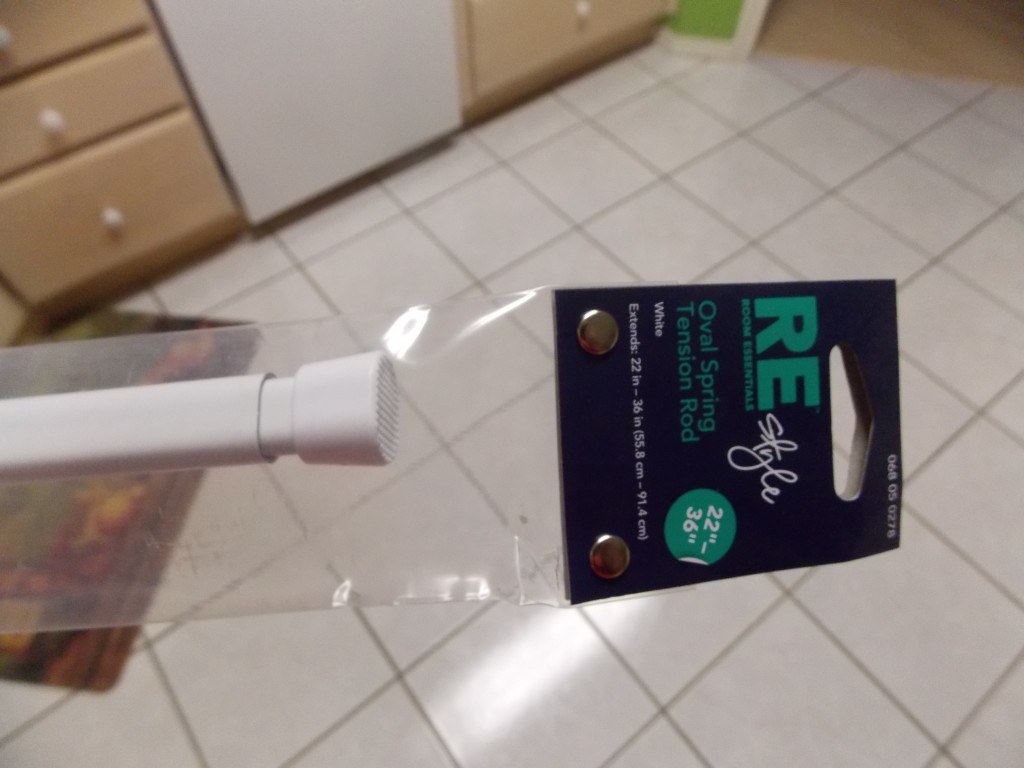
Just like with the spices, I used the flat tension rods. The flat ones snap into place (so they won’t fall down) and things don’t fall off of it very easily.

Flat tension rods

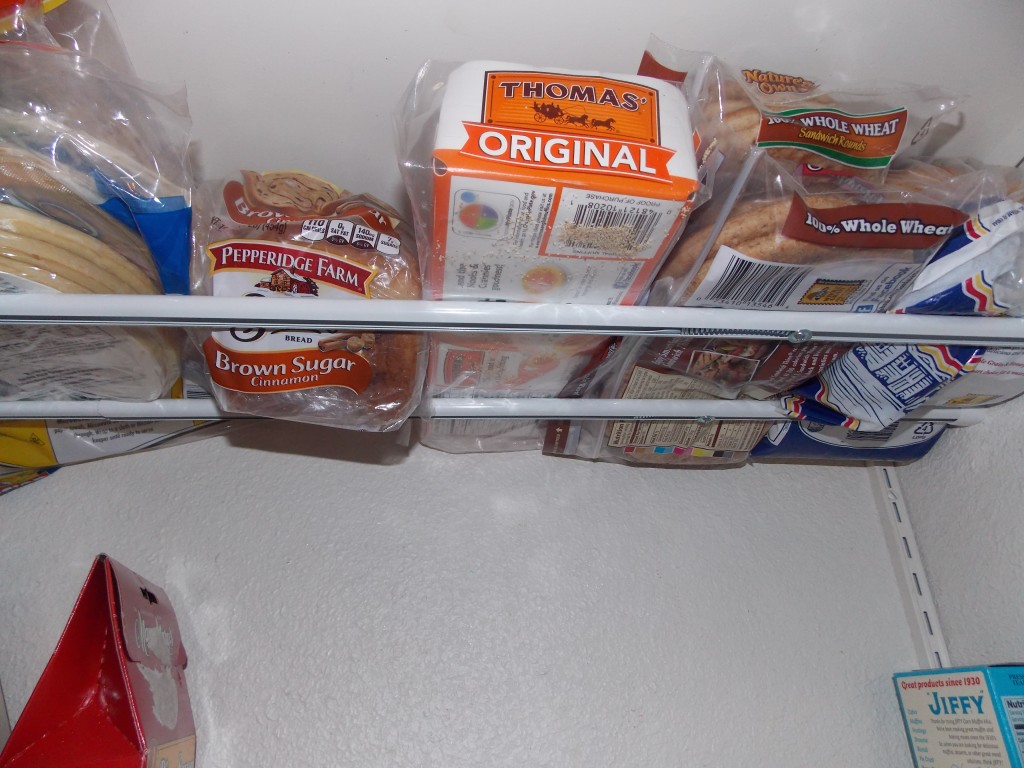
Put your first tension rod under a shelf, just an inch or two from the pantry wall. Once it’s in place, put your second tension rod a few inches in front of that. Now you have a nice little shelf to put your bread on. Not only will they be out of the way, but the space between the tension rods allow for air flow so your bread won’t go moldy as fast!

Underneath picture

How to Organize Your Pantry Part One – Dealing with Spices

How to Organize Your Pantry Part One – Dealing with Spices

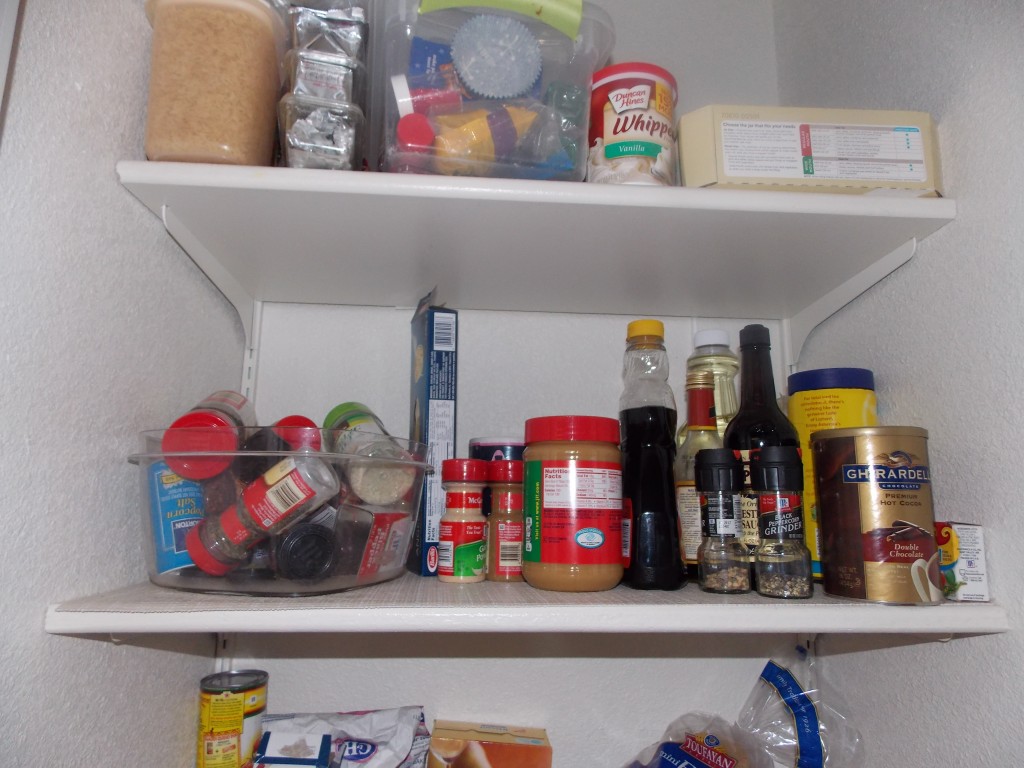
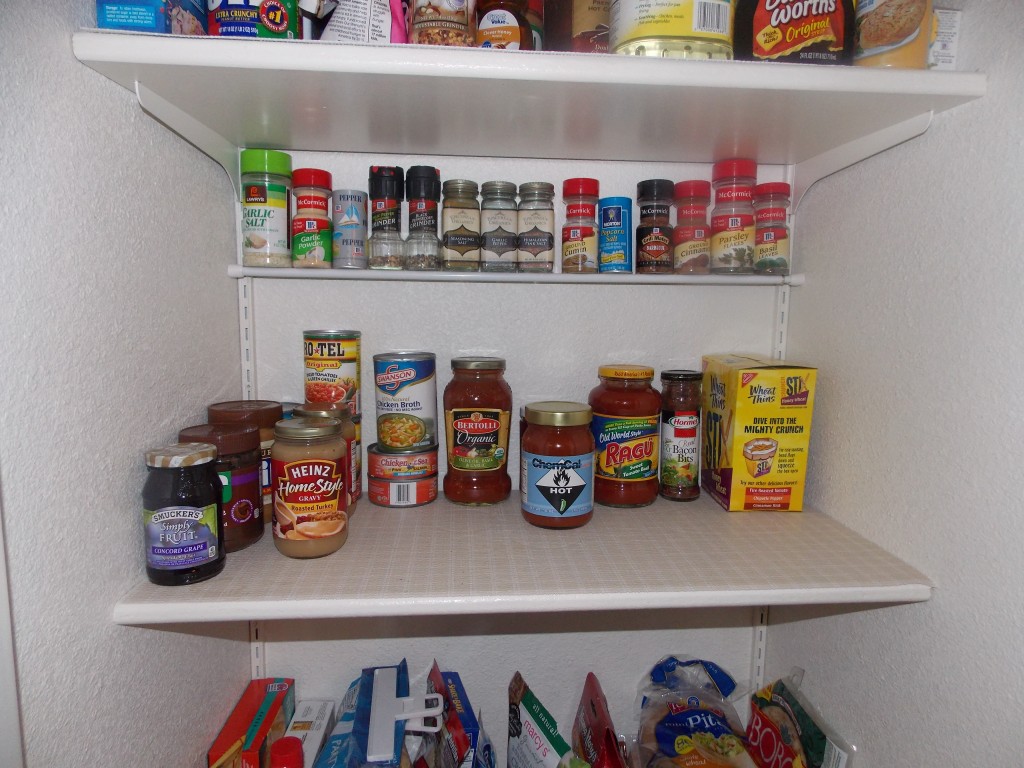
I have a very small pantry. No matter how much I try to keep it organized it always looks messy. There just isn’t enough room on shelves for everything I want to keep in there. I recently came up with the idea of making a snack bar to keep chips, snacks, and bottled water. To see my snack bar click here. With those big items out of the way it was time to focus on the spices. I don’t have a lot of room on the counter to keep spice racks. I also don’t have room in cabinets or drawers. I took some time to look in my pantry and found that there is a lot of wasted space under each shelf. I decided to put my spices there.

Spices Before

I bought a tension rod (I love those things!) at Target to fit the size of my pantry. Typically tension rods are round but I found one that was flat! These are my favorite. They have a latch that keeps them in place (no more falling down) and the flat surface means things wont fall off of it as easily.

Spices After - all nice and neat on tension rod


I put the tension rod in my pantry below a shelf and simply sat all of my spices on top of it. My new “spice rack” cost me $4. How awesome is that!

How to Make a Grocery Bag Holder Out of a Soda Bottle

How to Make a Grocery Bag Holder Out of a Soda Bottle


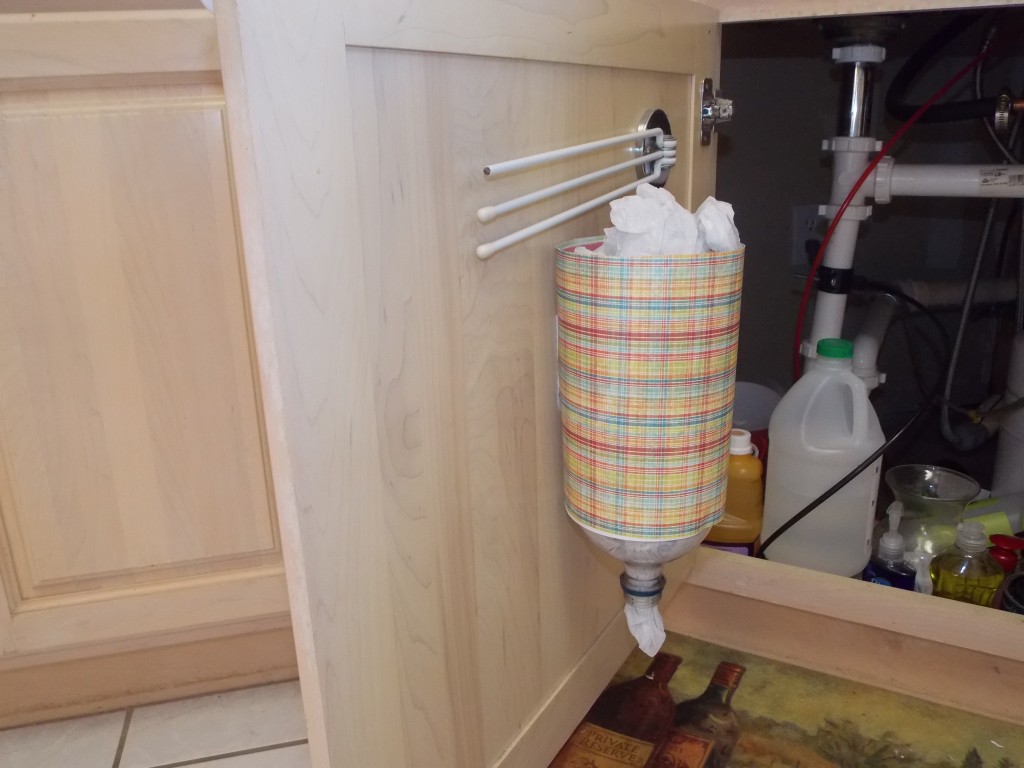
I like to keep old grocery bags and use them as liners for my little garbage cans or to use when I clean out the rabbit’s cage. But how do I store all of the bags? Yes, I could run to Walmart and buy a bag holder, but why do that when I can make one for free?

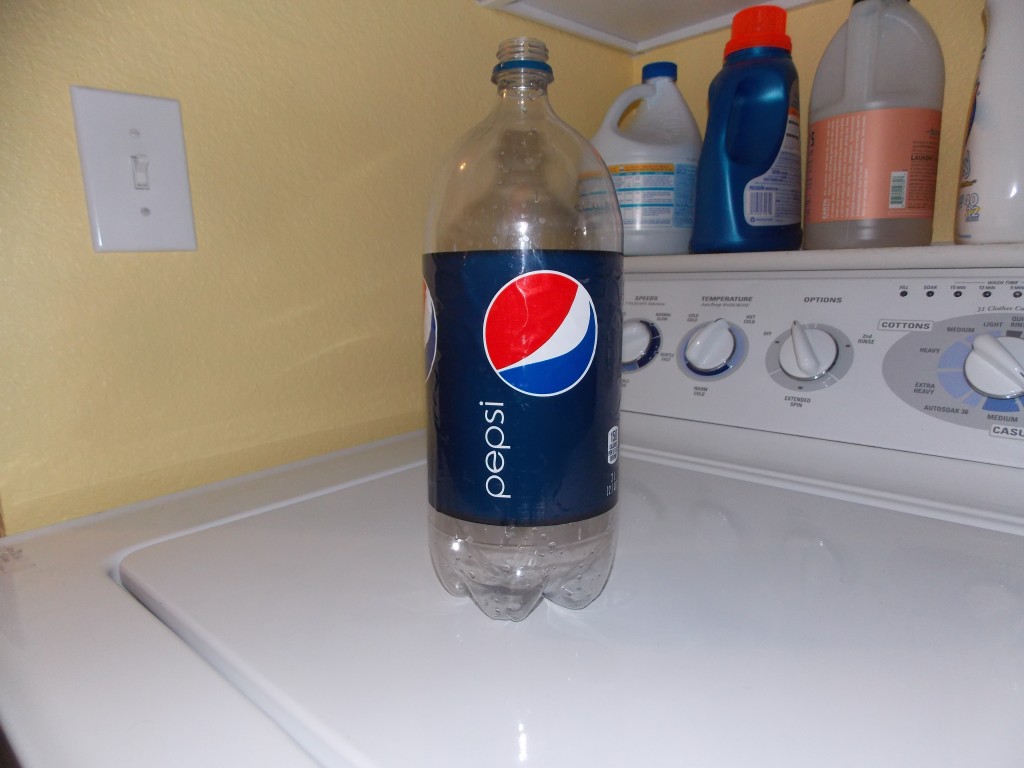
I’m always looking for ways to turn unwanted items into something useful. After scanning the kitchen to see what I could use as a bag holder, my eyes came across an empty 2 liter bottle of Pepsi. Perfect!

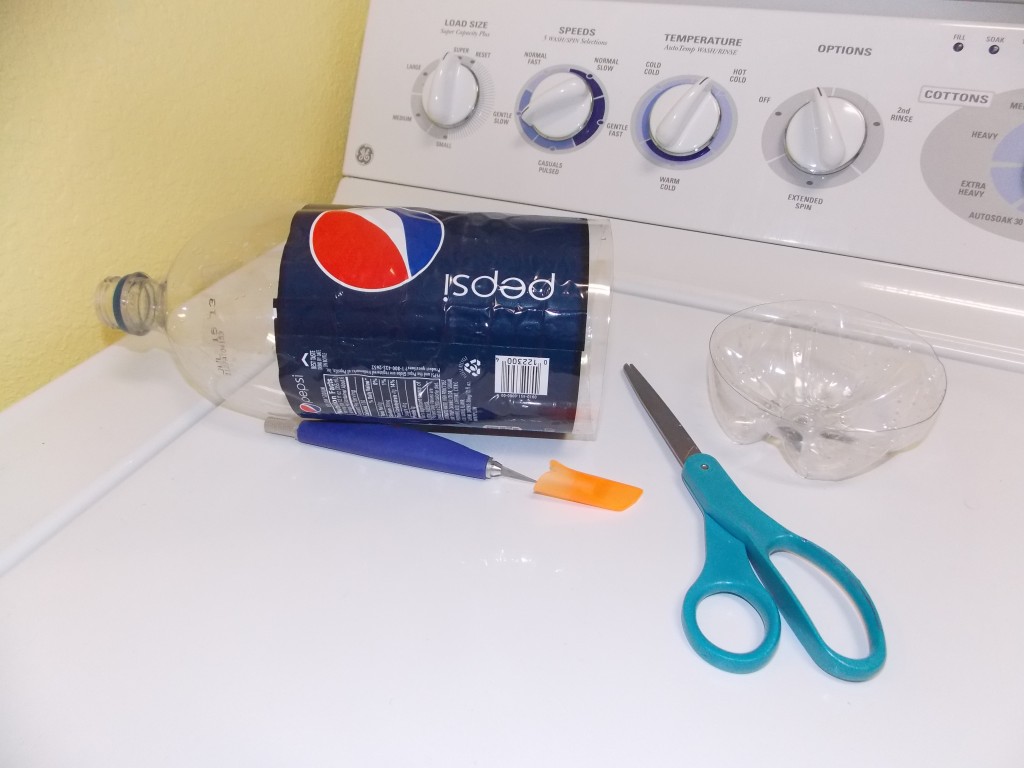
I start by removing the bottom of the bottle.

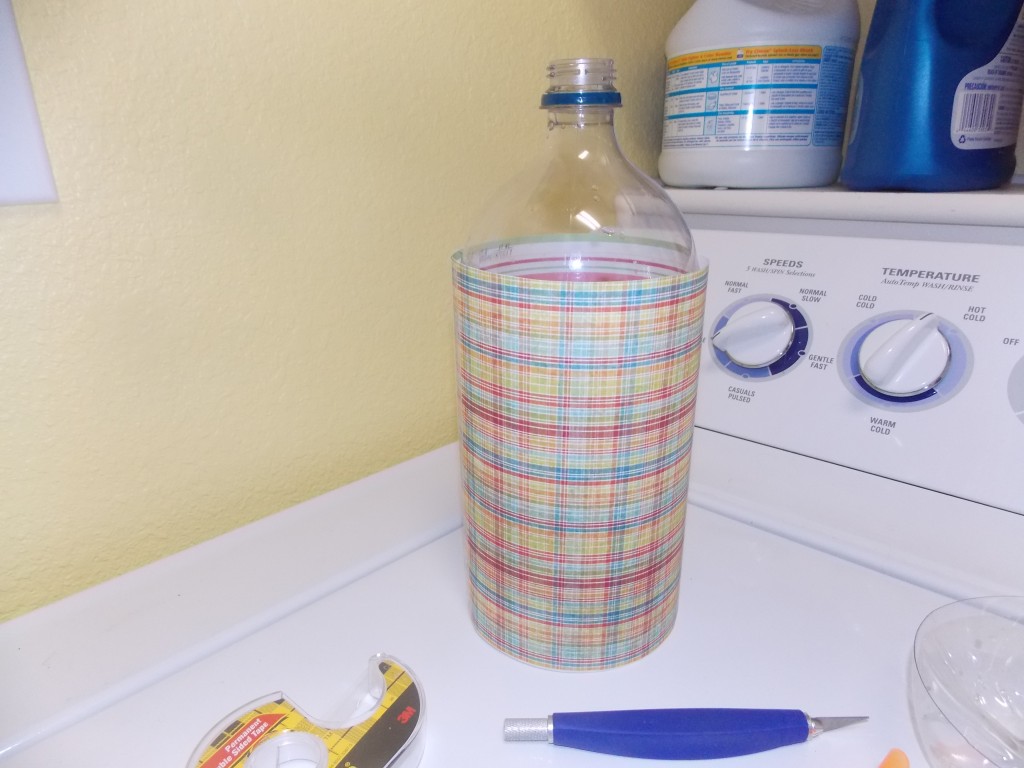
Then I remove the wrapper from the bottle and cover the bottle in card stock. I use double sided tape to attach it.

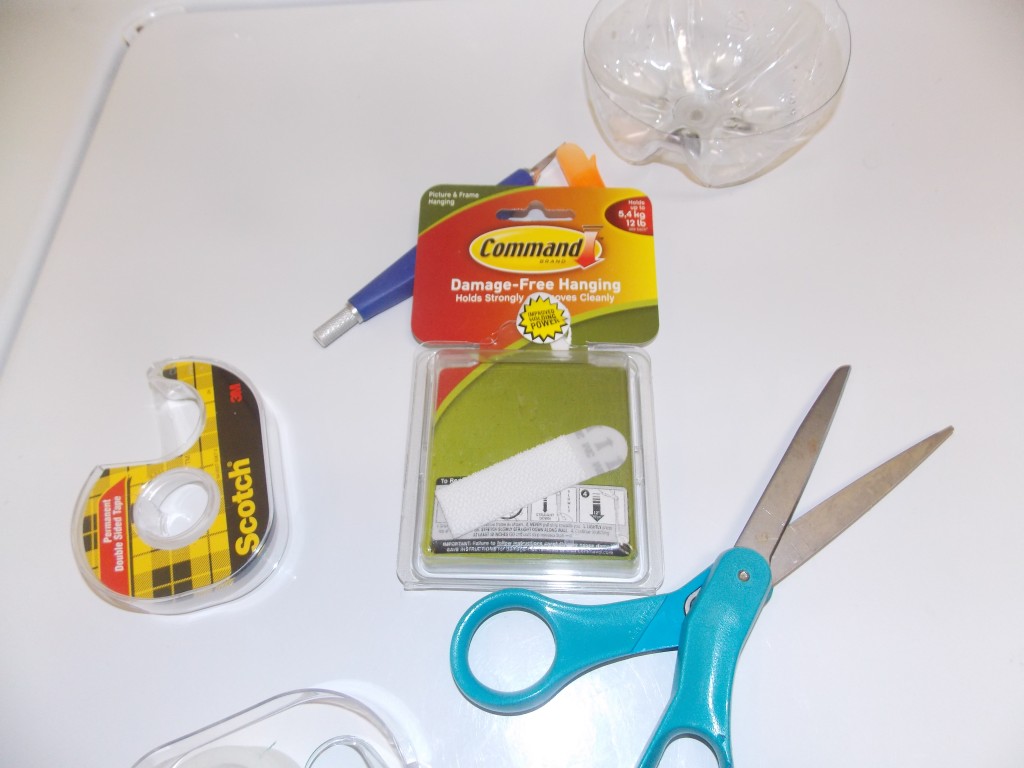
Once the bottle is ready, it’s time to attach it to where ever you want to store your bags. I decided to put mine on the inside cabinet door under my sink. This way it’s out of the way but still handy. To attach the bottle to the cabinet door I used 3M Command Strips. They make strips that are like Velcro. One side attaches to the door, and one side attaches to the bottle. They are super easy to use and can be removed when you need to remove them.

That’s all there is to it! You can even use 20 ounce bottles and put them in your bathroom to keep bags handy for small bathroom trash cans!

More Storage in the Kitchen – Adding a Snack Bar

More Storage in the Kitchen – Adding a Snack Bar

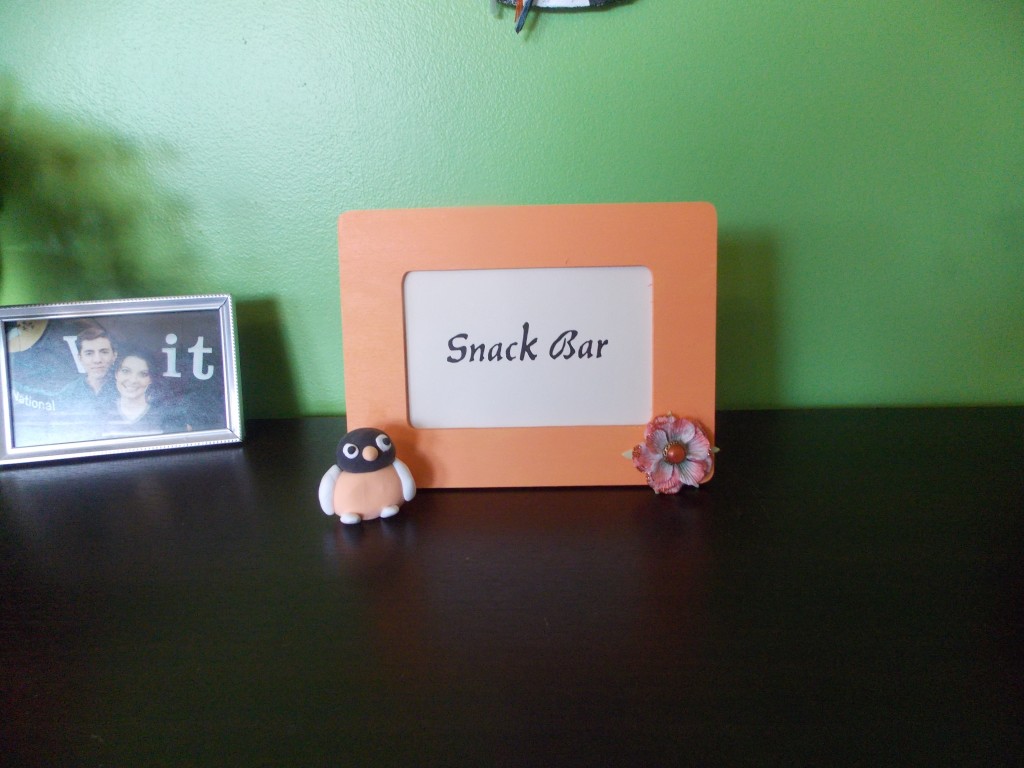
Snack Bar


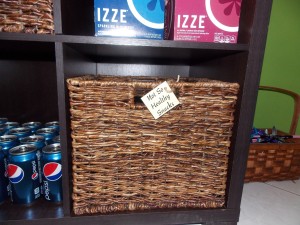
I have a super tiny pantry. Even when it’s really organized I still don’t have room for things. A bag of chips take up 1/4 of a shelf. Bottle water ends up on the kitchen floor. I needed to come up with another way to store food items. Then it came to me – a snack bar!

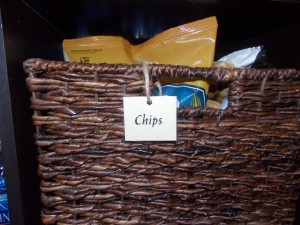
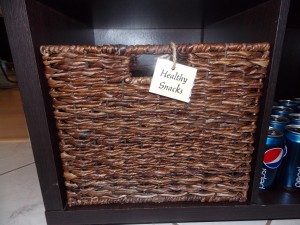
I bought the shelves from Target for $80. I also bought the little baskets at Target. I made little labels for the baskets out of card stock and covered them in clear packing tape to “laminate” them.

Chips

Healthy Snacks

Not So Healthy Snacks

Great And Cheap Way To Store Your Magazines

Great And Cheap Way To Store Your Magazines

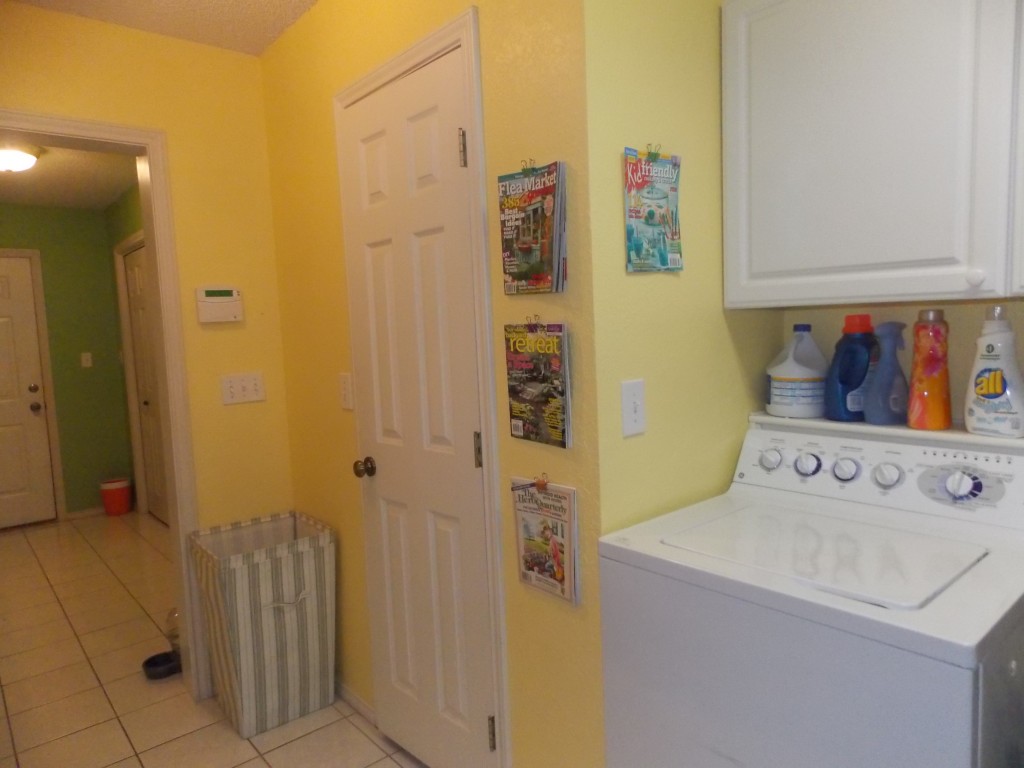
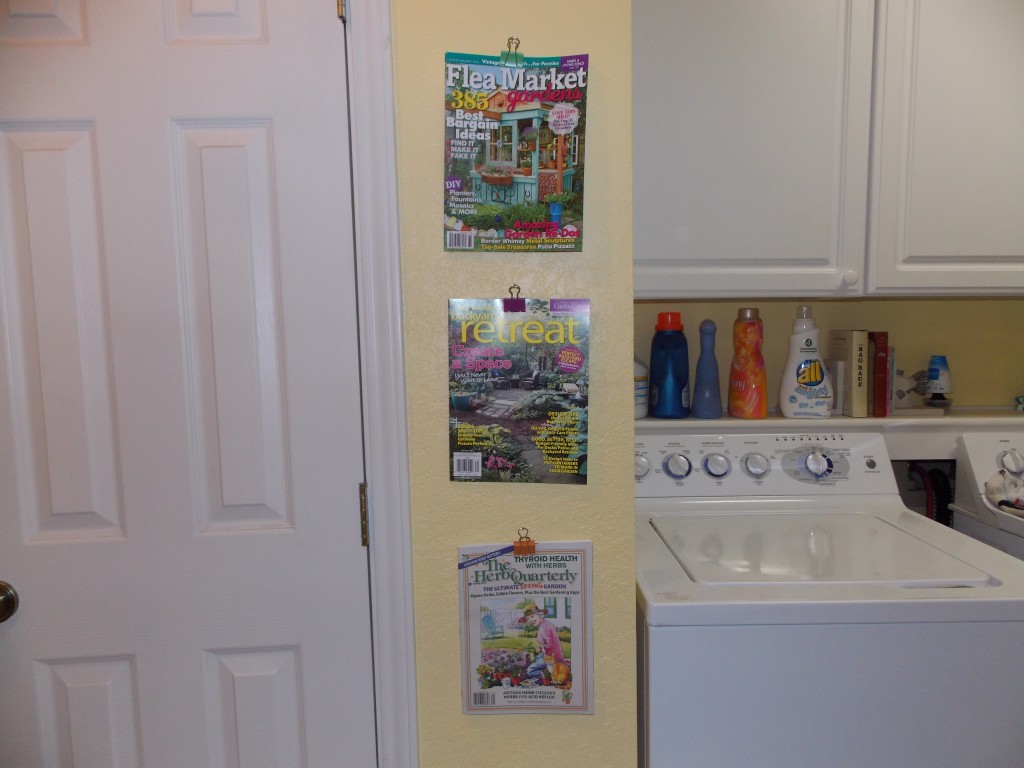
Magaizines hanging in laundry room


I love magazines. I really, really do. I love magazines about gardening, decorating, cooking, scrapbooking…I’ve even bought magazines about goats and I don’t even own any of those cute little creatures. I think what I like most about magazines are the short articles. When I have a few free minutes I can pick up a magazine, read an article, and in about 5 minutes I feel like I learned something new. I especially like to keep magazines close to places where I frequently stand waiting for something – in the kitchen by the stove to read while I wait for a timer to go off, in the laundry room where I sometimes wait to switch out the laundry, and of course the car where I sit and wait on my children when I’m picking them up from somewhere.

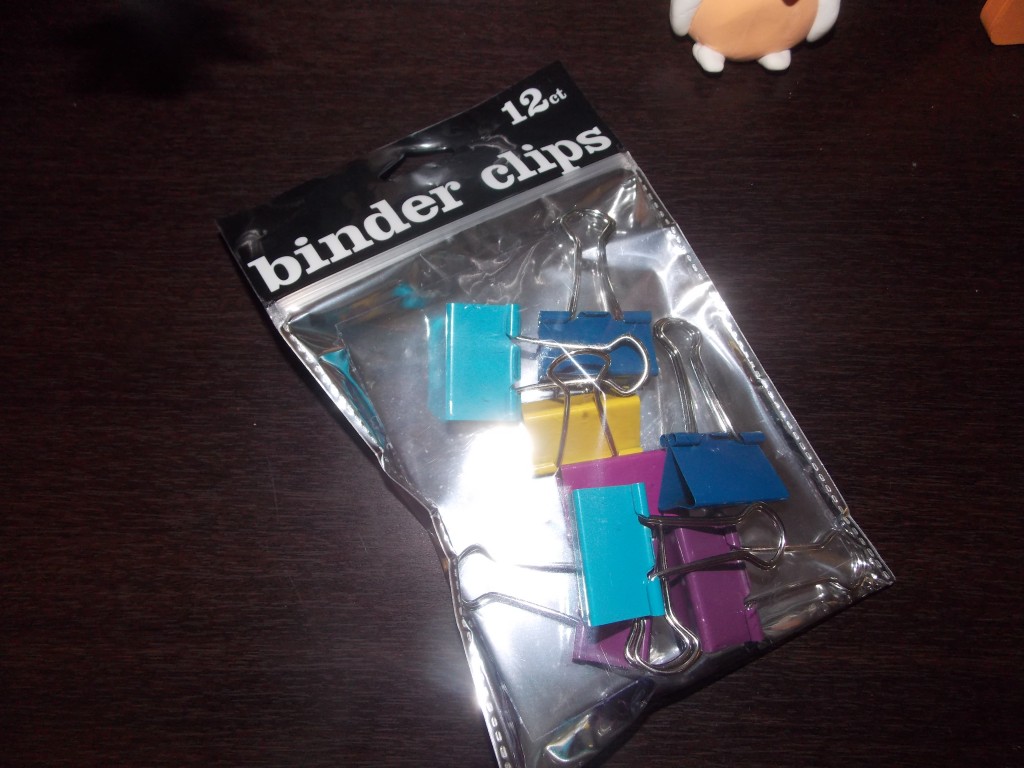
My problem though has always been this – where can I keep them so they don’t get in the way, lost, or damaged (have you ever pried a wet magazine off of a kitchen counter? Not fun.) I came up with this nifty little idea and all it cost me was a few bucks. I bought pretty colored binder clips from Office Depot for $3. I clipped one to a magazine, hammered a little nail in the wall and then hung the clip on the nail. Super simple. Super cheap.

Binder clips

Magazine covers are so pretty! They almost look like art work. Now my laundry room is even more colorful, and I know right where my magazines are!

Cute Way To Store Your Keys

Cute Way To Store Your Keys

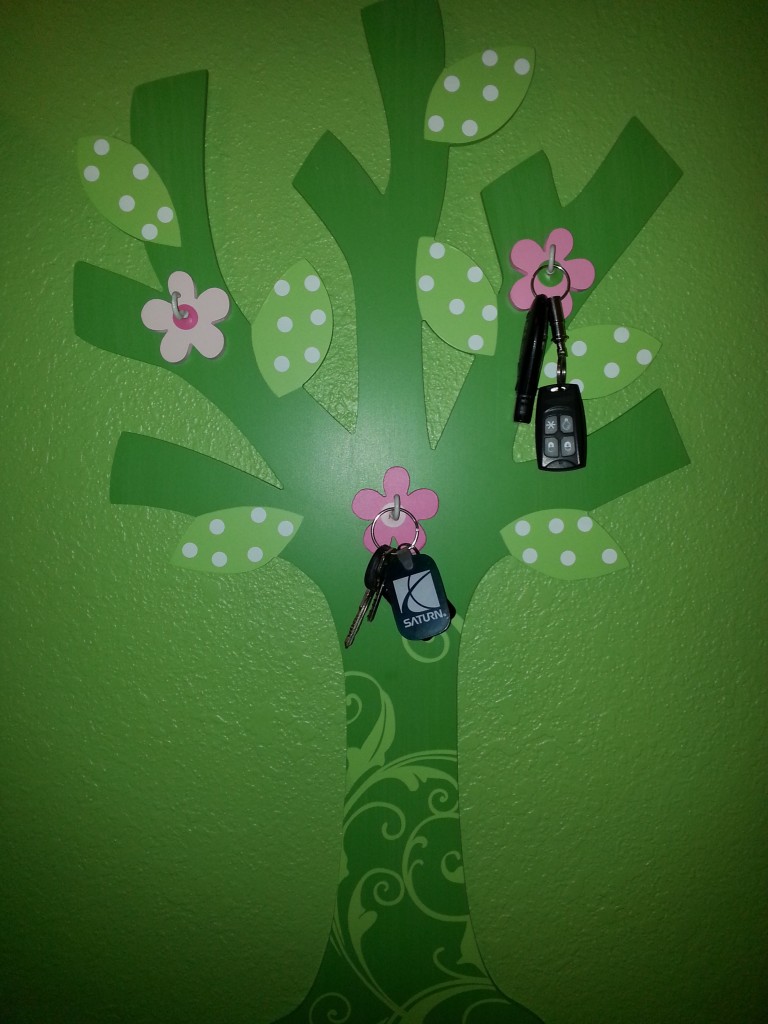
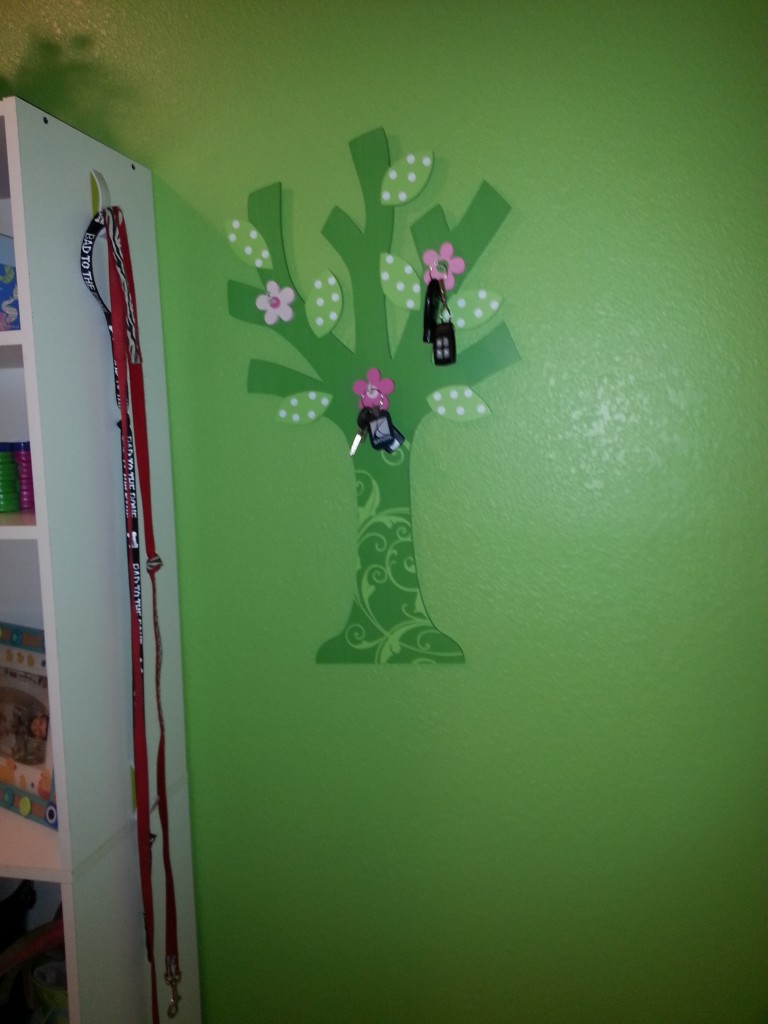
Key Holder

I recently re-did my mudroom and needed a place to hang our keys. I wanted something cute…and cheap. I went to Hobby Lobby (my favorite place to get anything) to see if I could find something I could use. All of their wooden things were 50% off and I just loved this wooden tree. It was $30 on sale for $15 – awesome!

Now to add the hooks! I bought small Ook Hooks (for $3 from Home Depot) and simply screwed them in to the center of each flower (no tools needed). It was that easy! Now I have the cutest place to hang my keys!

How Many Never Used Items Are In Your Home?

How Many Never Used Items Are In Your Home?

I recently read a statistic that blew my mind – the average person has $7000 worth of never used items in their home! $7000! My first thought was, surely, that can’t be right. I’m sure I don’t have that much. But then I started thinking (and looking around). In just 10 minutes I realized that I had 3 shirts in my closet with the tags still on them, one pair of sandals I bought this summer but didn’t get around to wearing, a set of dessert plates that are still in the box, and I don’t even want to look through all of my craft stuff! I probably don’t have $7000 worth of never used items in my home, but if I looked hard enough, I might come close to finding $1000.

How many of us could use that kind of cash right now? I know I could, especially with Christmas sneaking up on us like it is. This has motivated me to dig a little deeper and let go of things that I’ve never used. Of course the first task at hand is to LOOK through boxes and drawers and find those things. I could wear those sandals next year…or I could sell those ugly things (what was I thinking??) on ebay for some extra cash in my pocket right now.

What’s in your closet that you’ve never used?

Question From a Reader – What to do with Baby Clothes and Toys

Question From a Reader – What to do with Baby Clothes and Toys


Dilemma:
We have clothes everywhere! I can clear one room in our 3br house-but it seems like the things just “shift”. Most of our items are clothes we are saving for our son-ranging from 2T-5T, my husband’s clothes (mostly never wears), stuffed toys out the wazoo, toys out the wazoo, and now some big ticket baby items our son has outgrown that we can’t find a good home for yet. Then there are the sentimental items-about 6-8 large boxes of those. Suggestions?

The above question was sent from a reader and I think it’s a problem we’ve either all had or are still struggling with. Here are my suggestions:

*The clothes – The first step is to look over each item of clothing and see what ones you would actually use again. If you see an item covered in stains and you don’t think you will put your next little one in it, toss it. Both the baby clothes and your husbands clothes that he doesn’t wear could go into Space Bags. These bags hold an unbelievable amount of clothing! I like the flat ones for clothing (as opposed to the cube ones which are great for blankets and stuffed animals). The flat ones can be stored under beds, under the couch, any where you have narrow spaces. Just make sure to label them so you know what sizes are in each bag.

*Stuffed toys – Go through the toys and see if there are any you can donate. The ones you decide to keep can go in the cube Space Bags. We keep most of my daughter’s stuffed animals in these amazing bags. Because they are clear, you can see what’s inside and if your child wants a particular stuffed animal you can open it up, take out the toy and then suck out the air again.

*Toys – this may have to be something you put up with for the next few years. As with everything else, go through and see what you actually need and what your kids really play with. If you come across any toy that is broken, either fix it or toss it.

*Big ticket baby items – if you don’t need it anymore, get those space suckers out of there! Sell them on Craig’s list or, if you don’t want to mess with that, donate them. Many pregnancy help line places will gladly take the donation.

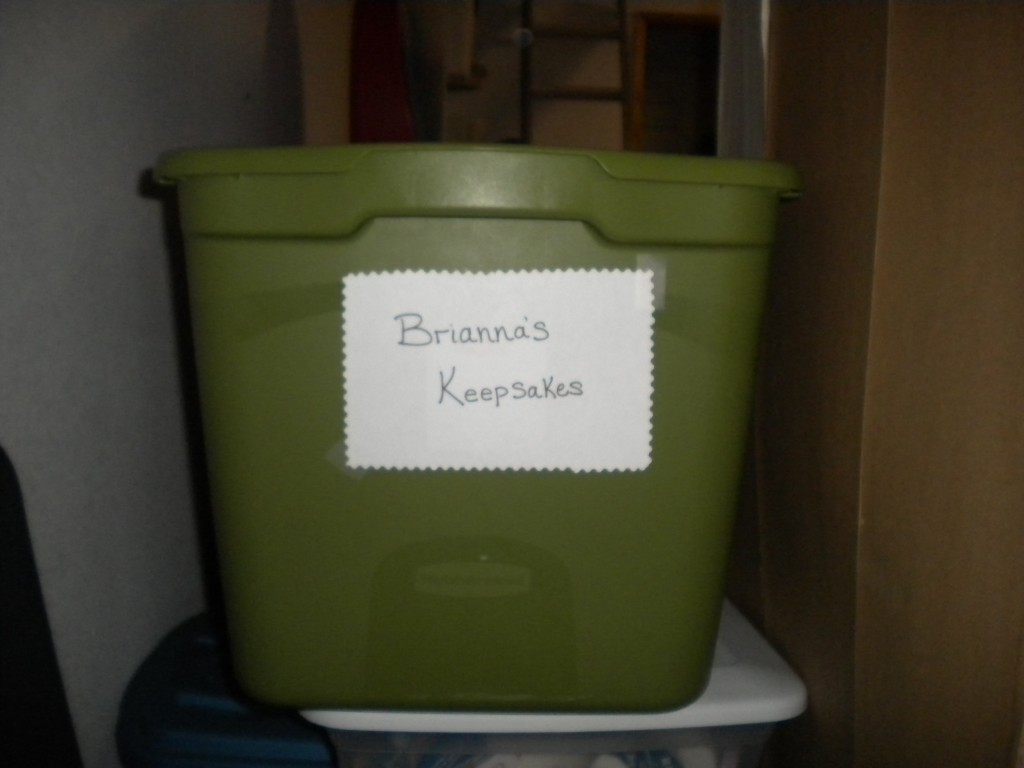
*Sentimental items – Oh man, that one gets all of us. Here is what I do – I keep a box for EACH person in my family. I don’t throw everyone’s keepsake items in together. If you do this, you’ll never know who you’re keeping things for…or why you’re even keeping it.

Before anything goes in a box I ask myself this question – why am I keeping it? Do I hope my daughter will pass on this item of clothing to her own daughter one day? If that answer is yes, I make sure it’s stain free and in perfect shape. If it’s not, I try to get the stains out and make it look like new. If I can’t do it, I take a picture of it (for myself) and toss it. When my kids grow up and have their own children they will not want to put their children in old, stained clothing – just like the rest of us wouldn’t do to our own children.

If it’s a toy I’m tempted to put in the box, I ask myself the same question. Am I keeping it because it was one of their favorite toys and I think their own children would play with it one day? If it’s not a favorite toy, if it’s broken or doesn’t work anymore, then either toss it or donate it.

I try to keep this in mind with my keepsakes – will it live on and actually be useful to my children one day? If the answer is no, I don’t keep it. When my child is an adult it will not be helpful to give him/her 10 Rubbermaid containers full of “stuff” that is broken, stained, or torn. No one wants that! My mom kept very few things for me, and I treasure everything that I have in that little box. If she would’ve given me 10 of them, I would’ve been overwhelmed.

When it comes to keeping papers or art work, I keep a flat Rubbermaid container under my bed. I don’t have one for each kid, I just have a “Family” box. Every other time I add to it, I look to see if there is something similar they’ve done that I can get rid of.

The key here is to pay attention to what you are keeping, and think about why you are keeping it in the first place. We keep so much more than we really need. We end up using space for things in the past and have less room for the present.

I hope this helps! Happy organizing!