Category Archives: Make It

Turn Old T-Shirts Into Purses Or Bags

Turn Old T-Shirts Into Purses Or Bags

Old Camp T-Shirt


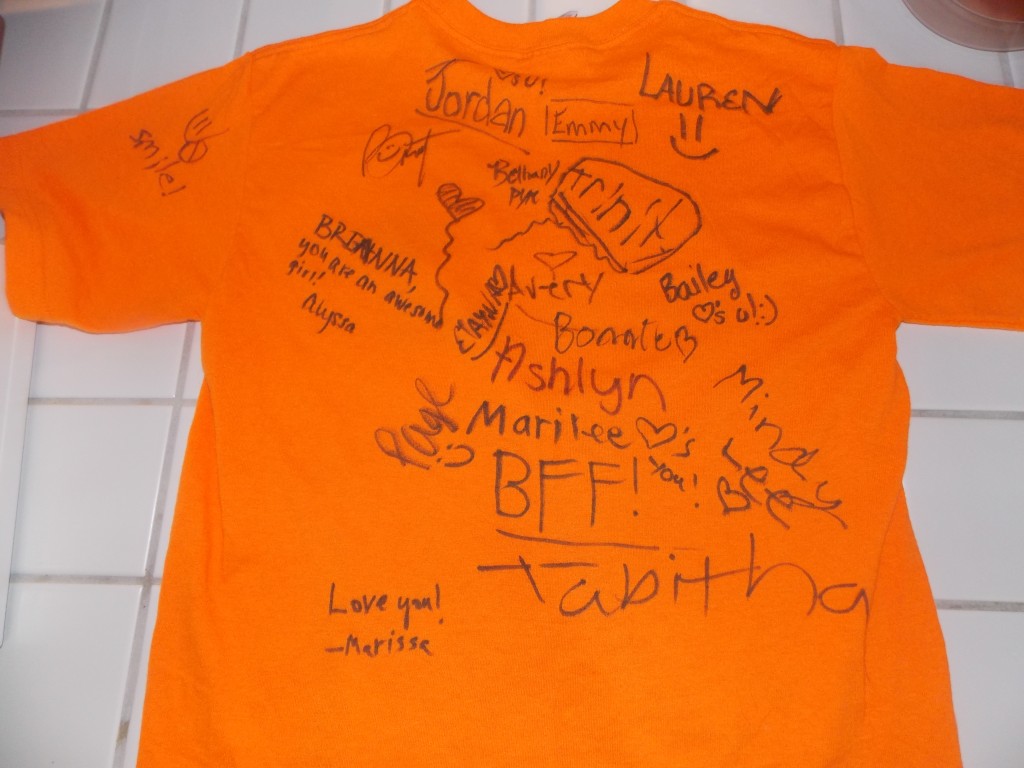
My daughter went to camp last year and had a blast. She came home with a camp t-shirt signed by all of her camp buddies. She hasn’t worn that shirt since but it’s been hanging in her closet.

It was time to go to camp again this summer and as she was packing she realized she didn’t have a bag to put her flip flops, beach towel and swim suit in. I immediately thought of that old camp t-shirt. I remembered something I had seen several weeks ago about turning a t-shirt into a bag or purse. Of course I couldn’t find it online when I needed it but figured it couldn’t be that hard.

First I got her permission to do this project (very important first step). Then I put the shirt inside out and sewed up the bottom with my sewing machine. I’m terrible at sewing but I could handle this simple step.

Sleeves and Collar Cut Off


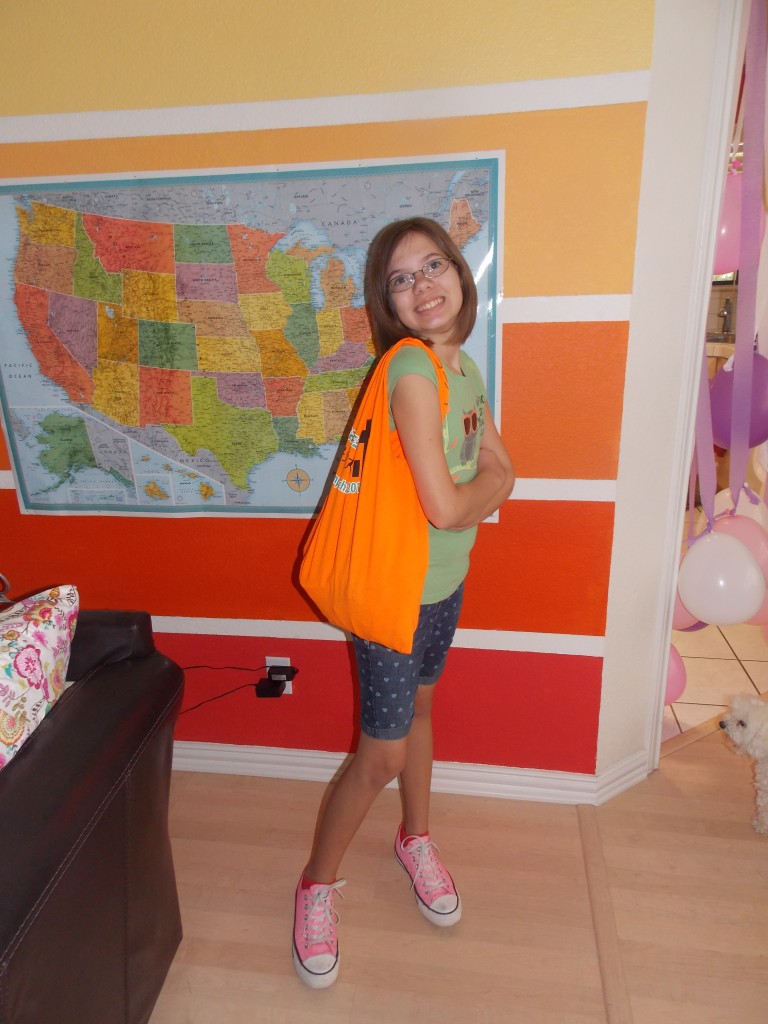
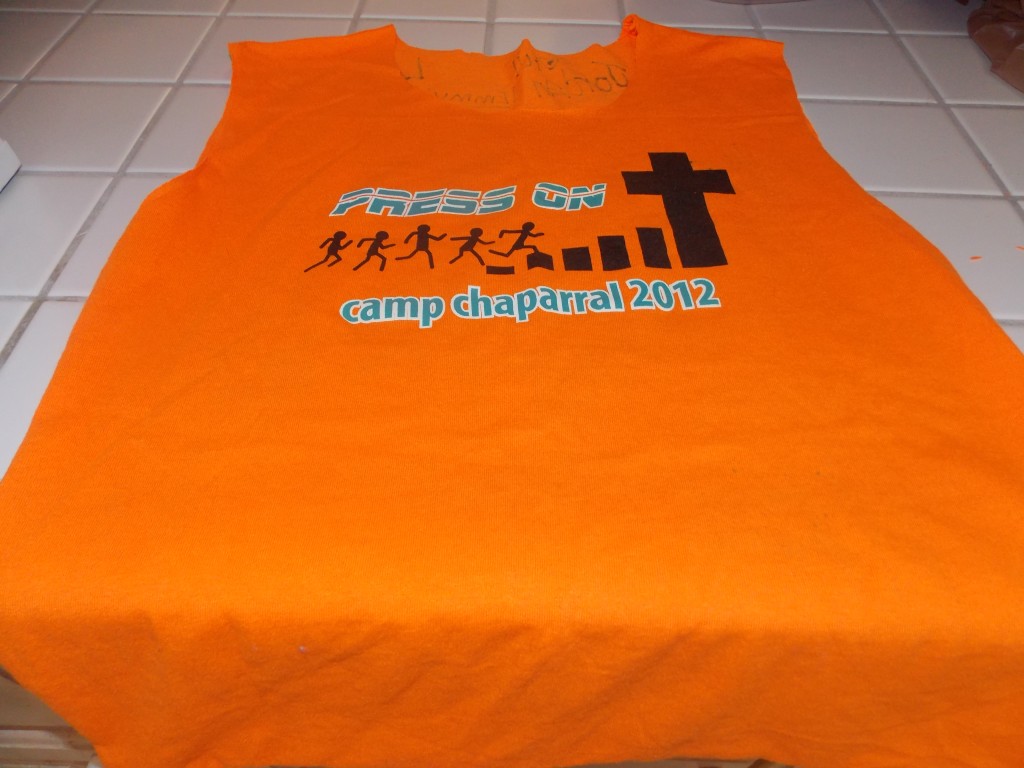
Next I put the shirt right side out and cut off the sleeves and the collar. Viola – finished project in less than 10 minutes.

How cute is she with her new bag?!

Finished Product!

Fun Way To Organize Markers And Colored Pencils

Fun Way To Organize Markers And Colored Pencils

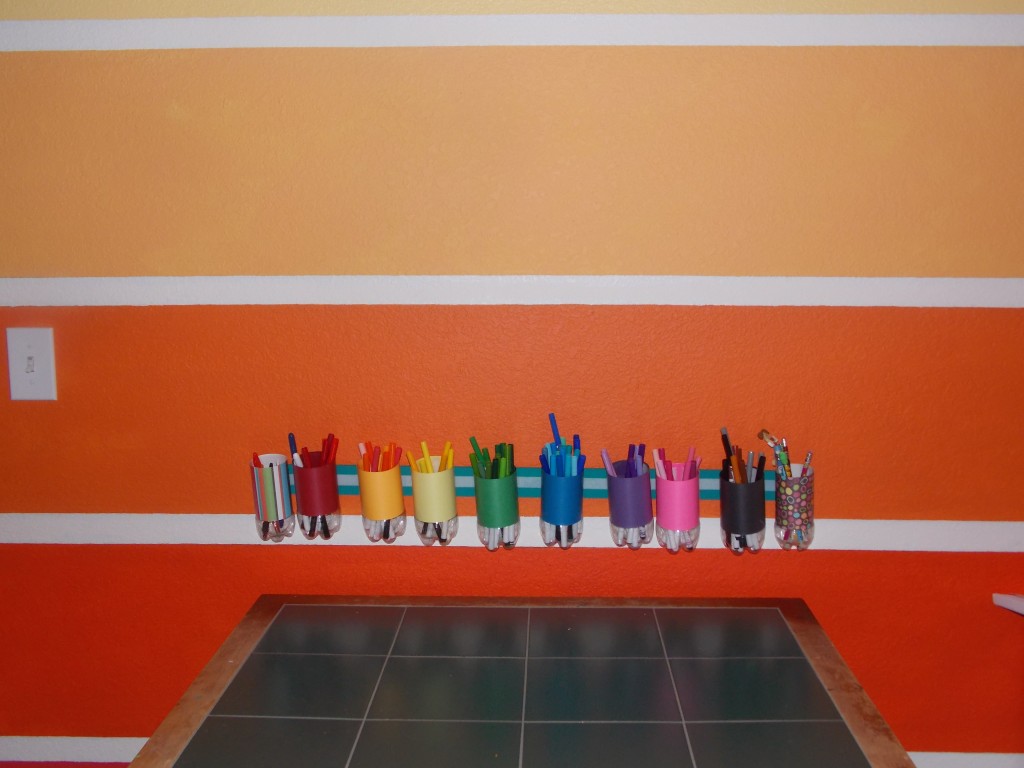
Finished Product


I have so many markers and colored pencils lying around here. Because I enjoying drawing (and coloring) I’ve always tried to keep some kind of coloring agent in each room of the house in case inspiration strikes.

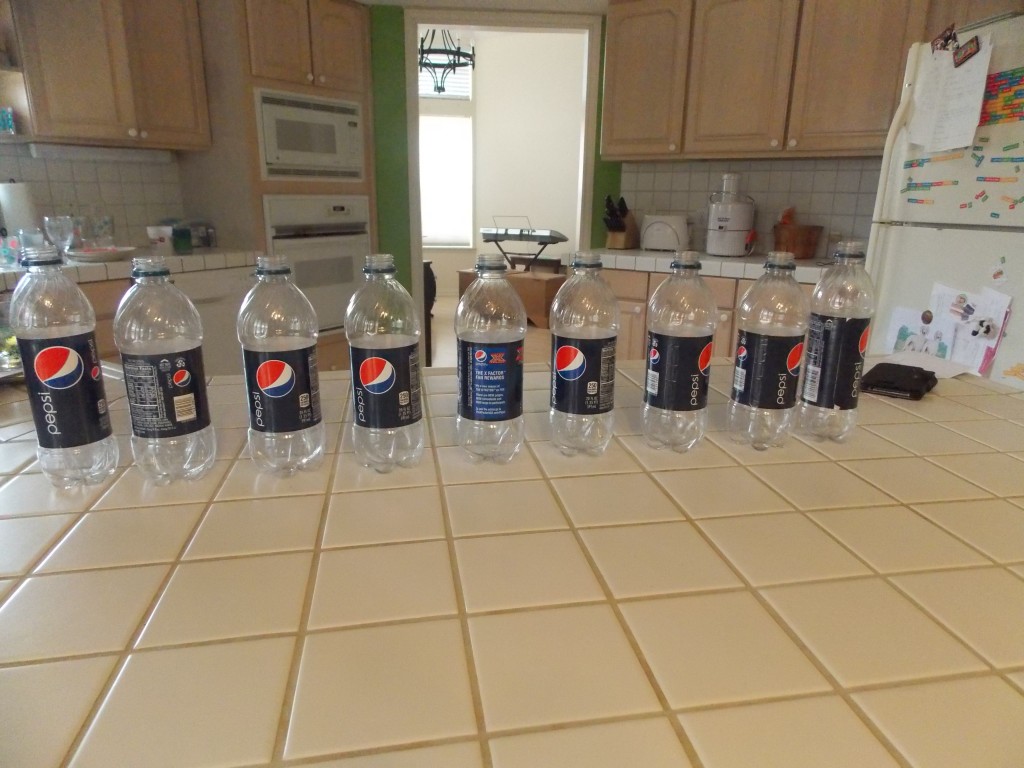
I decided I wanted to have a little “art center” area near the living room. I have a table in there all ready but I didn’t want to crowd the table with art supplies. My solution was a pencil/marker organizer using a strip of wood and empty Pepsi Bottles.

Empty Pepsi Bottles

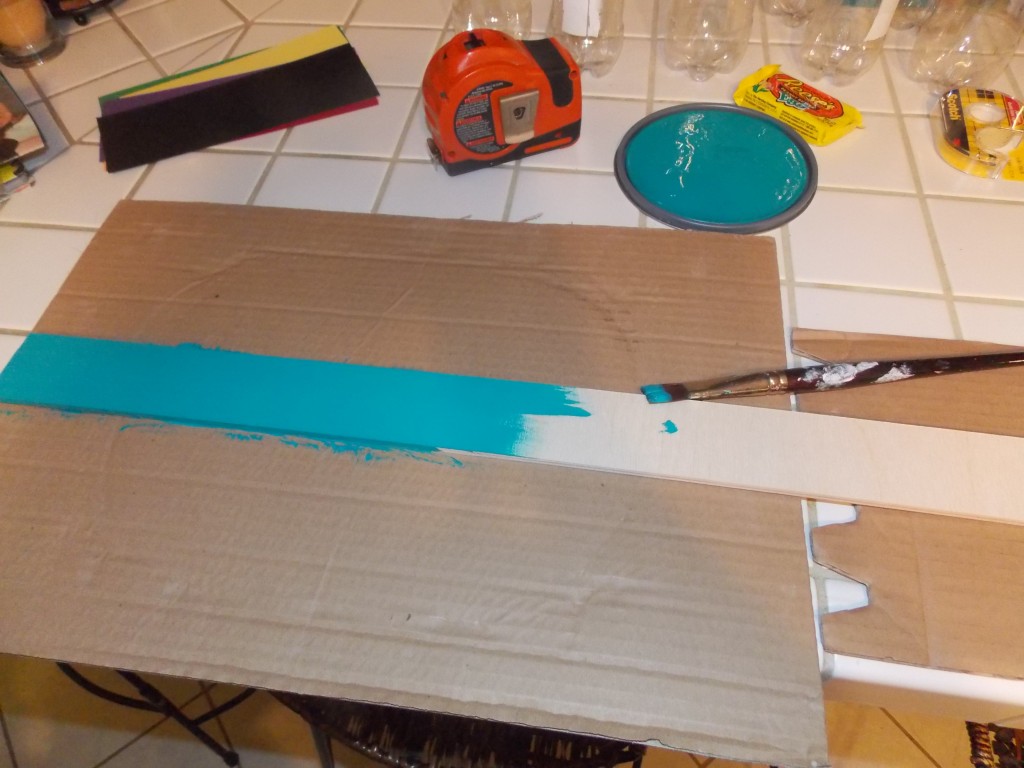
I started with a strip of wood I bought from Hobby Lobby. They had several lengths and widths to chose from. I went with the one I thought would best fit my space. I painted it a turquoise color.

Painting The Wood Strip

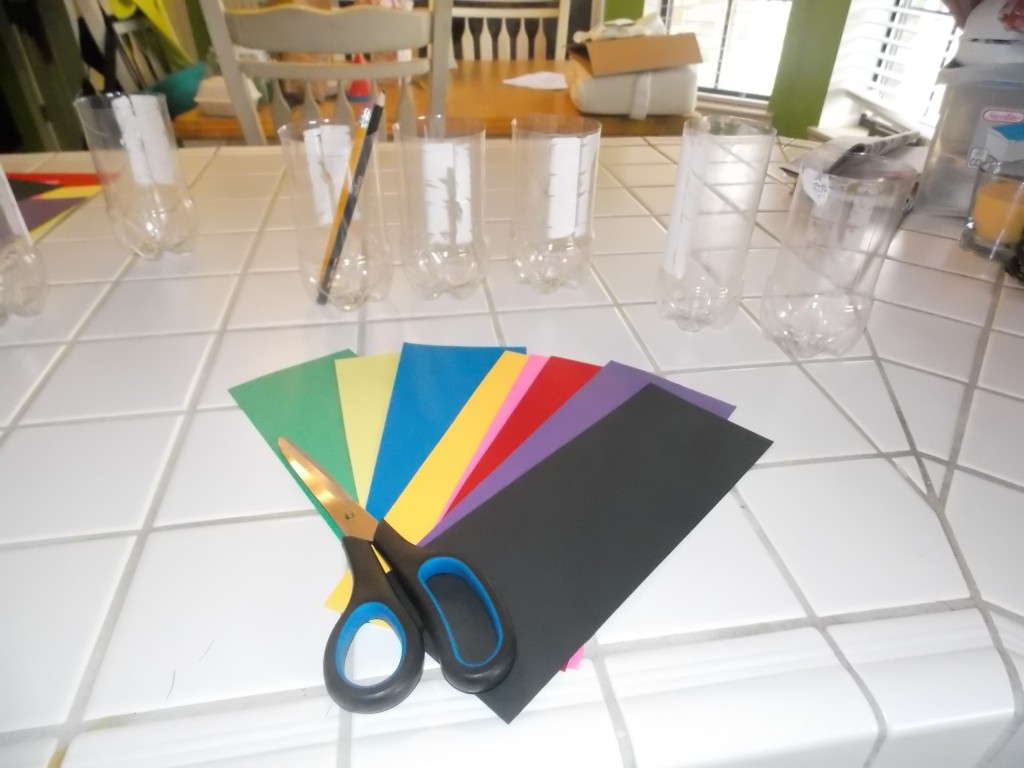
Then I removed the labels from the Pepsi bottles. I cut out strips of colored paper (green paper for the green markers and pencils, etc) and covered each one with clear contact paper. Then I glued each one onto a bottle. I covered two bottles with patterned paper. These would be used for regular pencils and pens.

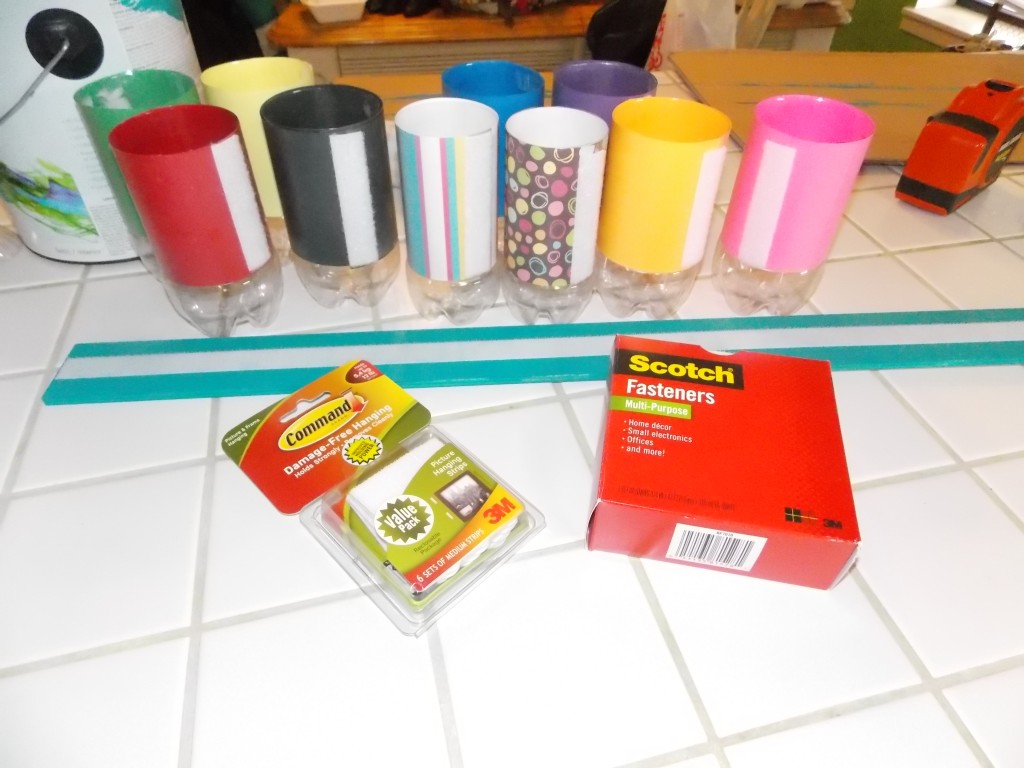
Once the paper was on each bottle I stuck a piece of Velcro on the back of each one. I also put one long strip of Velcro down the entire length of my painted wooden board. This is how my bottles would be attached to the board. This makes it easy for the kids to remove a bottle if they need to and easily return it to it’s place on the board.

Covered Bottles With Velcro Box

This can simply be nailed to the wall with a nail at each end. Now I have a great place, that’s off of the table, to store pens, pencils and markers!

Finished Product

Simple Dog Painting

Simple Dog Painting

Dog Painting


My sweet daughter is a perfectionist. She used to love art but as she has gotten older she has come to almost despise it. She can picture what she wants to do, but her skill level hasn’t caught up to her imagination yet (I believe it will with practice). When I mention that her and I should do an art project together you would think I just asked her to clean the garage. I don’t mind if my kids don’t like the same things I do, but I don’t like the reason that she hates art – that it’s too hard. Art doesn’t have to be hard!

I came up with this simple little art project that is fool-proof. It looks amazing and requires no skill what so ever. She did it and was very proud of the end results. With simple little projects like this she is starting to enjoy art again.

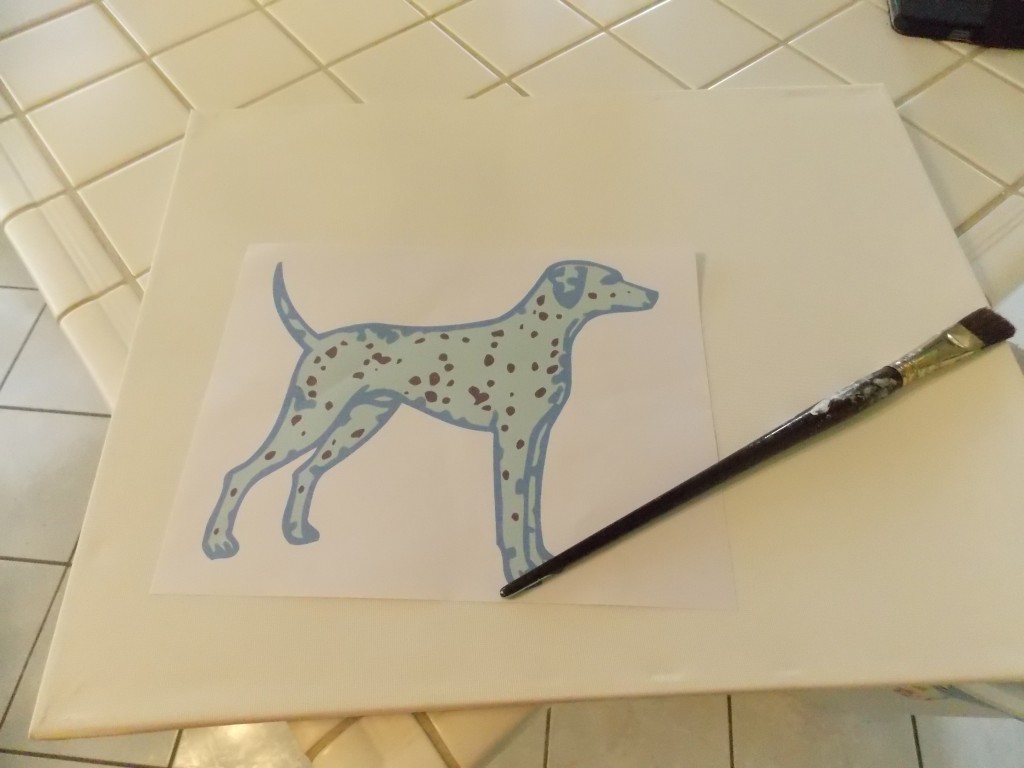
Here’s what we did. I purchased a canvas (the kind with the wooden frame, these are easy to hang) at Hobby Lobby (half off of course). We looked on Print Shop and found a simple profile of a dog. We made it the size we wanted and printed it out.

Dog Print Out From Print Shop

Once it was printed, she cut the dog out and, using double sided tape, attached it to the canvas. Then she chose the paint colors she wanted to use. Even though you can’t really tell from this picture, she used orange, yellow and cream colored acrylic paints. Simply paint the entire canvas (don’t forget the sides). You don’t have to use more than one color. When you’re painting the canvas, lightly push down on the paper as you paint close to it so you don’t accidentally get paint where you don’t want it. Once you have the whole thing painted, remove the paper. You should have a white image of whatever you printed out. I went through with some white paint and a small paint brush and cleaned up any little spots where the orange paint seeped under the paper.

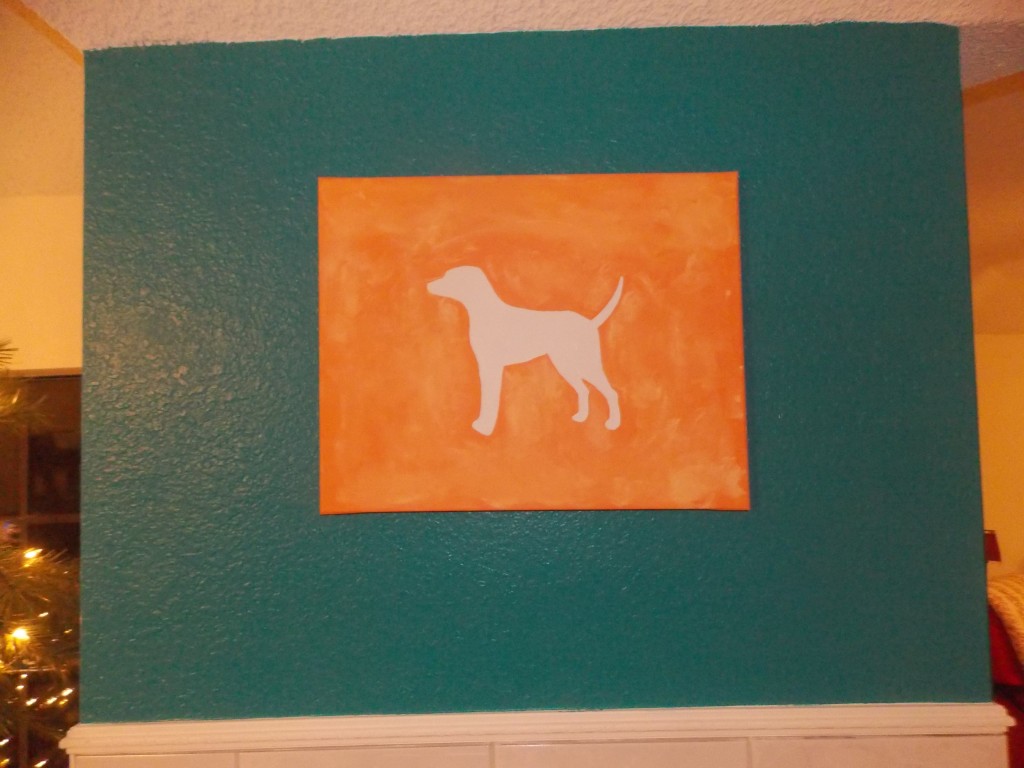
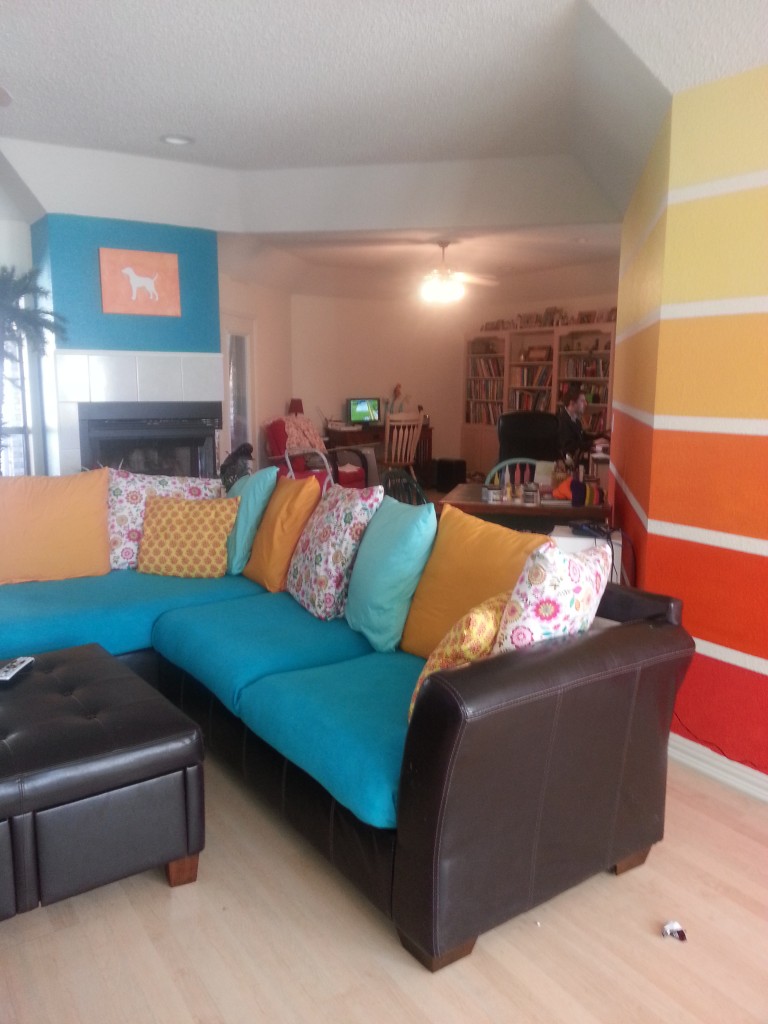
Here is the finished project above the fireplace.

Dog painting in living room

I love art projects that are super easy, super cheap, and super cute! And thankfully, now my daughter does too!

Decorating Popcorn Tins

Decorating Popcorn Tins


We love popcorn. We especially love the popcorn that comes in the tins at Christmas time. But what do you do with the tins when all the popcorn is gone? Usually we donate them (they’re just too cute to throw away) but, thanks to one of my friends on Facebook, I found this idea.

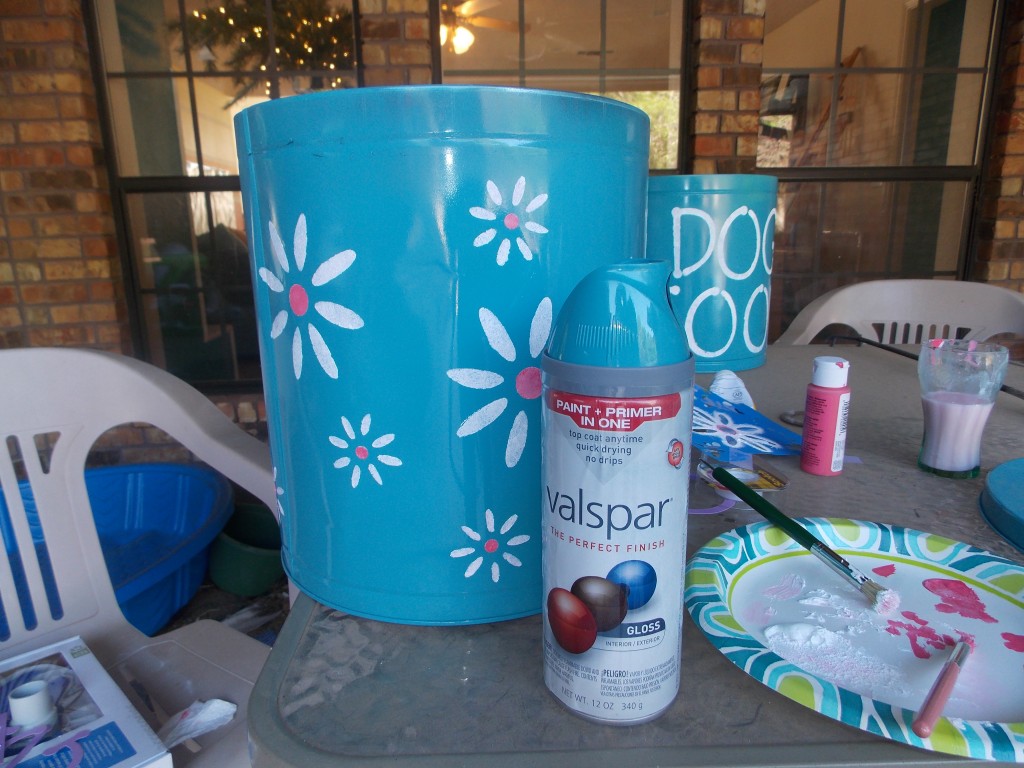
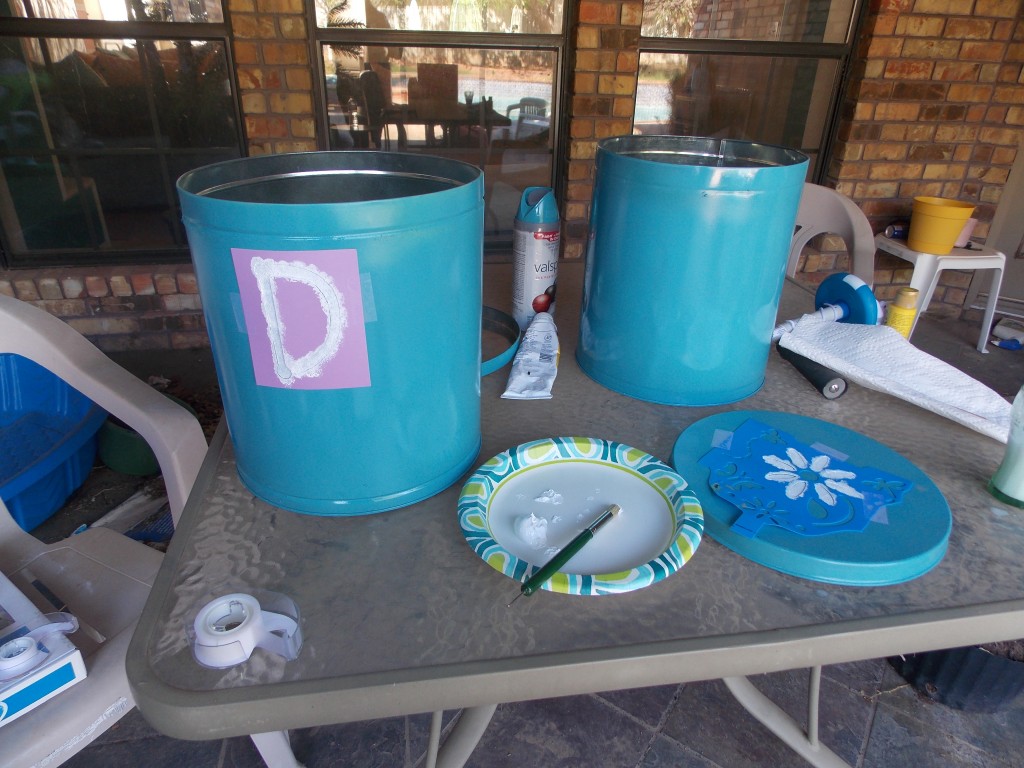
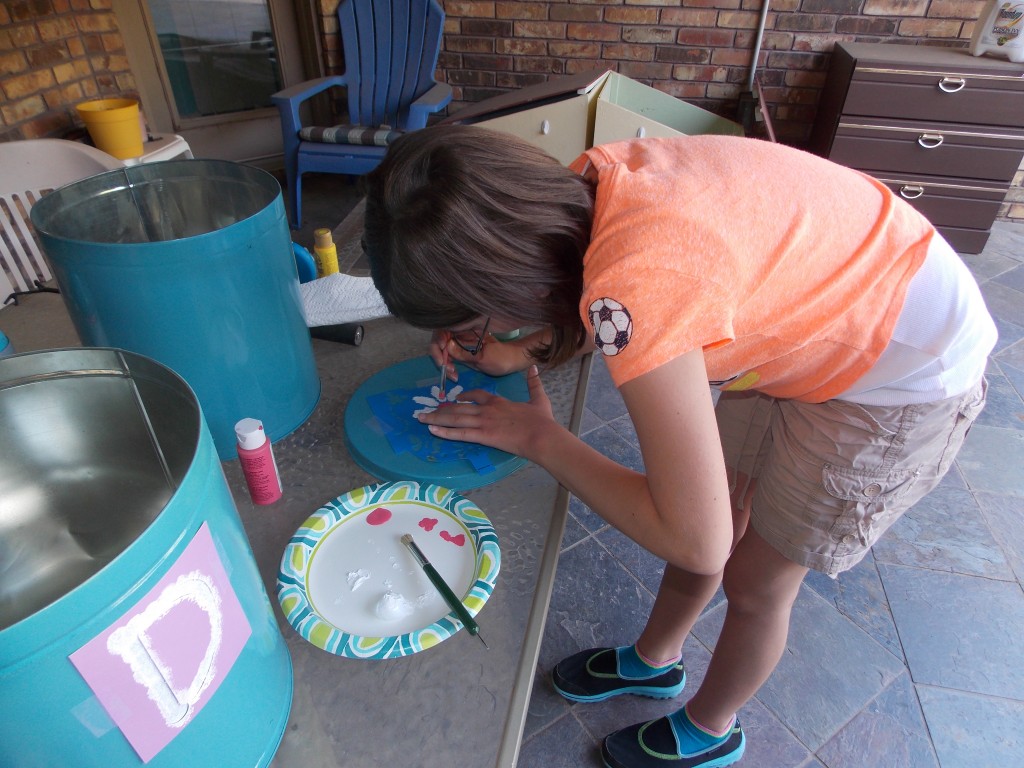
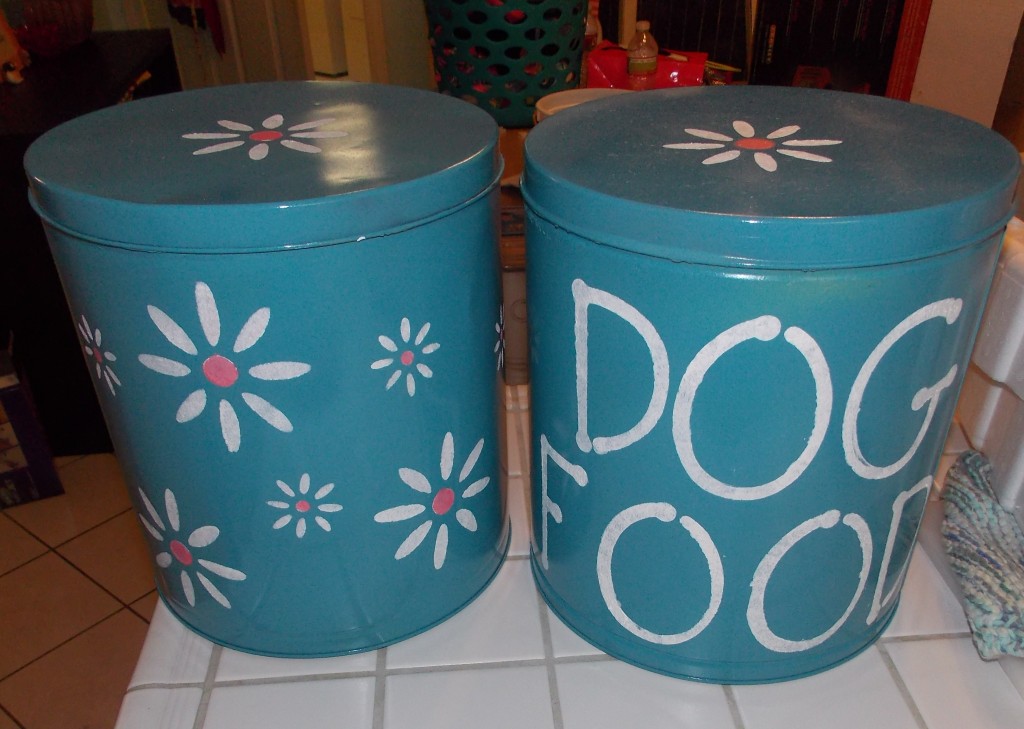
We took two of our empty popcorn tins and spray painted them with Valspar (paint and primer in one) spray paint. After they were dry we used stencils to decorate them. My daughter, Brianna, even helped. I love doing projects with her. This project was so simple and now we have two pretty and useful containers!

Stenciling letters on painted popcorn tins and lids


Stencilling the lid


Finished popcorn tins

A Gift In A Can – A Fun Way To Give Gift Cards

A Gift In A Can – A Fun Way To Give Gift Cards


I love fun ways to give gift cards. Yes, you could stick one in a card but it’s so much fun opening a gift (much more fun that just opening a card). Sometimes I carefully open the bottom of cereal boxes or granola bar boxes (even more fun if they are the recipient’s favorite cereal or granola bars) and stick the gift card in the box, carefully gluing the bottom of the box back together.

But my absolute favorite way of giving gift cards is to put them in a can.
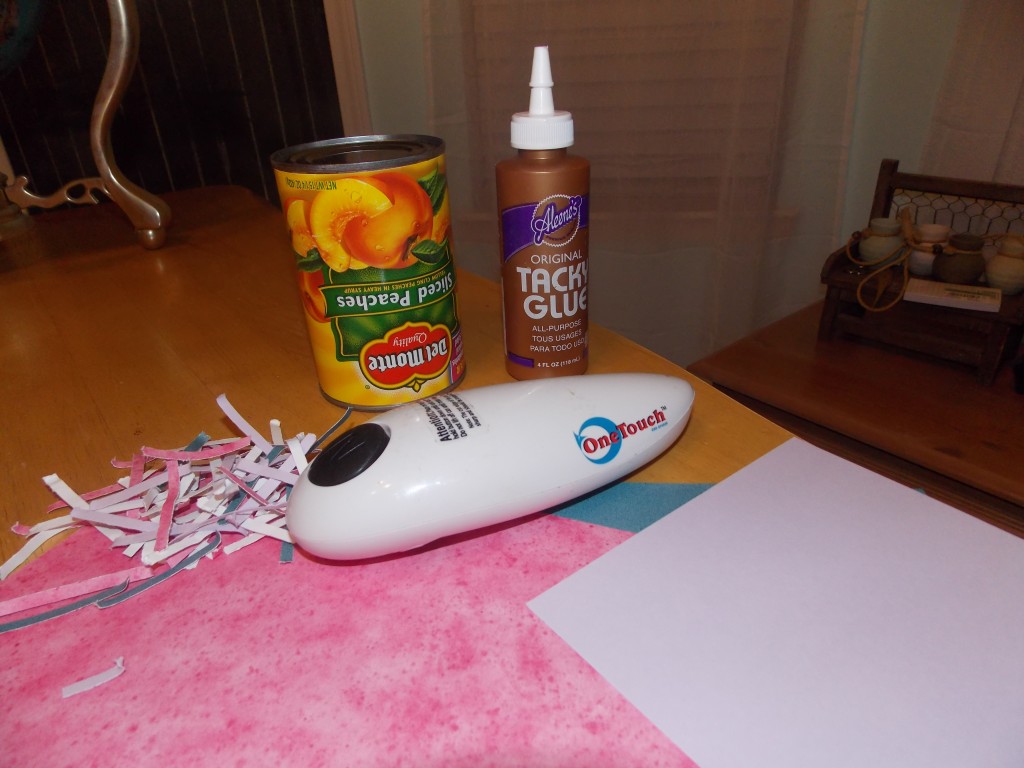
Supplies

Here’s what you’ll need:
*A touchless, battery operated can opener (these open the entire lid of a can, not just the inside of the lid like regular can openers do). I bought mine at walmart for $20.

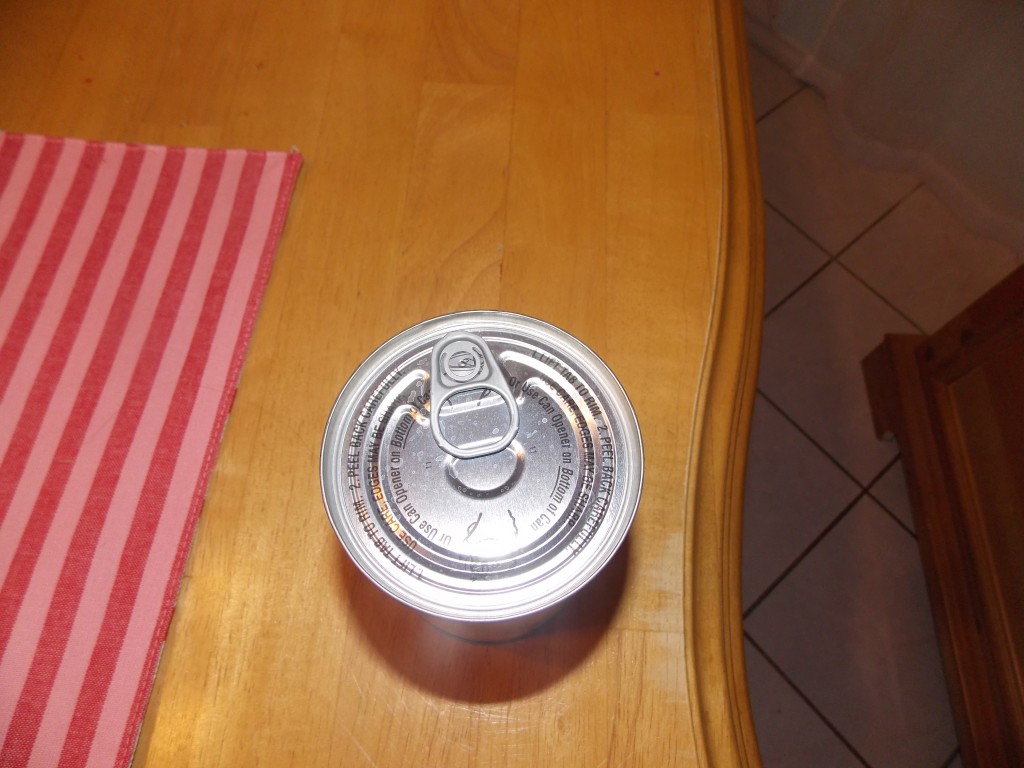
*A can that has a pop top opener (see picture at the very top)

*Colorful paper of your choice

*Aileen’s craft glue (If I was handy with a hot glue gun I might try that too. However, I’m not so I’ll stick with what works for me. If you get a hot glue gun to work for you let me know).

*A gift card (or money, small bottles of lotion, candy or other small gift)

*Something heavy (I use a spaghetti jar)

First, use the touchless can opener to remove the BOTTOM of the can. Don’t take off the top or you’ll ruin it. Dump out contents in a bowl (or eat now if you’re hungry). Wash the can out well. Once it’s clean and dry put your gift inside. I like to also add confetti (that I make with colored paper and my shredder) or tissue paper.
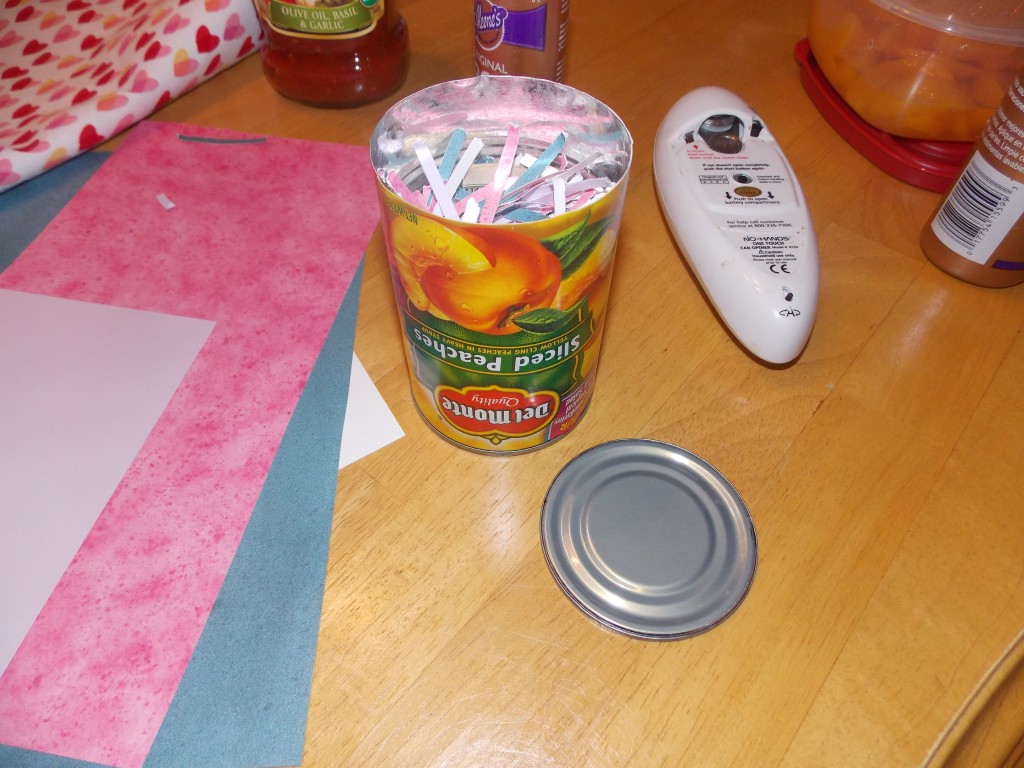
Once the can is full of all the goodies you want to give as gifts it’s time to seal it up. This process took me a few times to get it just right. The key here is patience. First put a line of Aileen’s craft glue all around the top (well, it’s actually the bottom) of the can. Then sit the lid back on. Carefully sit a heavy object on top of the can and let is sit for several hours. I usually let mine sit over night. After several hours take a look at your can. Are there any spaces around the lid where there isn’t glue? If so, use your craft glue and fill in those spots. Let it dry again. DON’T mess with the can while it’s drying or this will end up being a very frustrating project for you.
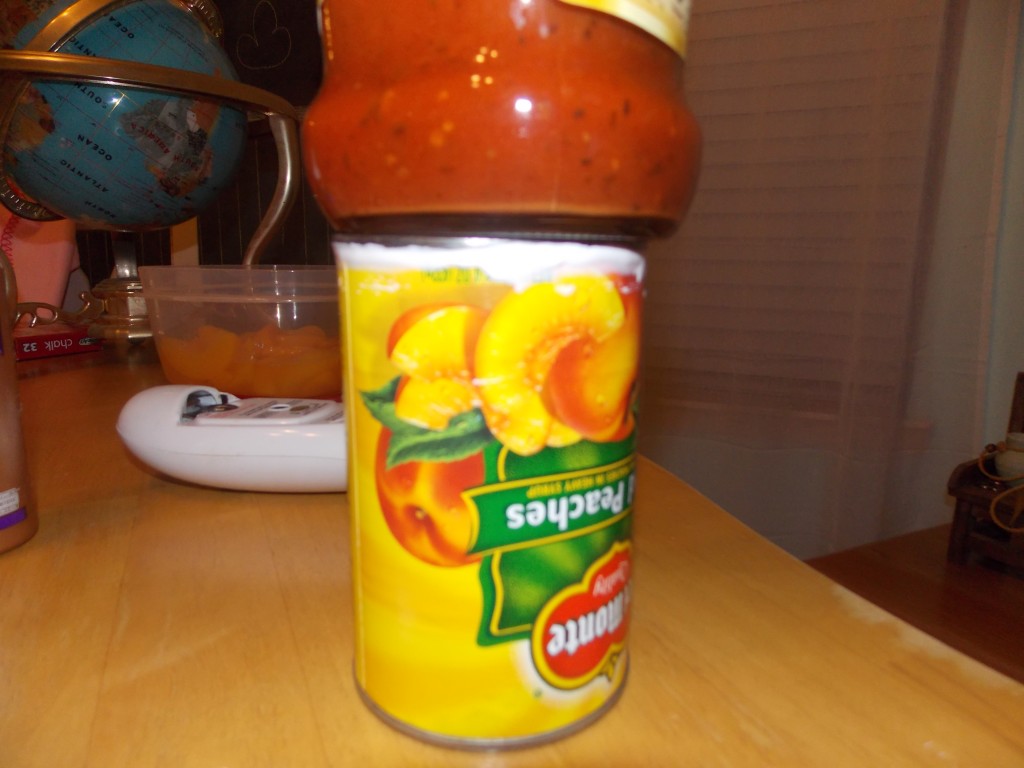
Once the can is dry you can attach pretty paper around the can using glue or double sided tape (I like to use double sided tape so I don’t have to wait for more glue to dry) or just leave it like it is. Sometimes I like to pretty it up (the recipient can use it as a pencil holder after they’ve removed the gift) and sometimes I like to leave it as is. It’s so funny to see people’s faces when you hand them a can of peaches. Is there really something in there? Will a snake jump out at them?

Everyone I’ve given this gift to has really enjoyed it. Yes, it takes patience to make, but it’s worth it!
Make Your Own Chalk Board

Make Your Own Chalk Board

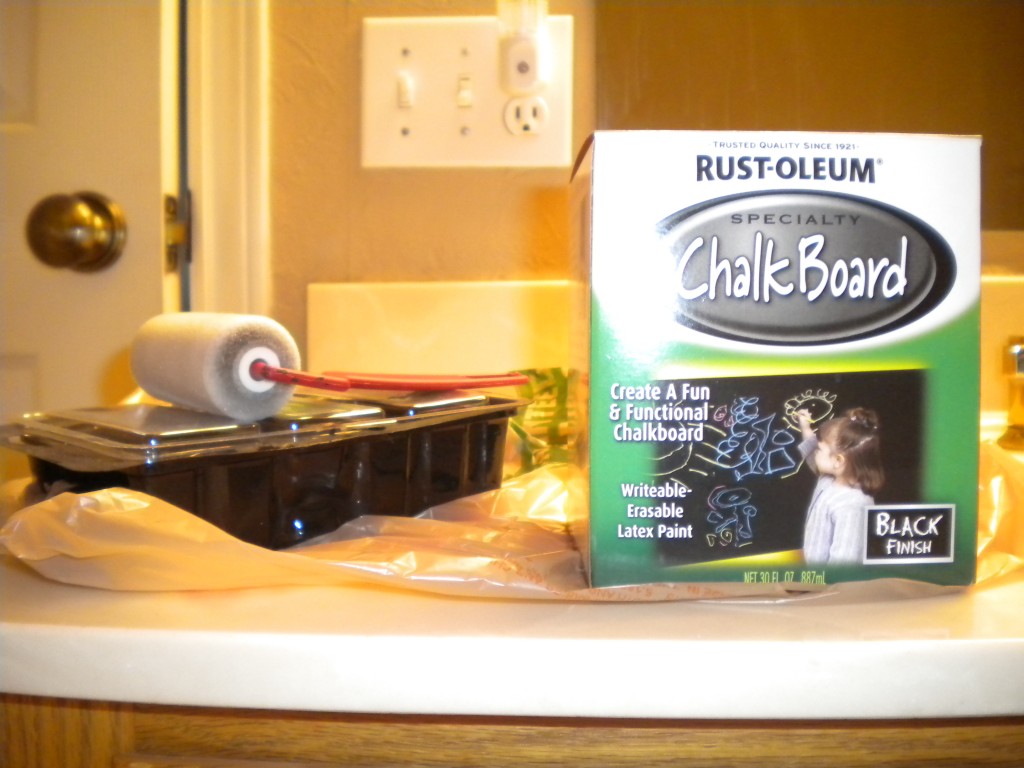
Rust-oleum Chalkboard Paint

I love chalkboard paint! You can turn just about anything into a chalkboard:
*The inside of one of your kitchen cabinets – keep your to-do’s written on it
*The side of a cabinet in your kitchen – jot down grocery items you need
*The side of shelves in a closet – write down random thoughts (I did this in my husband’s closet)
*Cover a thin piece of wood with chalkboard paint and hang it in your office
*Turn an entire wall into a giant chalkboard – fun for the whole family!

I usually get my chalkboard paint at Home Depot but you can get it at any place that sells paints. I’ve tried it as a spray paint (it costs around $6) and as a paint in a can ($10). I liked them both. Which one you’ll use depends on the project you’re doing. If you’re spraying something that you can take outside (like a cabinet door, a shelf, or a board) you could use the spray paint. If you’re painting something that can’t be taken outside, I would use the can of paint.

Back in the day, if you wanted to make yourself a chalkboard, you were restricted to black. Not anymore! You can now buy it in any color you want. Rust-oleum makes a chalk board paint that you can take up to the counter in your paint section and have them mix in any color you want.

If you want to mix your own, you could try this recipe:
*Mix 1/2 cup of latex paint (or acrylic) in your desired color with 1 tablespoon of unsanded tile grout and stir together.
*Use a paint brush to paint it onto your surface. When it’s dry sand lightly with 150 grit sandpaper.
*Apply several coats for best results (sanding in between each coat).
*This may dry rather quickly so I would make it in small batches and work quickly.

Why would you make your own chalkboard paint if you can have the color you want custom made for you at a paint store? Covering something with chalkboard paint takes very little paint. If you buy it in a can, you’ll have 30 ounces of chalkboard paint sitting around. That’s a lot of extra paint! When you mix it up yourself with the recipe above, you are just making what you need.

Whether you go with chalkboard paint in a spray can, in a paint can, or make your own, be sure to lightly chalk the entire surface area of your project when the paint is dry (Rust-oleum recommends waiting three days for the paint to cure). This will insure that the messages and notes you write on it, can be erased easily.

If you have used chalkboard paint, I’d love to hear about it! Either post it on this message, send me a message using the “Contact” tab, or tell me about it on Facebook!

How To Decoupage a Desk or Dresser

How To Decoupage a Desk or Dresser

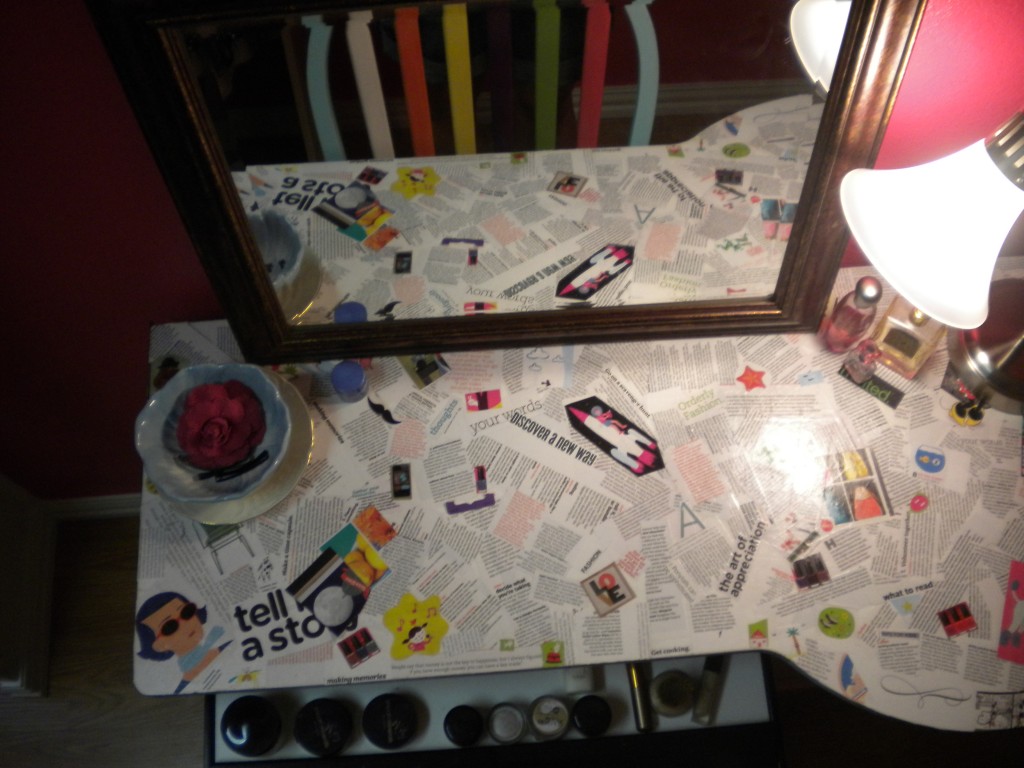
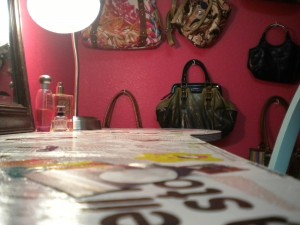
Finished Desk

I love to decoupage. It’s a simple process that has huge results. I needed a desk for my new dressing room and I was hoping to use a nasty old desk I found in my garage that was left here by the previous owners. It was a sturdy desk but it was really stained. After much scrubbing I gave up and decided to decoupage the top.

My daughter is 11 and loves to help me with my projects. Her and I spent about an hour cutting strips of paper and pictures of out magazines. If you’re going to try this project and you’ll be covering a large surface like a desk top, cut out more strips than you think you’ll need. You’ll be surprised to see how much paper you need. We had to cut strips of paper two different times before we had enough.

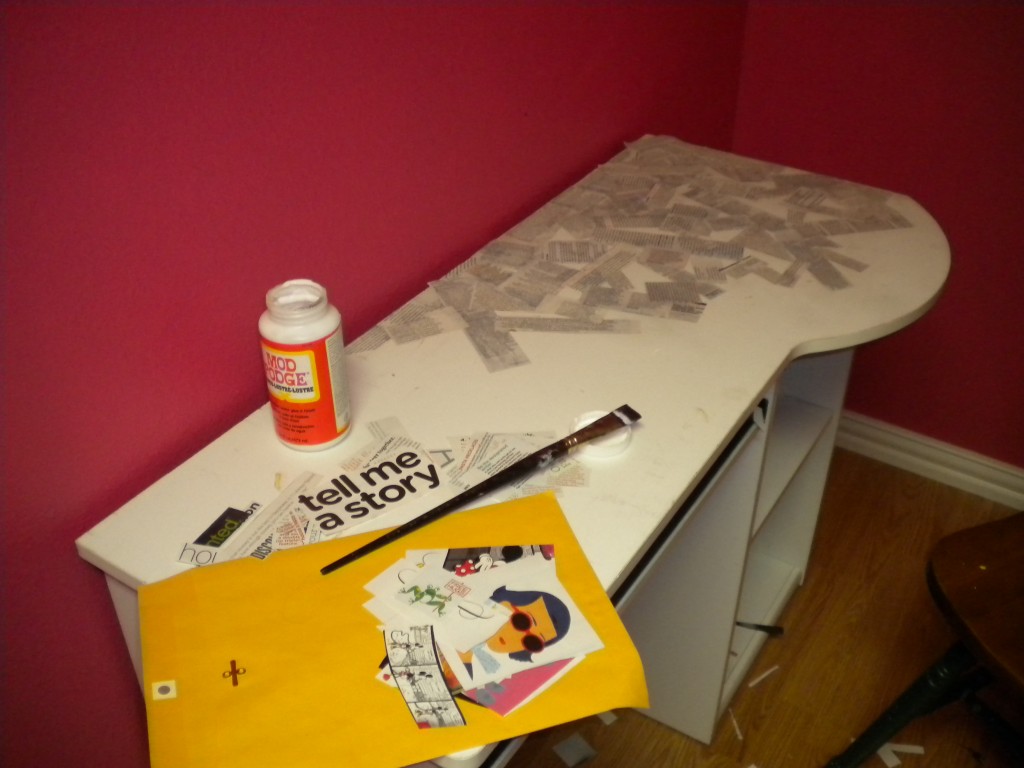
My desk desk during the process

Once we had all of the paper strips and pictures we needed, it was time to get to work. I started in the back left corner of my desk. Because I’m right handed, I should’ve started in the back right corner so I wouldn’t keep getting my arm in my work (I’ll have to remember that for next time!). Take a thick artist brush and brush on some Mod Podge (purchased at Hobby Lobby for around $6. I prefer the gloss finish but you can choose which ever finish you like best). Immediately place your strip of paper on the gluey section and cover with more Mod Podge. You’ll have to watch out for air bubbles or the paper wrinkling. After you put each piece down, rub it a little with your finger to remove any bubbles and straighten out the paper. It’s OK if you have some air bubbles. It’s really not that noticeable.

Continue to glue strips of paper to your surface. Glue some sideways, some at an angle, some upside down, overlapping them a little as you go. We glued all of the strips of paper with words on them first, then glue the pictures on last.

When you’re finished, cover with another coat of Mod Podge and let it dry. The surface can remain a little sticky feeling even after it’s dry. To stop the tackiness, paint the top with a clear acrylic paint. Now you have a one of a kind item!

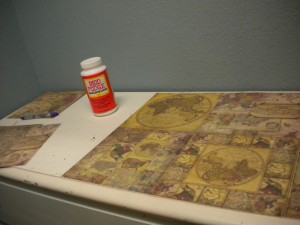
I did this same thing to my husband’s dresser, but instead of using magazine articles, I used scrap book paper. I found 8×8 sheets of paper that looked like they had old maps printed on them. I lined up the papers and, using Mod Podge, glued each one down. I then put a thin layer of Mod Podge over the top, paying careful attention to any air bubbles. There was one sheet of paper that had a rather large air bubble in it and, no matter what I did, I couldn’t get it to go away. I was surprised to see that when it dried the air bubble was gone. Once it was completely dry, I painted a layer of clear acrylic paint over the top.

Covering a Dresser

I’ve also done this same process to table legs and chair legs and the results are amazing. This is a fun project that kids even enjoy getting involved with. I have to warn you though, once you start, you’ll want to do everything in your house!

Make a Desk for Less

Make a Desk for Less

My husband and I do a lot of work from home. We only had one desk and it was frequently in use by one of the kids. We knew we needed another work space but we didn’t want to buy two more desks (one for each of us). We came up with an idea – we would make one large one!

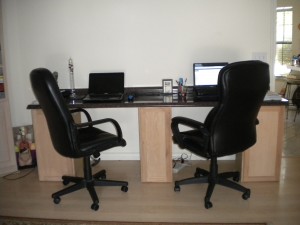
Home Made Desk

We went to Home Depot and bought an eight foot long laminate counter top. We then bought 5 “upper” cabinets in the kitchen section. Why did we choose “upper” cabinets instead of “lower” ones? The lower ones would be too tall. Our desk would end up being as tall as our kitchen counter – that would only work for us if we sat on bar stools. That’s not very comfy for long periods of time.

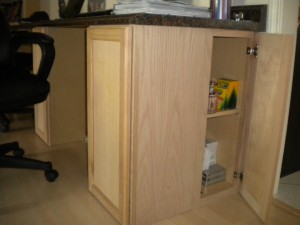
My husband put the desk together by sitting the counter top on top of the cabinets. He screwed the counter to the cabinets (from the inside of the cabinets). He also screwed the two side cabinets together. We have two cabinets on each end (one facing to the front and the other facing out). One cabinet was placed in the middle. Not only do we have a durable work surface (I can put my icy drinks on it and not have to worry about it leaving behind any rings) we also have tons of storage.

How much did this 8 foot long desk cost us to make? The cabinets and the counter top together cost $300. That’s not bad! You can make a smaller version by purchasing a smaller counter top. They had 6 foot sections available also. Or you can make a larger one. Our Home Depot had a 10 foot long counter top.

Desk from the side

Super Cheap Pen/Pencil Holders

Super Cheap Pen/Pencil Holders

I needed something to keep my pens and pencils in but didn’t want to spend much money…or any money if I could get by with it. I came up with this super simple (and inexpensive) idea.

Things you need:
Cans (mine had enchilada sauce in them…Yum!)
Craft paper
Glue
Ribbon

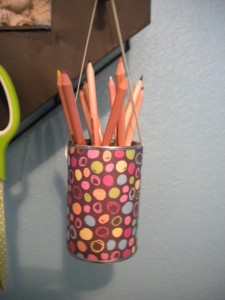
*The first thing I did was to use a drill to make two holes in the can (one on one side of the can, and one on the other side directly across from each other). Even though I used a drill, you could a screw (or something else that is sturdy and sharp) and hammer it through the can.

*I then cut the paper to fit around the can and glued it on. If you’re impatient and don’t want to hold onto the can while the paper dries you could wrap a rubber band around it (just don’t wrap it too tightly or it could crinkle the paper).

*Use a nail (or ink pen) and poke a hole through the paper where the holes in the can are.

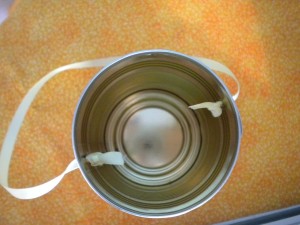
*Thread a piece of ribbon in one of the holes and tie a knot on the inside so the ribbon won’t come out of the hole.

*Thread the other end of the ribbon into the other hole on the opposite side (starting from the outside of the can). Before you tie it in a knot, decide how long you want the ribbon to be. I marked a spot on the ribbon where my knot should go. Once you’ve decided on your length, tie the ribbon on the inside of the can. I put a little bit of glue on each of the knots to help it hold a little better.

Now I have super cute pen/pencil holders and I made them from things I had in my home! I love them so much I think I might make some more!

How To Make Your Own Cork Board

How To Make Your Own Cork Board

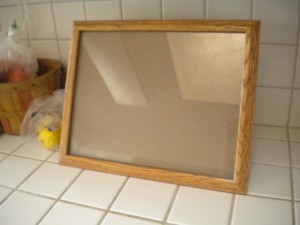
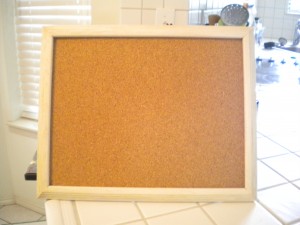
Yesterday I decided that I needed a cork board. I’d actually like to have a few of them. I don’t need anything very big – just something small (and cute). I don’t like to rush right out and buy something new if I don’t need to. I like to think about how I can make things using what I have lying around. A little light bulb went off in my head (or maybe above it, just like in the cartoons). I remembered that I had a very plain picture frame in my closet. I decided to paint it, and get rid of that ugly brown.

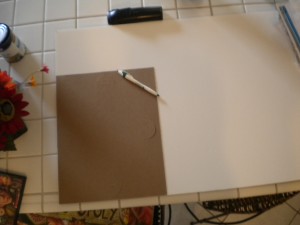
Now for the cork part. I went to Hobby Lobby and bought a 20×28 cork project sheet. It was $6.99 but I had my 40% off coupon! If you’re looking for these handy sheets, they are in the same aisle as the poster board and foam board. I came home and traced the cardboard piece that came with the frame onto the back of the cork sheet. I used a craft knife to cut it out – so easy!

I then slid my cork sheet into the frame and viola! I had a cute cork board that will fit perfectly in the small space I have for it. Better yet, I have a lot of the cork sheet left over so I can do this project again and again! I have some very small frames that I don’t have any use for and I think I’ll turn them into adorable baby cork boards! I know, it doesn’t take much to get me excited.

Hopefully in a week or so I’ll show you where I’m going to hang my new cork board. But, that is still a work in progress 🙂