Category Archives: Cleaning

Cleaning Grout on Floors

Cleaning Grout on Floors


I love cleaning the grout on my kitchen floors. I know that probably sounds crazy but it’s true. It’s such a quiet job and it requires no thought what so ever. I just wish I would’ve started cleaning it sooner.

When I first moved into this house a year ago I thought the grout was supposed to be that dark (this is my first house with a tile floor and I just didn’t know any better). Imagine my surprise, then, when I spilled a little bit of paint on the grout two weeks ago and cleaned it up with a toothbrush and some baking soda and the dark grout turned white! Gross! All this time I was mopping my floors and thinking they were clean when there was probably years of dirt build-up in the grout.

I have a fairly large kitchen and eating area and it has taken me a while to clean them but I’m almost finished. I had thought about cleaning the grout with a steam cleaner, but after asking others who have tried using one to clean their grout, I decided not to (others complained that it didn’t do a deep down cleaning like they wanted and they ended up doing it by hand). So I decided to use a little bit of baking soda (with some spearmint essential oils to liven things up – including my mood), a toothbrush and some elbow grease. It turns out it’s not a lot of hard work, it just takes some time. I almost find it relaxing. I just do a small section at a time especially if I’m stressed out or just need to get away from a project I’m working on. It has the same effect on me as doing a word search, only when I’m finished I can walk in the kitchen and say “Dang! That looks good!”

What you need to clean your grout:
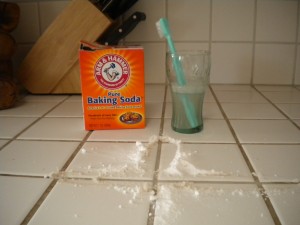
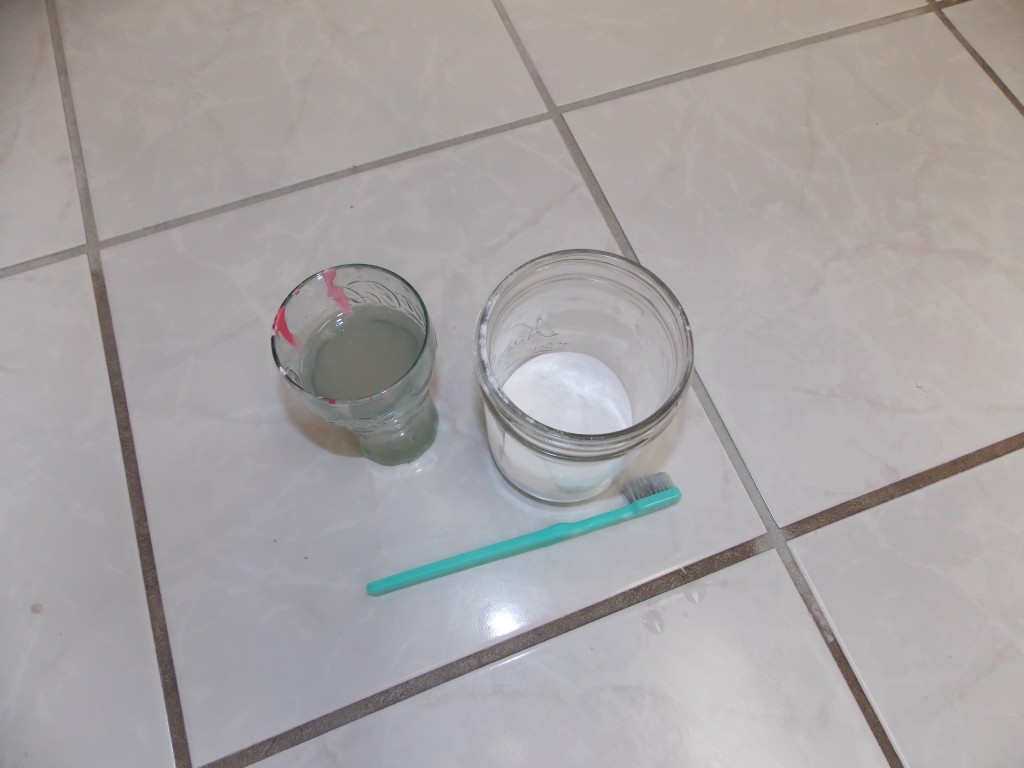
*Baking soda (I pour mine in a glass and mix with a few drops of my favorite essential oils but you can just pour it straight from the box).
*A hard bristled toothbrush
*A cup of water to rinse out the toothbrush
*A wet rag to wipe up your mess

Just sprinkle a little bit of baking soda onto the grout and scrub with the toothbrush. Rinse your brush out every few minutes. Wipe the area clean with a wet rag to remove the dirty water and baking soda. Wipe up the area frequently so the dirty water doesn’t settle back into the grout. For extra tough stains, put vinegar in spray bottle and spray it onto the baking soda that you’ve sprinkled onto the grout. After it bubbles, use the toothbrush to loosen the dirt and grime.

Happy Scrubbing!
How to Clean Stainless Steel Pots and Pans

How to Clean Stainless Steel Pots and Pans

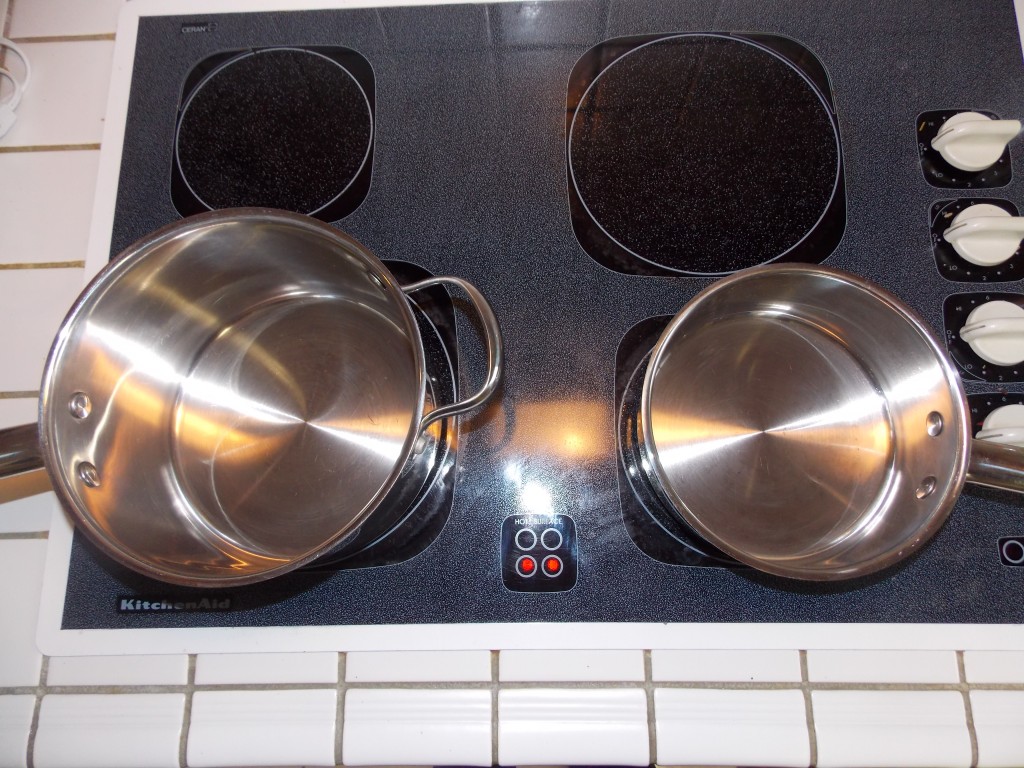
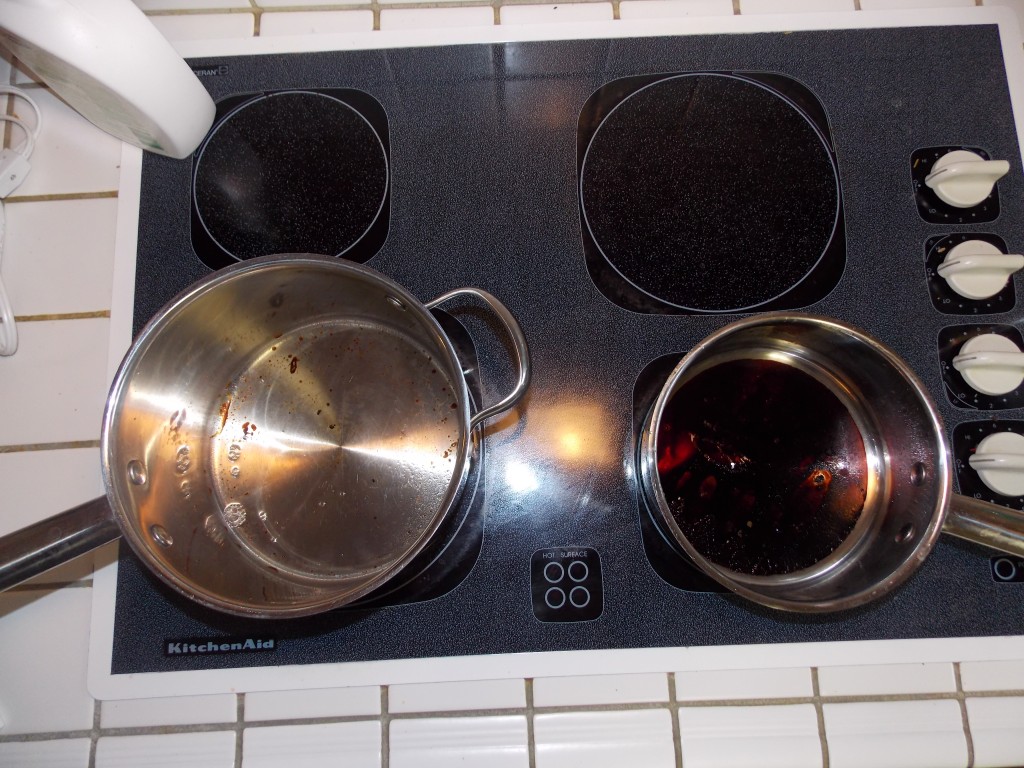
Dirty pans

Thanks to all of the cooking I’ve done this holiday season, my stainless steel pots and pans are a mess! I’ve tried soaking them in Dawn dish soap, soaking them over night, boiling soapy water in them, but nothing would remove the maple cherry sauce I made for our Christmas Chicken (oh my, that was a wonderful meal. See below for the recipe.).

This afternoon I decided to try something else – I boiled equal parts water and vinegar with a teaspoon of baking soda in each pan. For the larger pan I used 3/4 cup water and 3/4 cup vinegar and I only used 1/2 cup for the smaller pan. Every few minutes I would scrub the bottom of the pan with a wooden spoon. And WOW! It worked! Check out my before and after pictures below.

If you want the recipe for the maple glaze chicken check out the “Favorites” section of my website or click here http://www.borderhoarder.com/delicious-maple-cherry-glaze-recipe/. Not only will you know how to make this delicious recipe, you’ll know how to clean your pans afterwards 🙂

Clean pans

How To Clean Area Rugs

How To Clean Area Rugs

A woman walks into a shop that sells very expensive Persian rugs. She looks around and spots the perfect rug and walks over to inspect it. As she bends to feel the texture of the rug she farts loudly. Very embarrassed, she looks around nervously to see if anyone has noticed her little accident and hopes a sales person does not pop up at that moment. As she turns back, standing next to her is a salesman. “Good day, how may we help you today?” Very uncomfortably, she asks, “Sir, how much does this rug cost?” He answers, “Lady if you farted just touching it, you’re gonna poop in your pants when you hear what the price is.”

I know, I know, that’s a terrible joke. But the truth is, rugs are expensive! Many times we get them home, vacuum them every once in a while and call it good. But is it good? Is that all there is to taking care of rugs? Yes…and no.

So how do you take care of a rug?

1) Vacuum – don’t just vacuum the topside of the rug. Move the rug, sweep or vacuum all of the dust and dirt that is underneath it, then flip the rug upside down and vacuum the underside. I usually flip the rug back over and vacuum the rug on the topside once more. How often do you need to vacuum under your rug? It depends on if your rug is in a high traffic area. You might need to do this once a week (which I do for the smaller rugs in front of my doors) or once a month (which is what I do for the larger ones).

Do you know why you need to vacuum? The dirt and dust in your rugs acts like sandpaper and, over time, can damage the fibers. Plus, if enough accumulates, it can get packed into your rug, making it almost impossible to remove. Not to mention the fact that rugs catch mold spores in the air, dust, pollen, dander, and dust mites – all things that can cause allergies.

2) Clean with a carpet cleaner – if your rug is really dirty, smells funny, or someone spilled something on it, you may want to use a carpet cleaner to clean your rug. When you use a carpet cleaner, your rug will get fairly wet, and so will the floor underneath it. It’s best to clean your rugs in your garage, or even your drive way – somewhere it’s OK to get wet. If it’s a sunny day, lay it flat in your drive way to dry in the sun. Once the top feels dry, bring the rug in the house and flip it over so the underside is up and let it dry a little longer. If your rug is valuable, you may want to have a professional rug cleaner clean it for you. The best ones will pick up your rug and take it to their business to clean. Cleaning your rug this way insures that all of the soap is rinsed out, leaving no residue behind. At home carpet cleaners can leave some residue which could cause future dirt and dust to stick to the fibers. I haven’t had any problems with this, but if I had a valuable Oriental rug and it needed to be cleaned, I would have a professional do it.

3) Fringe – don’t forget about the fringe. If you need to wash the fringe, put a little bit of carpet cleaner in a bowl of warm water. Use a laundry brush or an old tooth brush to clean the fringe, starting up by the rug and working to the ends. Only do this if your fringe really needs it. Once the fringe is wet, it can pick up dust and dirt quickly. Make sure to let it dry completely before anyone walks on it. If you have a valuable Oriental rug, you can also have your fringe replaced.

What do I mean by a “valuable Oriental rug”? An actual Oriental rug is one that was handmade (hand knotted) in one of the traditional weaving areas in the Middle East or Far East. Most stores where rugs are sold (furniture stores, home improvement stores, and even actual rug stores) call any rug with a pattern an Oriental rug. These rugs are not made in the Far or Middle East and are made with a machine, instead of by hand. They are still pricey and still need to be taken care of, but you can do most of the cleaning on your own, unless you want to hire a professional.

Persian rugs should also be cleaned by professionals. In order for a rug to be “Persian” it must be made in Persia (modern day Iran). Usually the only cleaning a Persian rugs needs is a good vacuuming once or twice a week.

While regular vacuuming is usually all that is needed, make sure to flip that rug over every once in a while and clean up the dust and dirt that has accumulated underneath. This will keep your rug cleaner and your family breathing easier!

How To Make Your Own Dusting Spray

How To Make Your Own Dusting Spray

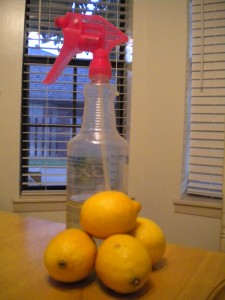
It was that dreaded time of the month again – time to dust the living room. I really don’t like to dust, and I usually make my kids do it. I should probably dust more often than I do…but I don’t. This time I grabbed my orange scented Pledge dusting spray and thought to myself “Hmmm, can I make something that is as good as this…without the chemicals?

I found three dusting spray recipes online and tried all three. Unfortunately, I didn’t really like any of them. After messing around with the recipe I came up with one I liked. Feel free to change it any way you like. One recipe I found had 1/2 cup of olive oil in it (wow, that’s a lot!) and the other two only had 2 tablespoons (that just didn’t seem like enough). You may like your spray a little more or a little less oily than mine. I would start out with the 2 tablespoons and add more as you see fit.

Here’s my homemade dusting spray recipe:
4 teaspoons light olive oil
1/4 cup lemon juice
1/4 cup white vinegar
2 cups water
Spray bottle (16 oz size or larger)
*Instead of using the lemon juice and the white vinegar, you could use 1/2 cup of the homemade kitchen cleaner that I made in an earlier post. I tried it both ways and like the one with my homemade cleaner in it better because the vinegar smell wasn’t as strong.

Simply put all the ingredients in your spray bottle and shake to mix it up. Because it has water and oil in it, you’ll have to give it a little shake each time you use it. This gave my furniture a nice shine and it made me feel good knowing I wasn’t spraying things down with a bunch of chemicals. Plus this recipe is super cheap!

This mixture is much lighter in color than the homemade kitchen cleaner but, just so you or your family don’t get confused, it’s probably a good idea to label your spray bottle. You might even want to include the recipe you used so you’ll remember how to make it next time.

What Should and Shouldn’t Go In Your Dishwasher

What Should and Shouldn’t Go In Your Dishwasher

The other day I was looking at design books at the book store. I came across one called The Shabby Chic Home by Rachel Ashwell. It is one of the most beautiful books I’ve ever seen. The pictures were absolutely amazing.

I opened it up to a beautiful picture of an open dishwasher that was full of gorgeous dishes (please excuse the picture of my thumb in the picture). I thought to myself how delightful it would be to open my dishwasher and see something like that! There was a caption on the page that said “Even opening the dishwasher should be a joyful experience”. If I had dishes like that it probably would be! But it got me thinking, should dishes like that (antique, or with gold edges) really be washed in the dishwasher? I decided to look it up.

It turns out, you shouldn’t put antique dishes in the dishwasher, or any dish that is hand painted. If it has a gold edge it may be OK to put it in there but check and see if it has a label under the dish that says if it’s OK or not. Some gold rimmed dishes (if they’re marked) will withstand the heat and pressure in a dishwasher. I would be afraid to try it. I have some beautiful Christmas dishes that are edged in 24K gold and I wouldn’t even think of putting them in there.

While searching for my answers, I came across a very helpful article from Real Simple. I’ve attached the link here so you can check it out. It gives a very detailed list of what should and shouldn’t go in a dishwasher. Rather than me quoting bits and piece from it I think you should just check it out. I was surprised to see that you could put hair brushes (as long as they’re not wooden), potatoes and shin guards in there! You have to check out their complete list! It will blow your mind!

http://www.realsimple.com/home-organizing/cleaning/kitchen/you-can-put-that-in-the-dishwasher-00000000022437/print-index.html

To get Rachel’s Book click here:

Make Your Own Powder Carpet Deodorizer

Make Your Own Powder Carpet Deodorizer

I love a house that smells good! I used to use a lot of room sprays and carpet deodorizers until they started to bother my daughter. Something in them was causing her eyes to itch and made it hard to breathe (who knows what kinds of chemicals are in those things). I decided to start making my own.

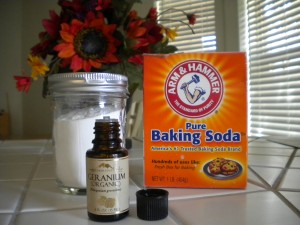
It turns out that making your own carpet deodorizer is VERY simple. All you need is an empty jar with a lid, baking soda, and your favorite essential oil. You can buy essential oils from your favorite health food store or from Mountain Rose Herbs (there is a link for them at the bottom of this article). For more information on essential oils, check my last article about adding essential oils to an all-purpose, make at home, kitchen spray.

Put one cup of baking soda into a jar, add 20 drops of your favorite scent (I added 1/4 cup baking soda and 5 drops of oil and then kept repeating in this pattern to make sure the oil was all throughout the jar), shake it up and let it sit for 12 hours with the lid on. There ya go! It’s done! Sprinkle a little on your carpet or furniture and let it sit for a minute or two and then vacuum it up. Today my house smells like Geranium Rose. I think when I run out, I’ll make a lavender one next!

Mountain Rose Herbs

Adding Essential Oils To Your Homemade Cleaning Products

Adding Essential Oils To Your Homemade Cleaning Products

In an earlier post, I showed you how I made a wonderful all-purpose cleaning spray. I have since made several batches of it and absolutely love it! One thing I’ve done to cut back on the vinegar smell (which really isn’t all that bad to begin with) is to use essential oils. I love essential oils. You can buy them from a place called Mountain Rose Herbs. They have many kinds of essential oils and most of them are organic and are very reasonably priced.

Mountain Rose Herbs

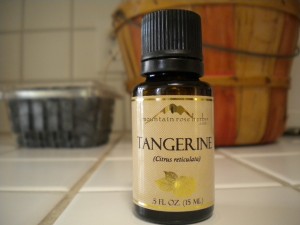
My favorite essential oil to add to my all-purpose spray is Tangerine oil. A .5 ounce bottle costs less than $3. I add about 20 drops to each batch of spray (you can add more if you like) and my bottle still looks full. It’s going to last me a long time! If you look on their website, you’ll find many essential oils to chose from.

If you’re going to buy essential oils from a health food store, make sure they are therapeutic grade and come in a blue or amber bottle (this helps to preserve their potency). Keep in mind that these oils are pretty potent – a little goes a long way! While most essential oils are great for your skin, a few may actually irritate it. It should say right on the bottle if this is a possibility. The tangerine oil I use in my all-purpose cleaner has a little warning on the back that says “potential skin irritant”. Since I use it in a cleaner I’m not concerned about it, however, I wouldn’t put it in my bath. I have gotten a few drops on my hands and it didn’t do anything.

There are many ways you can use essential oils to make your home (and homemade cleaners) smell great! Here are a few ideas:

*Put a few drops (I use 15) on a Kleenex and put it in your bag-less vacuum cleaner. When you run the vacuum it makes your room smell great!

*Put a few drops in a bottle with water and spray around your room as a room deodorizer (or spray your furniture).

*When you make a paste using baking soda and water for cleaning sinks or grout on your counter tops, add a few drops of essential oils.

The great thing about using essential oils to freshen up your home, is that the scent from these oils comes directly from a plant, fruit, or flower. You’re not spraying your home with chemicals which can cause many different kinds of illnesses. Plus it’s cheaper!

How to Make Your Own All Purpose Cleaner

How to Make Your Own All Purpose Cleaner

I came across a recipe on Facebook for an all-purpose cleaner you could make yourself. I’m really trying to cut down on the amount of chemicals I use around here, so I thought I would give it a try. Here is the recipe:

*A large jar with a lid (I used a mason jar)
*At least 6 lemons depending on the size of lemons and the size of the jar (you can also use oranges, grapefruit or limes)
*White vinegar

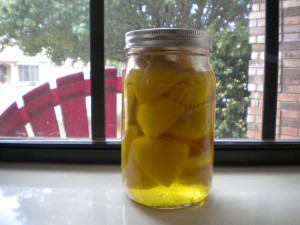
First cut the lemons in half and juice them to make lemonade (recipe for lemonade at the end of the post). Put the rinds in the large jar, fill to the top with vinegar, and put on the lid. Now you just let it sit for two weeks. That’s the hard part. I’m not a very patient person. After two weeks you remove the rinds, strain the liquid, and put the vinegar/citrus liquid in a spray bottle with water. You use one part water to one part of the vinegar/citrus mix. Mine made 1 2/3 cup of the mix so I added that much water.

Lemon rinds in vinegar

I made this two weeks ago, and this morning I got to open the jar and see if this stuff really works. My biggest concern was the smell. I’m not a huge fan of vinegar and I didn’t know if the lemon would over power it enough. To my delight, I opened the jar and didn’t gag! Yay! Good so far! Now the real test – how well does it clean?

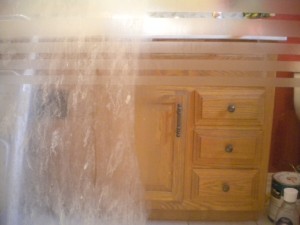
I’ve been in my current house for three months now, and since that time I’ve tried and tried to get the shower door in my kids’ bathroom clean. Nothing I use does the trick. I decided to really put this stuff to the test. Again, to my delight (and utter astonishment), it cleaned the soap scum, water spots and mineral deposits off the door when all the many strong chemical cleaners couldn’t do it. Check out my door now!

Shower door with a section cleaned with the vinegar/citrus cleaner

Now for my favorite lemonade recipe:
6 lemons (or one cup of lemon juice – sometimes it takes 7 lemons depending on the size)
1 cup sugar (or one cup honey if you’d like to try something different)
4 cups water
1/2 cup blackberries (optional)

In a small sauce pan add 2 cups of water with one cup sugar. Cook and stir until sugar is dissolved (or use honey instead of sugar if you like). Once dissolved, set aside to cool.

Juice lemons until you get one cup of lemon juice.

Poor lemon juice and sugar water into a pitcher and add 2 cups of water (or more if you like it a little weaker).

If you want to add the blackberries, first put them in the blender, then put through a strainer. Add the liquid and stir. Yum!

*On a side note if you have a left over lemon rind put it in your garbage disposal and turn it on. It cleans and deodorizes while it’s in there!

How to Clean the Grout on a Tile Counter Top

How to Clean the Grout on a Tile Counter Top

I really don’t like counter tops with tile. Unfortunately, my last few houses have had tile counter tops in both the kitchen and the bathroom. The grout seems to stain and get dirty so easily.

I have always cleaned the grout between the tiles using those little bleach pens and an old toothbrush. Today when I started to clean the grout in the new house, I hated the thought of breathing in those awful bleach fumes. I’m really trying to remove a lot of chemicals in my house and clean things with vinegar,baking soda, and other natural things. That got me thinking – if I cleaned the grout with baking soda, would it work as well as bleach? There was only one way to find out. I cleaned a section of my counter top the way I always did with a bleach pen and a tooth brush. Then I did a section right next to it by pouring a little bit of baking soda on the counter and using a wet toothbrush (not the same one I used with the bleach) to scrub the grout lines.

Cleaning Grout with Baking Soda

First off, the bleached section smelled so bad it made me feel sick. But after scrubbing with a toothbrush for a few seconds or so, the grout looked almost as good as new. I did notice a few cracks in the grout which made me a little nervous. I didn’t remember seeing those before. The baking powder section took a little more elbow grease but not much. Not only was there no smell, but when I compared the sections right next to each other, I thought the baking soda side actually looked better.
Not only did I like the baking soda better, it’s also cheaper. Just in the small section I did with the bleach pen (probably a 2×2 foot area) I used half of the bleach pen. I only used a very small portion of my small box of baking soda.

Now before you try this at home, let me tell you that I have a white tiled counter top with white grout. If you have colored grout you probably don’t want to try the bleach at all. The best way to keep your grout clean is to try to keep it from getting grimy in the first place. A quick scrub with a tooth brush weekly, and wiping up spills as soon as they happen, will help keep your grout stain free.