Monthly Archives: September 2012

How To Clean Area Rugs

How To Clean Area Rugs

A woman walks into a shop that sells very expensive Persian rugs. She looks around and spots the perfect rug and walks over to inspect it. As she bends to feel the texture of the rug she farts loudly. Very embarrassed, she looks around nervously to see if anyone has noticed her little accident and hopes a sales person does not pop up at that moment. As she turns back, standing next to her is a salesman. “Good day, how may we help you today?” Very uncomfortably, she asks, “Sir, how much does this rug cost?” He answers, “Lady if you farted just touching it, you’re gonna poop in your pants when you hear what the price is.”

I know, I know, that’s a terrible joke. But the truth is, rugs are expensive! Many times we get them home, vacuum them every once in a while and call it good. But is it good? Is that all there is to taking care of rugs? Yes…and no.

So how do you take care of a rug?

1) Vacuum – don’t just vacuum the topside of the rug. Move the rug, sweep or vacuum all of the dust and dirt that is underneath it, then flip the rug upside down and vacuum the underside. I usually flip the rug back over and vacuum the rug on the topside once more. How often do you need to vacuum under your rug? It depends on if your rug is in a high traffic area. You might need to do this once a week (which I do for the smaller rugs in front of my doors) or once a month (which is what I do for the larger ones).

Do you know why you need to vacuum? The dirt and dust in your rugs acts like sandpaper and, over time, can damage the fibers. Plus, if enough accumulates, it can get packed into your rug, making it almost impossible to remove. Not to mention the fact that rugs catch mold spores in the air, dust, pollen, dander, and dust mites – all things that can cause allergies.

2) Clean with a carpet cleaner – if your rug is really dirty, smells funny, or someone spilled something on it, you may want to use a carpet cleaner to clean your rug. When you use a carpet cleaner, your rug will get fairly wet, and so will the floor underneath it. It’s best to clean your rugs in your garage, or even your drive way – somewhere it’s OK to get wet. If it’s a sunny day, lay it flat in your drive way to dry in the sun. Once the top feels dry, bring the rug in the house and flip it over so the underside is up and let it dry a little longer. If your rug is valuable, you may want to have a professional rug cleaner clean it for you. The best ones will pick up your rug and take it to their business to clean. Cleaning your rug this way insures that all of the soap is rinsed out, leaving no residue behind. At home carpet cleaners can leave some residue which could cause future dirt and dust to stick to the fibers. I haven’t had any problems with this, but if I had a valuable Oriental rug and it needed to be cleaned, I would have a professional do it.

3) Fringe – don’t forget about the fringe. If you need to wash the fringe, put a little bit of carpet cleaner in a bowl of warm water. Use a laundry brush or an old tooth brush to clean the fringe, starting up by the rug and working to the ends. Only do this if your fringe really needs it. Once the fringe is wet, it can pick up dust and dirt quickly. Make sure to let it dry completely before anyone walks on it. If you have a valuable Oriental rug, you can also have your fringe replaced.

What do I mean by a “valuable Oriental rug”? An actual Oriental rug is one that was handmade (hand knotted) in one of the traditional weaving areas in the Middle East or Far East. Most stores where rugs are sold (furniture stores, home improvement stores, and even actual rug stores) call any rug with a pattern an Oriental rug. These rugs are not made in the Far or Middle East and are made with a machine, instead of by hand. They are still pricey and still need to be taken care of, but you can do most of the cleaning on your own, unless you want to hire a professional.

Persian rugs should also be cleaned by professionals. In order for a rug to be “Persian” it must be made in Persia (modern day Iran). Usually the only cleaning a Persian rugs needs is a good vacuuming once or twice a week.

While regular vacuuming is usually all that is needed, make sure to flip that rug over every once in a while and clean up the dust and dirt that has accumulated underneath. This will keep your rug cleaner and your family breathing easier!
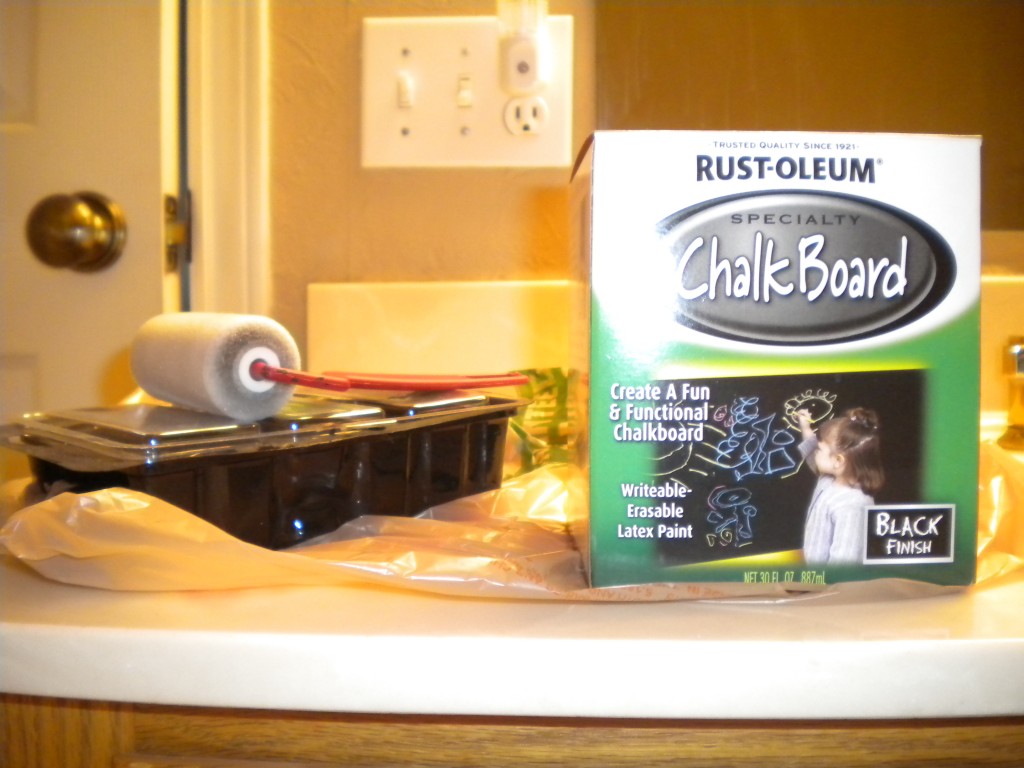

Make Your Own Chalk Board

Make Your Own Chalk Board

Rust-oleum Chalkboard Paint

I love chalkboard paint! You can turn just about anything into a chalkboard:
*The inside of one of your kitchen cabinets – keep your to-do’s written on it
*The side of a cabinet in your kitchen – jot down grocery items you need
*The side of shelves in a closet – write down random thoughts (I did this in my husband’s closet)
*Cover a thin piece of wood with chalkboard paint and hang it in your office
*Turn an entire wall into a giant chalkboard – fun for the whole family!

I usually get my chalkboard paint at Home Depot but you can get it at any place that sells paints. I’ve tried it as a spray paint (it costs around $6) and as a paint in a can ($10). I liked them both. Which one you’ll use depends on the project you’re doing. If you’re spraying something that you can take outside (like a cabinet door, a shelf, or a board) you could use the spray paint. If you’re painting something that can’t be taken outside, I would use the can of paint.

Back in the day, if you wanted to make yourself a chalkboard, you were restricted to black. Not anymore! You can now buy it in any color you want. Rust-oleum makes a chalk board paint that you can take up to the counter in your paint section and have them mix in any color you want.

If you want to mix your own, you could try this recipe:
*Mix 1/2 cup of latex paint (or acrylic) in your desired color with 1 tablespoon of unsanded tile grout and stir together.
*Use a paint brush to paint it onto your surface. When it’s dry sand lightly with 150 grit sandpaper.
*Apply several coats for best results (sanding in between each coat).
*This may dry rather quickly so I would make it in small batches and work quickly.

Why would you make your own chalkboard paint if you can have the color you want custom made for you at a paint store? Covering something with chalkboard paint takes very little paint. If you buy it in a can, you’ll have 30 ounces of chalkboard paint sitting around. That’s a lot of extra paint! When you mix it up yourself with the recipe above, you are just making what you need.

Whether you go with chalkboard paint in a spray can, in a paint can, or make your own, be sure to lightly chalk the entire surface area of your project when the paint is dry (Rust-oleum recommends waiting three days for the paint to cure). This will insure that the messages and notes you write on it, can be erased easily.

If you have used chalkboard paint, I’d love to hear about it! Either post it on this message, send me a message using the “Contact” tab, or tell me about it on Facebook!

Ook Hooks

Ook Hooks

I recently discovered Ook Hooks at Home Depot. They are great for hanging up light weight items like empty purses, hats, jewelry, scarves, etc. I tried to use 3M Command Hooks but my walls are textured and the hooks wouldn’t stick (bummer, I really like those hooks). Ook Hooks come in packages of 2 and are around $2 a pack. They easily screw into your wall (no tools needed) and are immediately ready to use (unlike command hooks which make you wait at least an hour).

To see exactly how I used Ook Hooks, check out my pages on organizing “His” and “Hers” closets.

Ook Hooks

Organizing His and Hers Master Bedroom Closets – Part Two “His”

Organizing His and Hers Master Bedroom Closets – Part Two “His”

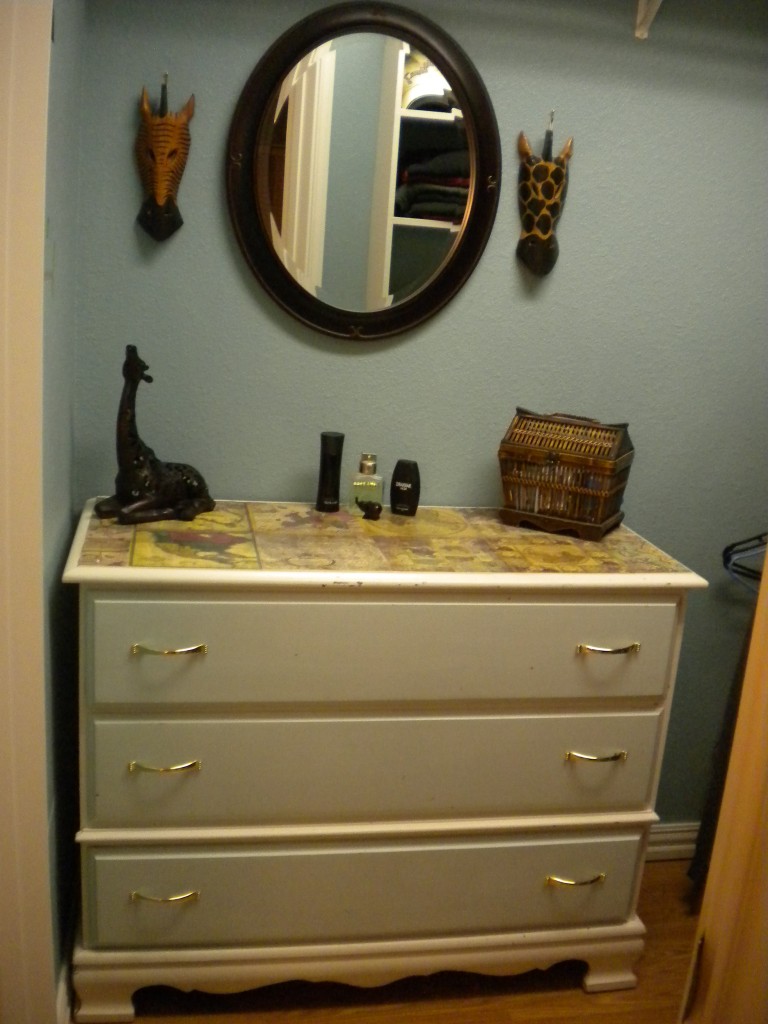
The Finished Dresser

I decided a little over a week ago to clean and organize our master bedroom closets. In our current house, my husband and I have our very own closets (first time ever!), and they were in need of some sprucing up. My closet was a mess. To see the transformation check out the part one of this article here at Organizing His and Hers Master Bedroom Closets – Part One “Hers”.

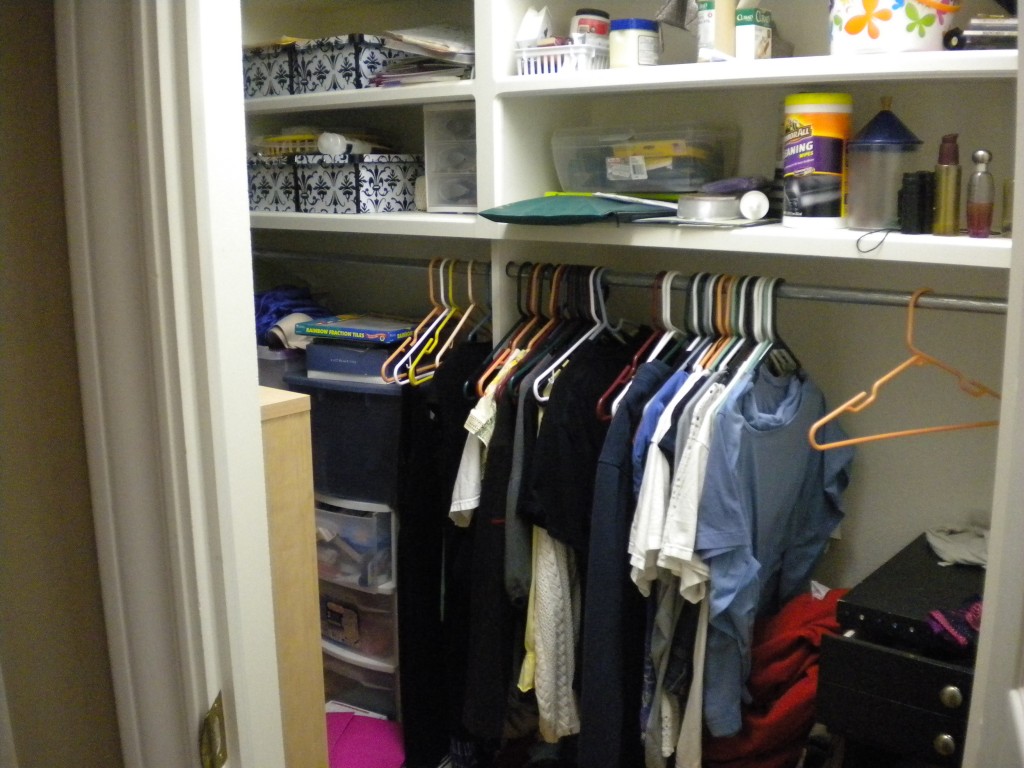
My husband’s closest was much more organized than mine was (less stuff) but it was very boring and still needed a little organizing love to make it better. Unfortunately, I forgot to take a “before” picture. Just picture it all white with things piled up on the dresser and you’ll have an accurate mental picture.

The first thing I did was remove EVERYTHING from the closet. I painted the walls a beautiful color called Gulf Winds. It’s from Behr. I then cleaned the floors, shelves, and all of the molding. Now it was time to get organized.

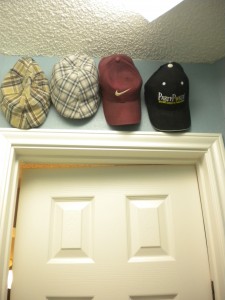
*My husband loves hats almost as much as I love purses. I hung Ook Hooks above the door to hold his four favorite hats. The others I stacked on a shelf.
Hats Haning on Ook Hooks

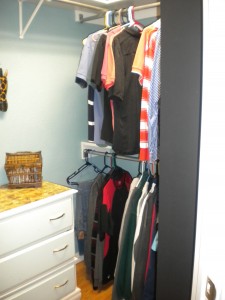
*I organized his clothes by putting all of his business clothes (which he wears to work 5 days a week) on the top bar, and all of this regular, every day clothes on the bottom. This makes it easy to see exactly what he has (or needs) to wear to work each week.

*The dresser was pretty beat up. I used Mod Podge and put beautiful old looking maps on the top of the dresser to cover it up. To see exactly what I did, go to my post on how to decoupage a desk or dresser

*I painted the side of his shelves with chalkboard paint. Now he’ll be able to write himself notes and erase them when he doesn’t need them anymore (no more little strips of paper that end up getting lost).

Black Chalkboard Paint On Side of Shelves

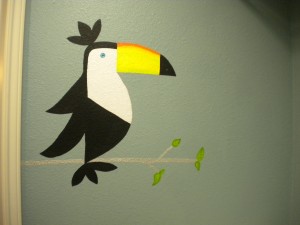
And, just for fun, I painted a toucan on the left wall. Now his closet is clean, organized, and interesting!

Toucan

How To Decoupage a Desk or Dresser

How To Decoupage a Desk or Dresser

Finished Desk

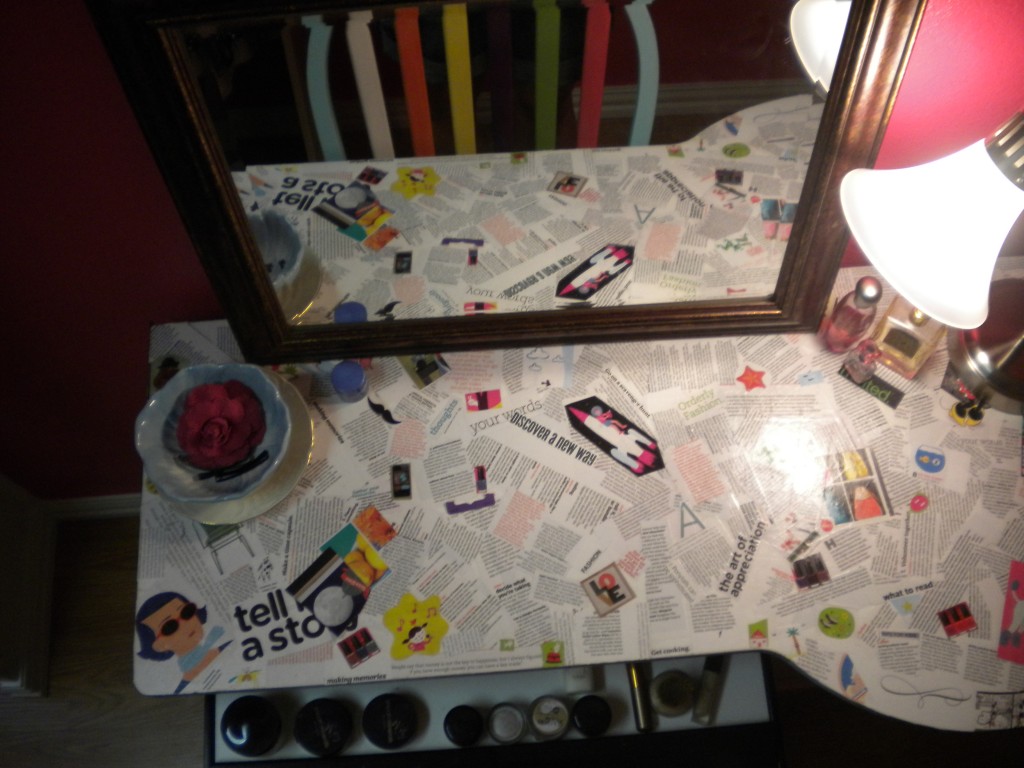
I love to decoupage. It’s a simple process that has huge results. I needed a desk for my new dressing room and I was hoping to use a nasty old desk I found in my garage that was left here by the previous owners. It was a sturdy desk but it was really stained. After much scrubbing I gave up and decided to decoupage the top.

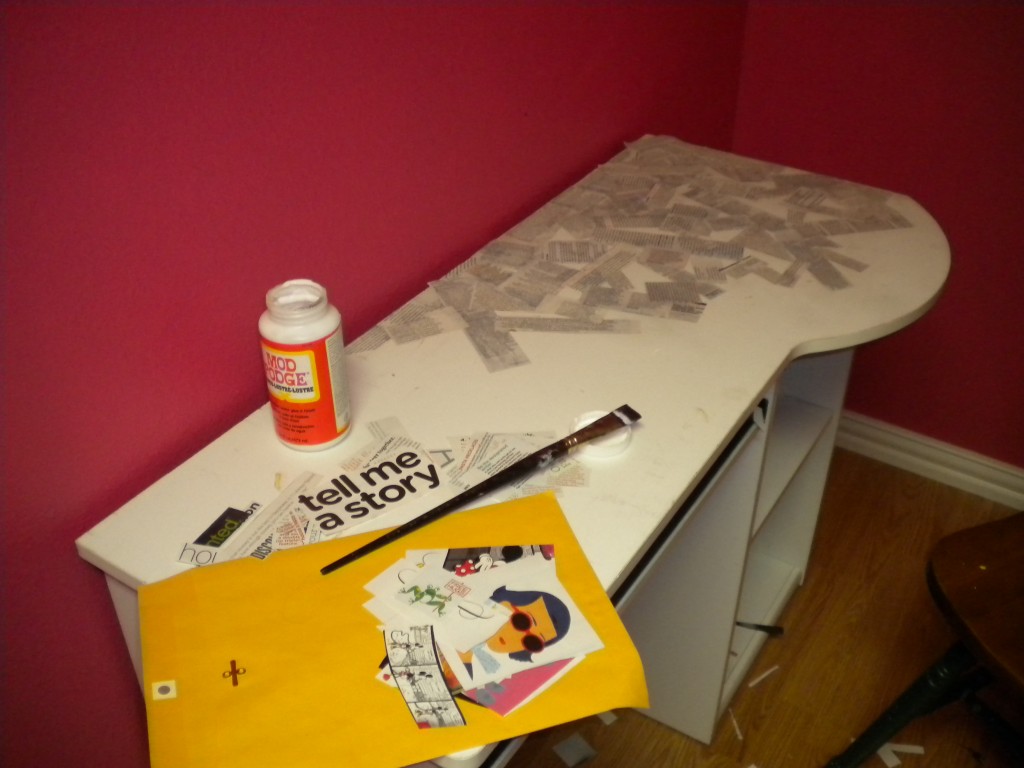
My daughter is 11 and loves to help me with my projects. Her and I spent about an hour cutting strips of paper and pictures of out magazines. If you’re going to try this project and you’ll be covering a large surface like a desk top, cut out more strips than you think you’ll need. You’ll be surprised to see how much paper you need. We had to cut strips of paper two different times before we had enough.

My desk desk during the process

Once we had all of the paper strips and pictures we needed, it was time to get to work. I started in the back left corner of my desk. Because I’m right handed, I should’ve started in the back right corner so I wouldn’t keep getting my arm in my work (I’ll have to remember that for next time!). Take a thick artist brush and brush on some Mod Podge (purchased at Hobby Lobby for around $6. I prefer the gloss finish but you can choose which ever finish you like best). Immediately place your strip of paper on the gluey section and cover with more Mod Podge. You’ll have to watch out for air bubbles or the paper wrinkling. After you put each piece down, rub it a little with your finger to remove any bubbles and straighten out the paper. It’s OK if you have some air bubbles. It’s really not that noticeable.

Continue to glue strips of paper to your surface. Glue some sideways, some at an angle, some upside down, overlapping them a little as you go. We glued all of the strips of paper with words on them first, then glue the pictures on last.

When you’re finished, cover with another coat of Mod Podge and let it dry. The surface can remain a little sticky feeling even after it’s dry. To stop the tackiness, paint the top with a clear acrylic paint. Now you have a one of a kind item!

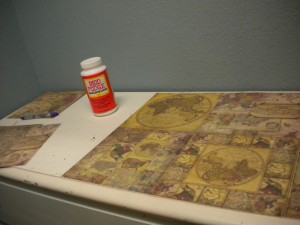
I did this same thing to my husband’s dresser, but instead of using magazine articles, I used scrap book paper. I found 8×8 sheets of paper that looked like they had old maps printed on them. I lined up the papers and, using Mod Podge, glued each one down. I then put a thin layer of Mod Podge over the top, paying careful attention to any air bubbles. There was one sheet of paper that had a rather large air bubble in it and, no matter what I did, I couldn’t get it to go away. I was surprised to see that when it dried the air bubble was gone. Once it was completely dry, I painted a layer of clear acrylic paint over the top.

Covering a Dresser

I’ve also done this same process to table legs and chair legs and the results are amazing. This is a fun project that kids even enjoy getting involved with. I have to warn you though, once you start, you’ll want to do everything in your house!

Organizing His and Hers Master Bedroom Closets- Part One “Hers”

Organizing His and Hers Master Bedroom Closets- Part One “Hers”

My Closet Before

I have a large closet (11 feet by 5 feet). The best part is, it’s all mine! I don’t have to share it with anybody! This is the first house we’ve lived in that has “his” and “hers” master bedroom closets. My husband’s closet is about half the size of mine (still a good size).

My Closet Before

When we first moved in, more than just my clothes went in my closet. Extra clothing, craft supplies, books, picture frames…just about everything that didn’t have a permanent home had a temporary one in my closet. It got to the point where I had to squeeze in to my closet to get my clothes every morning. Finally I decided to make some changes.

I used my Room Worksheet (if you don’t have a copy yet, sign up for my newsletter and you’ll get my free downloads) to determine exactly what I wanted out of my space. I decided I wanted to turn it into a dressing room!

First, I had to take every single thing out of my closet. I sorted through every item, every box, every folder…everything! I threw away trash and filled a bag for Good Will. Out of season clothes when into Space Bags (I love those things). Craft things were taken to a closet near the kitchen where I actually do my crafts. Extra blankets (also put into Space Bags) were taken to a hall closet. This sorting process took me two days.

After the sorting was finished, it was time to paint. I painted the closet a pink color called Tropical Smoothie in satin from Behr (I got it at Home Depot. If you use this color it’s best to get it with the primer in the paint. It covers better this way).

Once the paint was dry, it was time to bring things back into the closet. I wanted this to be an area where I could do my hair and put on my make up, as well as get dressed in the morning. When we first moved into this house there was a junky looking white desk in the garage. Upon further inspection, I realized it was sturdy, just stained. I scrubbed it down and put it in my closet. I couldn’t get the stains off of the top of the desk so I did some decoupage and viola! I have a one of a kind desk that I love. For information on how I did it, check out the “Make It” section of the website here http://www.borderhoarder.com/how-to-decoupage-a-desk-or-dresser/

My closet After

Here are other things I did in my closet to keep things organized and handy:
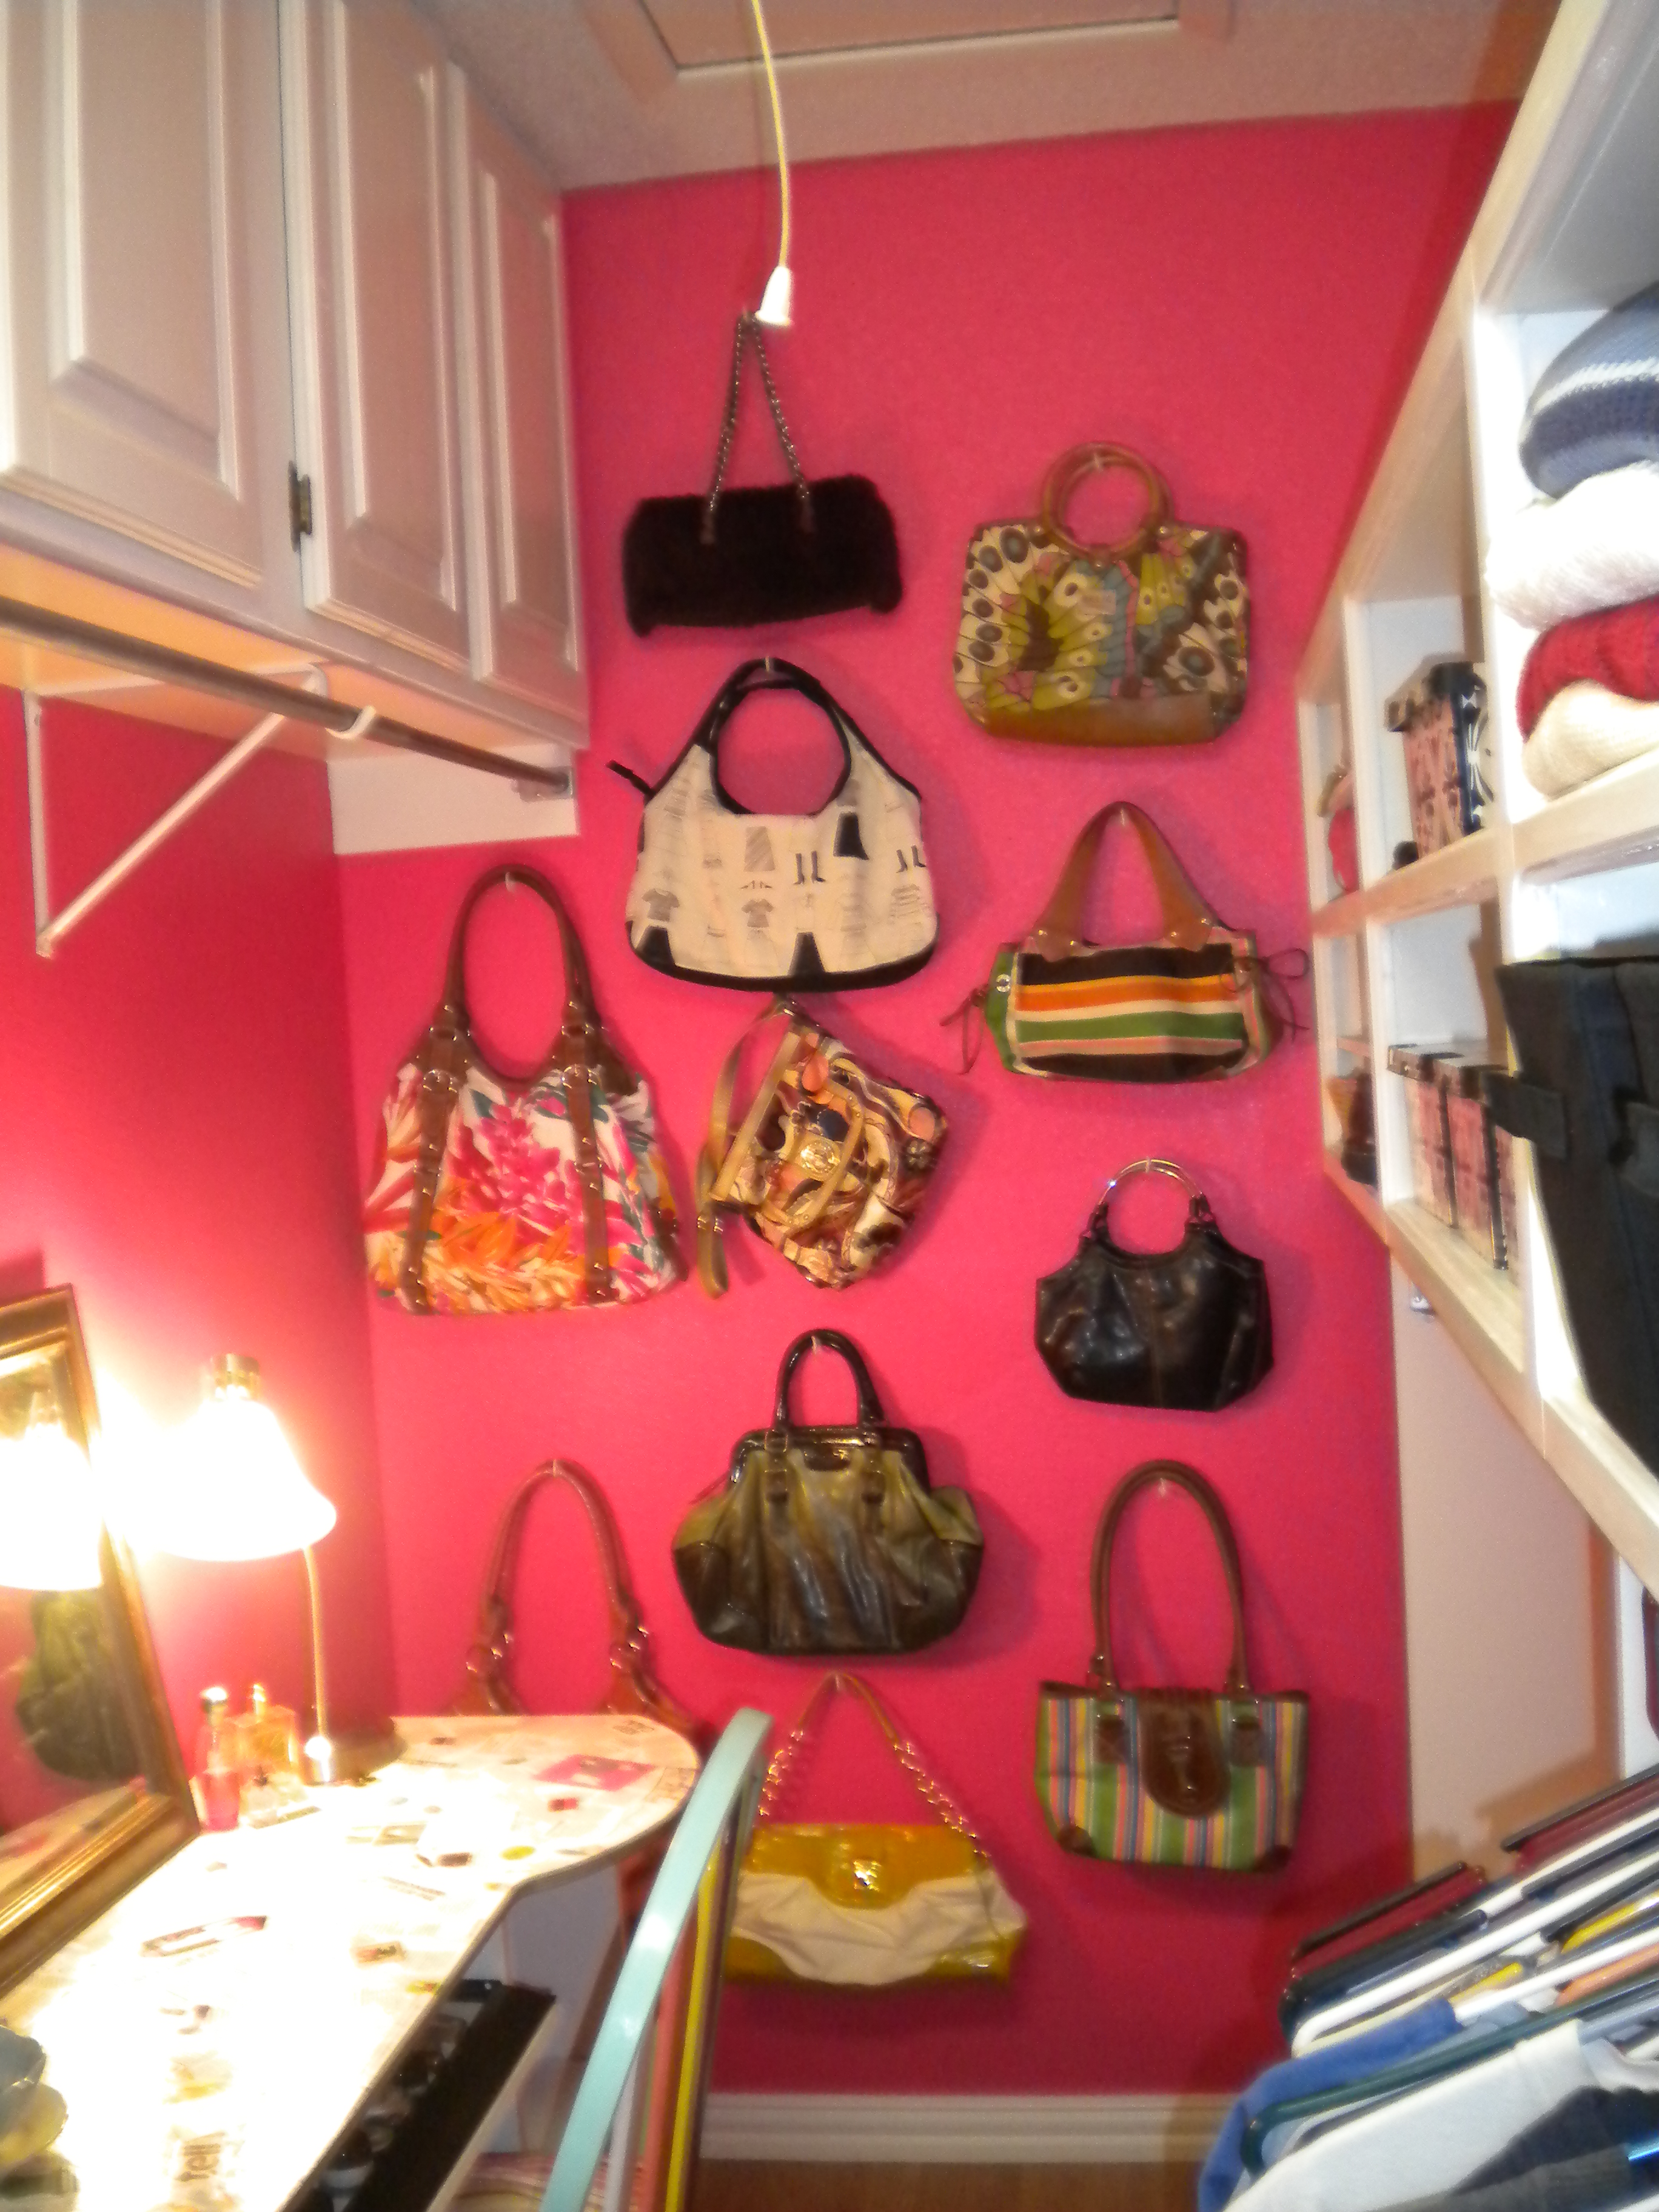
* I installed hooks on the far wall to hang my favorite purses. These hooks are called Ook Hooks and I got them in two packs at Home Depot for $2 a pack. They just screw into the wall, no tools needed.

* I installed more Ook Hooks near the door to hang up my scarves and necklaces.

* I took out my bulky dresser and bought black canvas bins from Walmart ($5 a piece) to hold my smaller clothing items.

* I stacked my sweaters (which had been in the dresser) on the shelves.
My Closet After

Here is what I spent in my closet:
$35 paint
$20 black canvas bins for clothes
$20 Ook Hooks
$15 lamp

Not only do I have a bright and cheerful dressing room, I can find everything I need in a matter of seconds. It has also kept the bathroom counters clean because I no longer do my hair or make up in there.

My next project is my husband’s closet. Check back soon to see how I organize and liven up his small space.