Tag Archives: craft

How To Decoupage a Desk or Dresser

How To Decoupage a Desk or Dresser

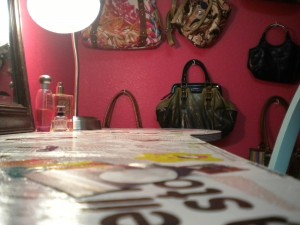
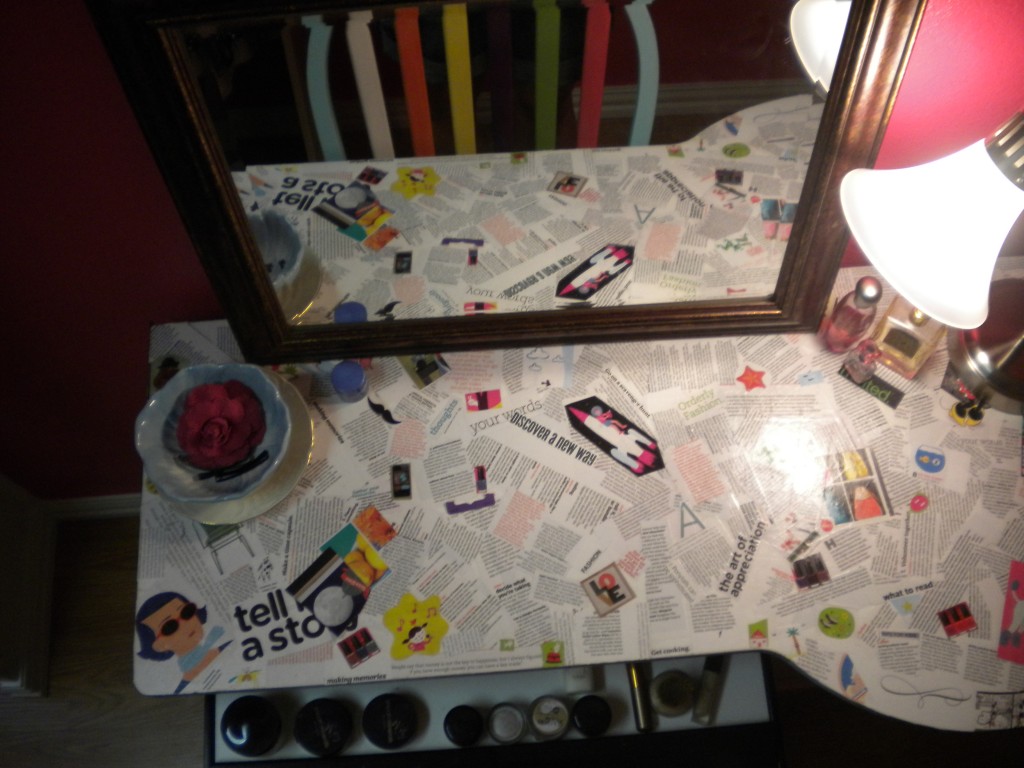
Finished Desk

I love to decoupage. It’s a simple process that has huge results. I needed a desk for my new dressing room and I was hoping to use a nasty old desk I found in my garage that was left here by the previous owners. It was a sturdy desk but it was really stained. After much scrubbing I gave up and decided to decoupage the top.

My daughter is 11 and loves to help me with my projects. Her and I spent about an hour cutting strips of paper and pictures of out magazines. If you’re going to try this project and you’ll be covering a large surface like a desk top, cut out more strips than you think you’ll need. You’ll be surprised to see how much paper you need. We had to cut strips of paper two different times before we had enough.

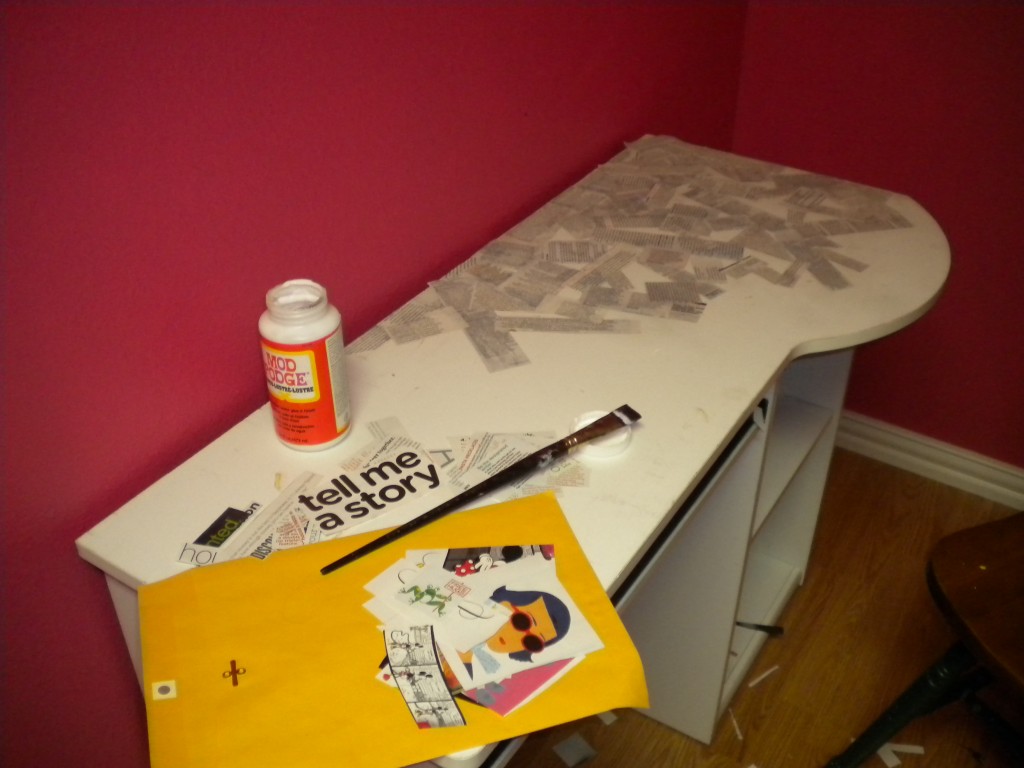
My desk desk during the process

Once we had all of the paper strips and pictures we needed, it was time to get to work. I started in the back left corner of my desk. Because I’m right handed, I should’ve started in the back right corner so I wouldn’t keep getting my arm in my work (I’ll have to remember that for next time!). Take a thick artist brush and brush on some Mod Podge (purchased at Hobby Lobby for around $6. I prefer the gloss finish but you can choose which ever finish you like best). Immediately place your strip of paper on the gluey section and cover with more Mod Podge. You’ll have to watch out for air bubbles or the paper wrinkling. After you put each piece down, rub it a little with your finger to remove any bubbles and straighten out the paper. It’s OK if you have some air bubbles. It’s really not that noticeable.

Continue to glue strips of paper to your surface. Glue some sideways, some at an angle, some upside down, overlapping them a little as you go. We glued all of the strips of paper with words on them first, then glue the pictures on last.

When you’re finished, cover with another coat of Mod Podge and let it dry. The surface can remain a little sticky feeling even after it’s dry. To stop the tackiness, paint the top with a clear acrylic paint. Now you have a one of a kind item!

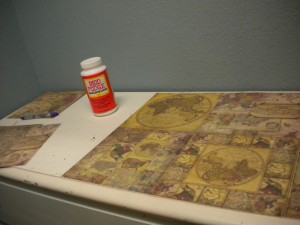
I did this same thing to my husband’s dresser, but instead of using magazine articles, I used scrap book paper. I found 8×8 sheets of paper that looked like they had old maps printed on them. I lined up the papers and, using Mod Podge, glued each one down. I then put a thin layer of Mod Podge over the top, paying careful attention to any air bubbles. There was one sheet of paper that had a rather large air bubble in it and, no matter what I did, I couldn’t get it to go away. I was surprised to see that when it dried the air bubble was gone. Once it was completely dry, I painted a layer of clear acrylic paint over the top.

Covering a Dresser

I’ve also done this same process to table legs and chair legs and the results are amazing. This is a fun project that kids even enjoy getting involved with. I have to warn you though, once you start, you’ll want to do everything in your house!
Fun With Cafe Rods

Fun With Cafe Rods

I love cafe rods almost as much as I love tension rods. There are so many things you can do with them! Today I was wrapping some gifts for my daughter’s birthday and thought about how nice it would be to have a place to put my wrapping paper. I always keep it standing up in a corner of my closet and it gets unrolled and crinkled too easily. Then it hit me – cafe rods!

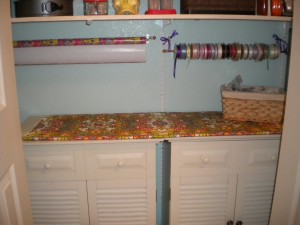
I installed one under a shelf in a closet (husband not required for assembly) in about five minutes. Before, it was just wasted space. Now it’s a great place to store my wrapping paper. I added another one right next to it for ribbon. My ribbon stuck out a little too far and the bar wouldn’t sit in the little hooks. That’s ok! I just hung the bar from some ribbon! Maybe the next time I’m at Home Depot I’ll pick up some bigger brackets for it…or maybe not. I kind of like the way it looks. The best part is, they were only $2.50 a piece.

Cafe rod for wrapping paper and ribbon

Make Your Own Jewelry Organizer

Make Your Own Jewelry Organizer

I love to wear jewelry. I have the cutest little jewelry organizer that I keep in my closet, but I really needed something by my bathroom sink where I take my jewelry off each night. I’m always afraid that something will fall down the drain or my earrings will rust if they get wet – I never said I wore expensive jewelry 🙂

I thought about buying a little shelf to keep by the sink, but then I saw one at a store and thought, “Hey! I can make that!” So, I did. The one in the store costs $25, mine was less than $10. And it’s so much cuter than anything store bought.

Here’s how I made my own jewelry organizer:
Materials:
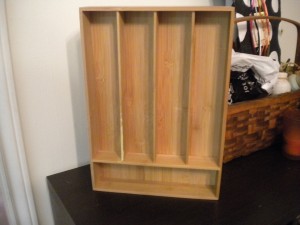
*Drawer divider (mine came from Walmart and was made out of bamboo)
*12×12 piece of scrapbook paper
*Acrylic craft paint (only if you choose to paint it, you might just want to keep it the wood color)
*Mod Podge (You don’t have to use this. You can use any glue. I used Mod Podge because it works great as a glue and a sealer)
*Screw eyes (These are little screws with a loop at the end.)
*Picture hanger
*Nail, hammer, and a vice-grip
*Optional – trim, felt

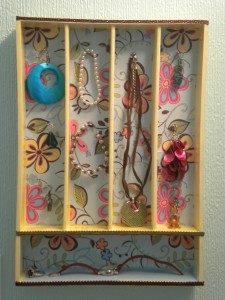
Before

I painted my drawer organizer a soft yellow color. I had to give it two coats. It only took about an hour to dry so I was able to move on to the next step fairly quickly – the scrapbook paper. I simply measured each opening and cut the paper to that size. I then put a thin layer of Mod Podge in each compartment (working on just one at a time) and then put in the paper. You don’t want to use too much Mod Podge, or any glue, because it can make the paper bubble. Mine still bubbled a little bit but it’s not noticeable unless you know it’s there. I put in half the sheet of paper, smoothed it down, and then laid the rest in. That seemed to make it easier. After I put in each piece I put a thin layer of Mod Podge over all the paper to seal it and help insure it doesn’t get torn sometime in the future. I let mine dry over night.

Then it was time to use the little screw eyes. I bought mine at a home improvement store in the hardware section. I had never used these little guys before and had no idea how to put them in. I ended up using a nail, which I held with a vice grip, and hammered in just a little bit to make a small hole. Then I used the vice grips to hold on to the screw eyes and I just screwed it in. Very easy process. Just be careful, the end of each screw came through the underside of the wood a little bit. Make sure it doesn’t scratch whatever surface you’re working on, or even yourself when you pick it up.

The last step is to nail the picture hanger to the back of the jewelry organizer. Viola! You now have the cutest jewelry organizer to hang on your wall! Here is a picture of my finished product.

After

Oh, one more thing. I had some extra ribbon with adhesive on the back, and I used it to trim mine out a little bit. I also added a little strip of felt to the bottom shelf so my watch wouldn’t slip off easily or get scratched. Super easy, super cute, super cheap!

*Another great tip – you don’t have to leave this upright! You can turn it side ways or even upside down! You can also use the top of it as a shelf to keep perfumes or face creams or whatever else you can think of!

What ideas do you have for this jewelry organizer? What other things could you use it for?

Tension Rod Divider

Tension Rod Divider

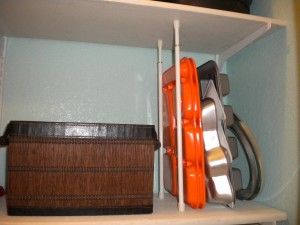
I love tension rods. They are super cheap and there are so many things you can do with them. One of my favorite uses for a tension rod is to use them in a pantry or closet to store muffin pans and cookie sheets in an upright position. This can save you a lot of room versus lying them flat on the shelf.

Tension rod divider

To use tensions rods in this way, first measure the amount of vertical space you have between shelves. Tension rods come in different sizes and you want to make sure you don’t buy one that is too long. You can buy tension rods at just about any discount store and they are usually just a few dollars a piece. If you’re going to prop up one side of the pans against a wall you will only need two rods. If you’re going to put them in the middle of a shelf you’ll need to buy four (two for each side).

Simply attach the tension rod up and down at the front of the shelf and put the second one directly behind it towards the back of the shelf. If you’re putting this in the middle of your shelf do the same thing a few inches away. Now you can save space and store your thin pans upright!