Author Archives: admin

How to Organize Your Pantry Part One – Dealing with Spices

How to Organize Your Pantry Part One – Dealing with Spices

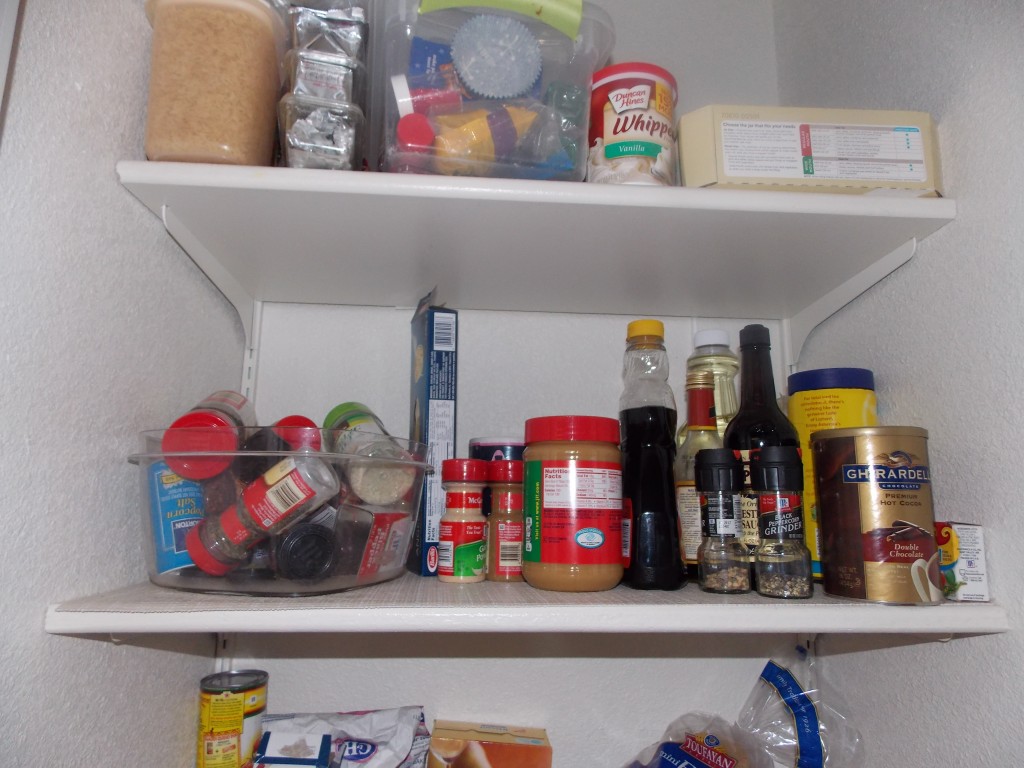
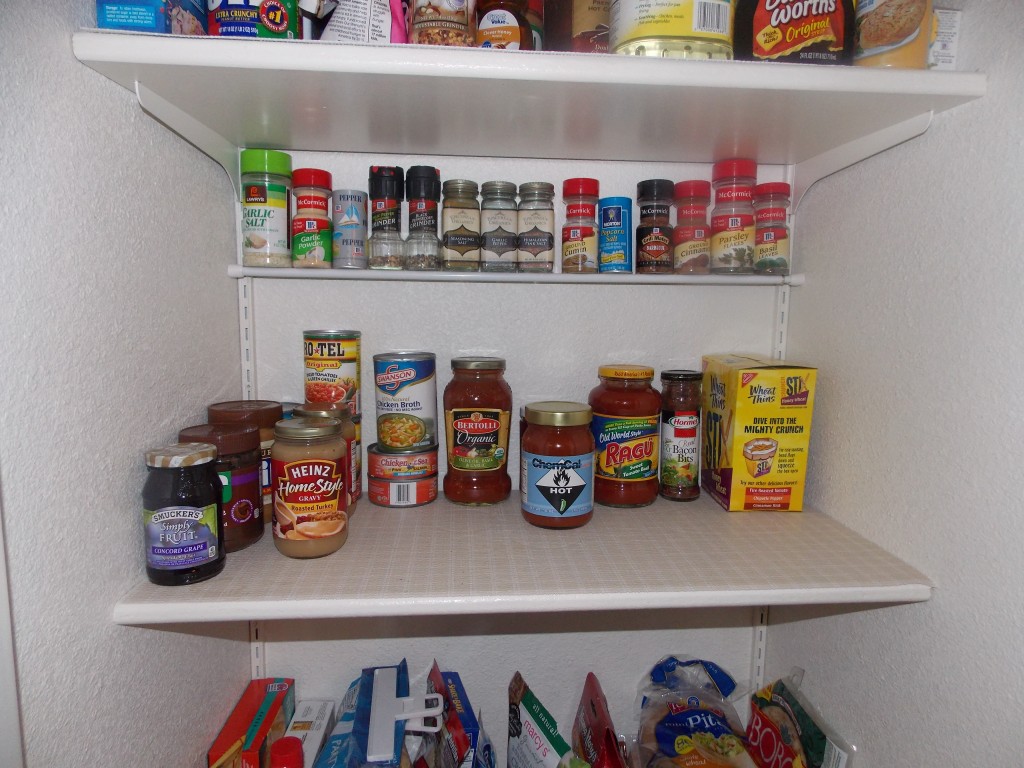
I have a very small pantry. No matter how much I try to keep it organized it always looks messy. There just isn’t enough room on shelves for everything I want to keep in there. I recently came up with the idea of making a snack bar to keep chips, snacks, and bottled water. To see my snack bar click here. With those big items out of the way it was time to focus on the spices. I don’t have a lot of room on the counter to keep spice racks. I also don’t have room in cabinets or drawers. I took some time to look in my pantry and found that there is a lot of wasted space under each shelf. I decided to put my spices there.

Spices Before

I bought a tension rod (I love those things!) at Target to fit the size of my pantry. Typically tension rods are round but I found one that was flat! These are my favorite. They have a latch that keeps them in place (no more falling down) and the flat surface means things wont fall off of it as easily.

Spices After - all nice and neat on tension rod


I put the tension rod in my pantry below a shelf and simply sat all of my spices on top of it. My new “spice rack” cost me $4. How awesome is that!

Decorating Popcorn Tins

Decorating Popcorn Tins


We love popcorn. We especially love the popcorn that comes in the tins at Christmas time. But what do you do with the tins when all the popcorn is gone? Usually we donate them (they’re just too cute to throw away) but, thanks to one of my friends on Facebook, I found this idea.

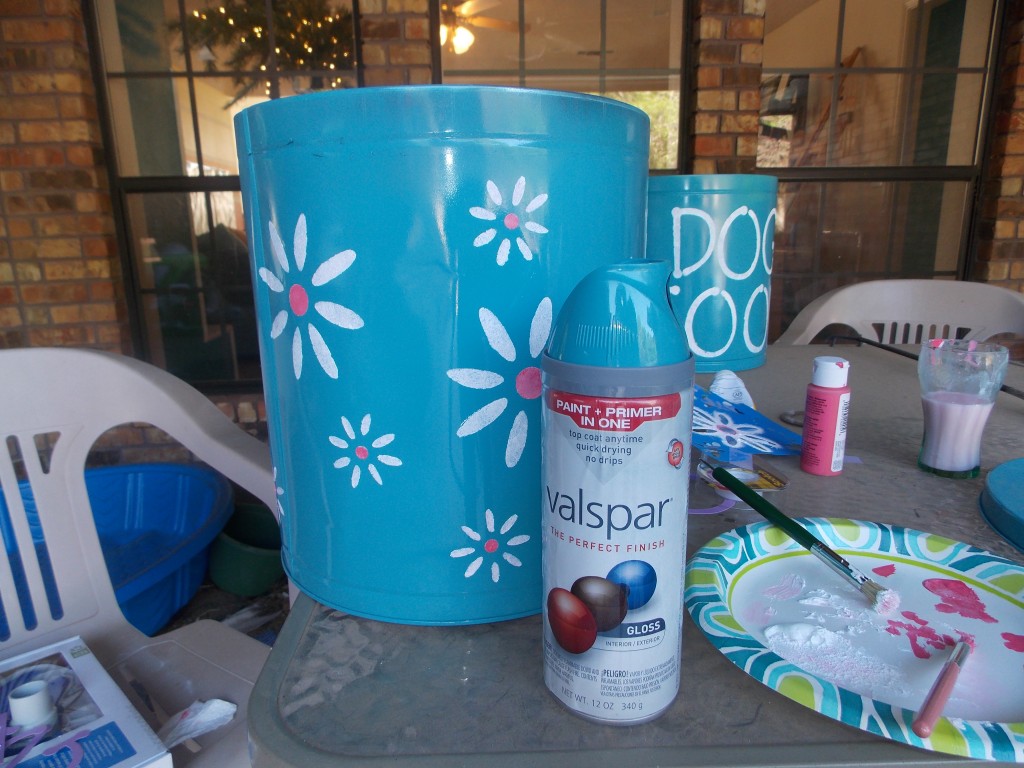
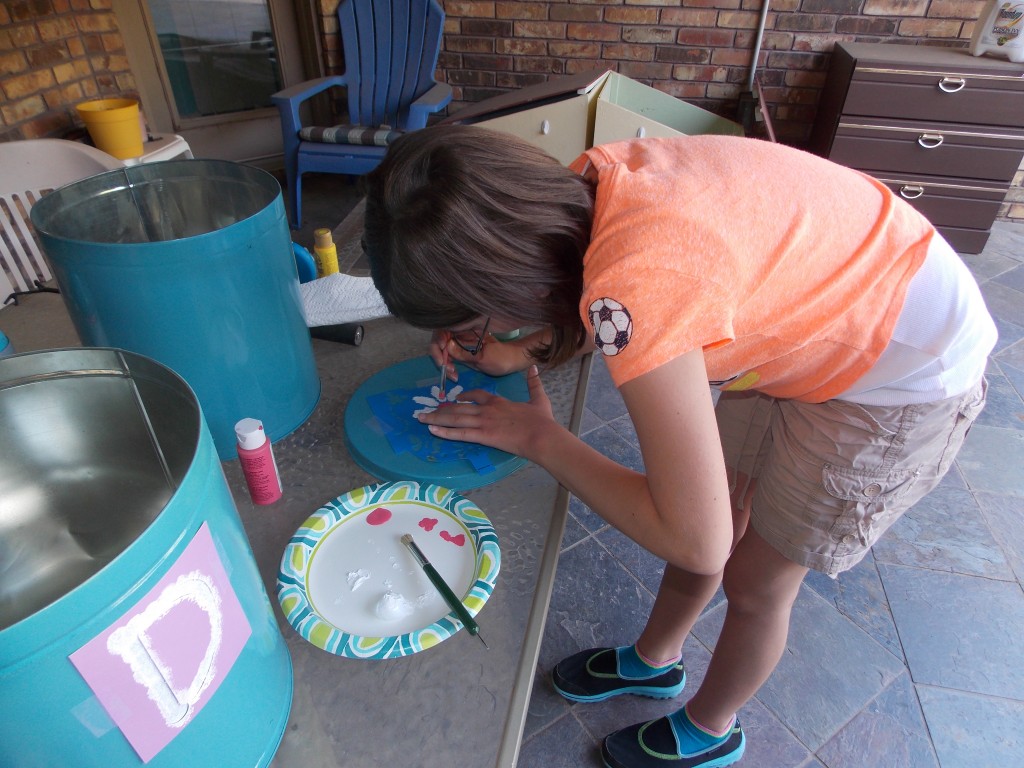
We took two of our empty popcorn tins and spray painted them with Valspar (paint and primer in one) spray paint. After they were dry we used stencils to decorate them. My daughter, Brianna, even helped. I love doing projects with her. This project was so simple and now we have two pretty and useful containers!

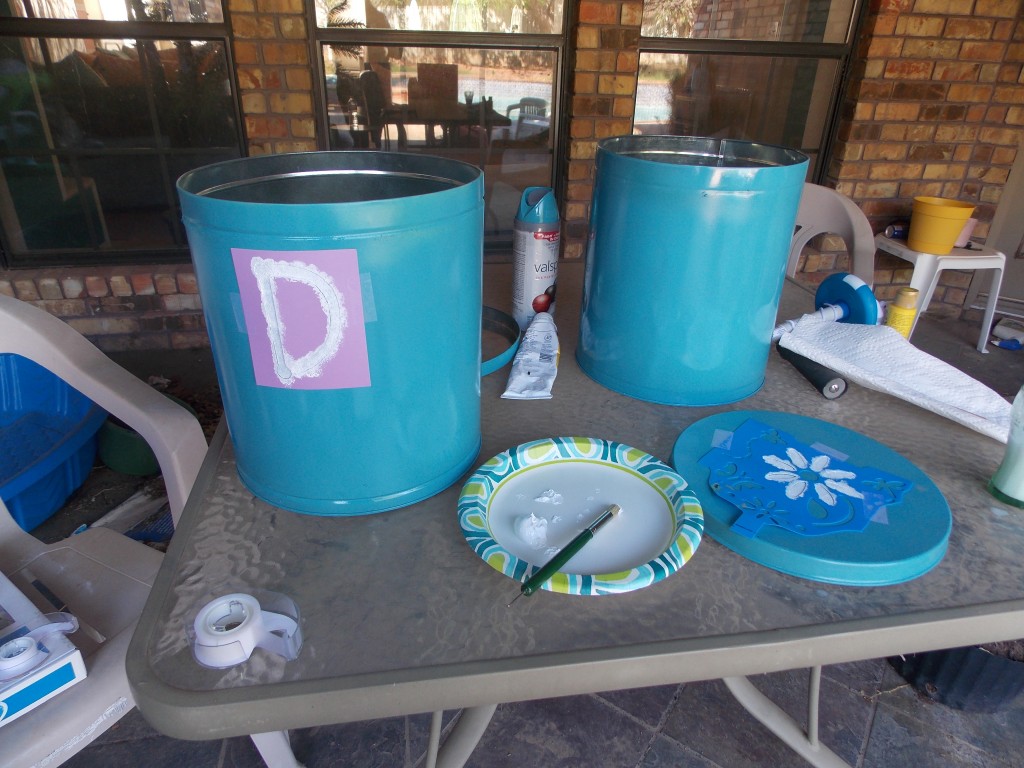
Stenciling letters on painted popcorn tins and lids


Stencilling the lid


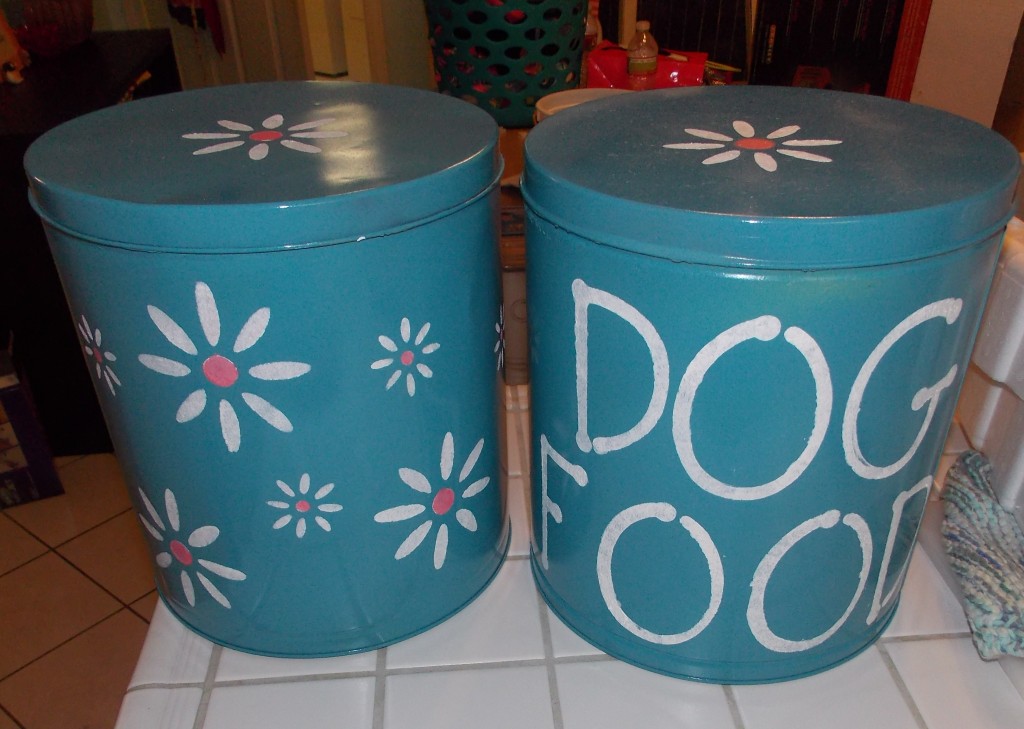
Finished popcorn tins

How to Make a Grocery Bag Holder Out of a Soda Bottle

How to Make a Grocery Bag Holder Out of a Soda Bottle


I like to keep old grocery bags and use them as liners for my little garbage cans or to use when I clean out the rabbit’s cage. But how do I store all of the bags? Yes, I could run to Walmart and buy a bag holder, but why do that when I can make one for free?

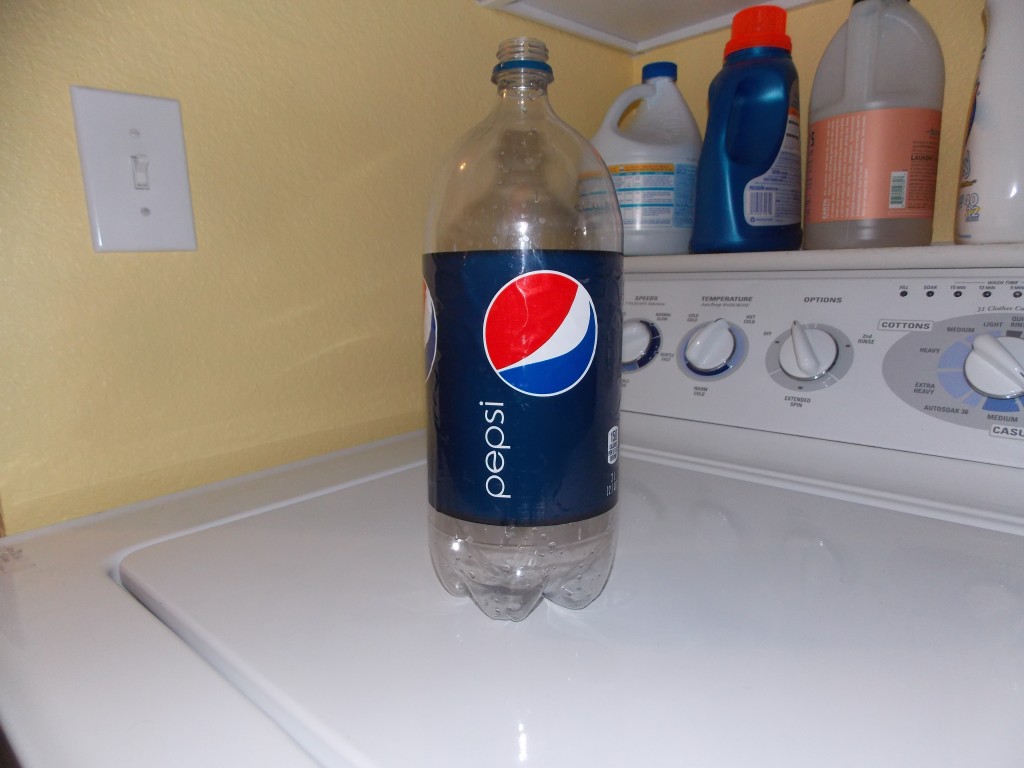
I’m always looking for ways to turn unwanted items into something useful. After scanning the kitchen to see what I could use as a bag holder, my eyes came across an empty 2 liter bottle of Pepsi. Perfect!

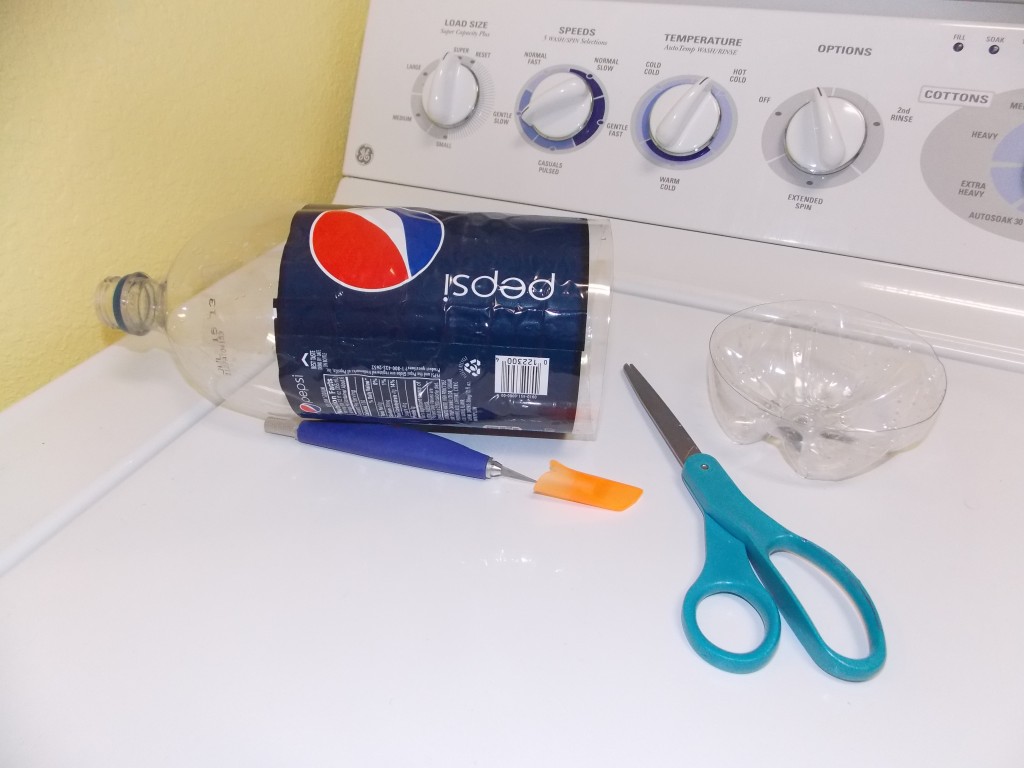
I start by removing the bottom of the bottle.

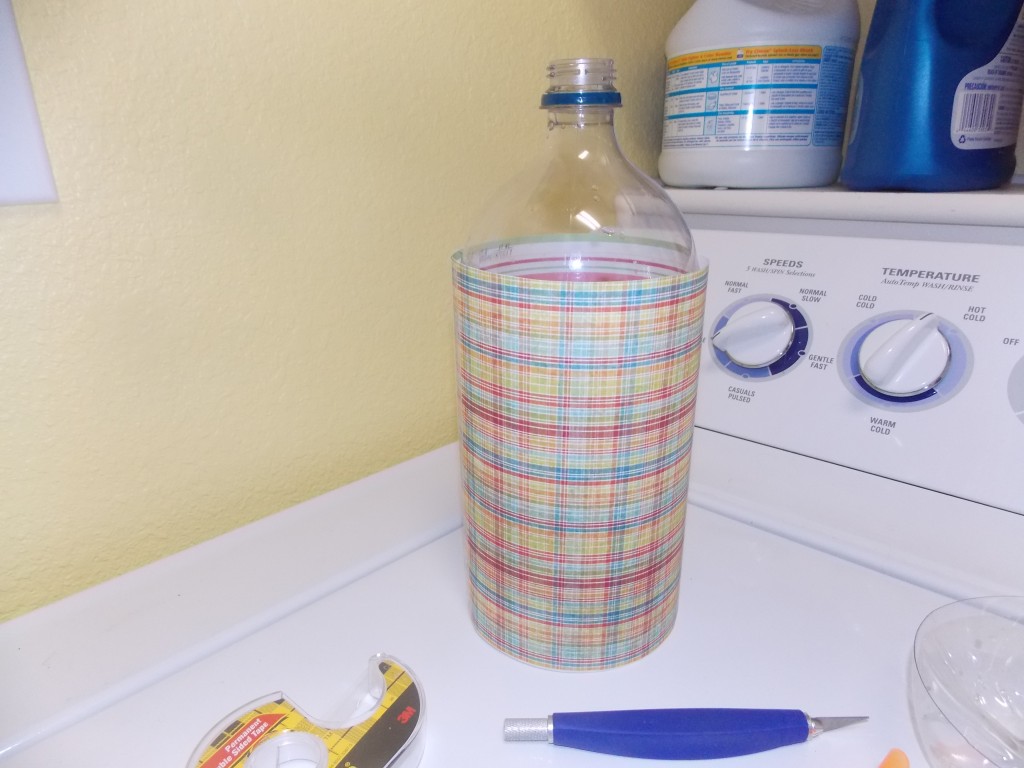
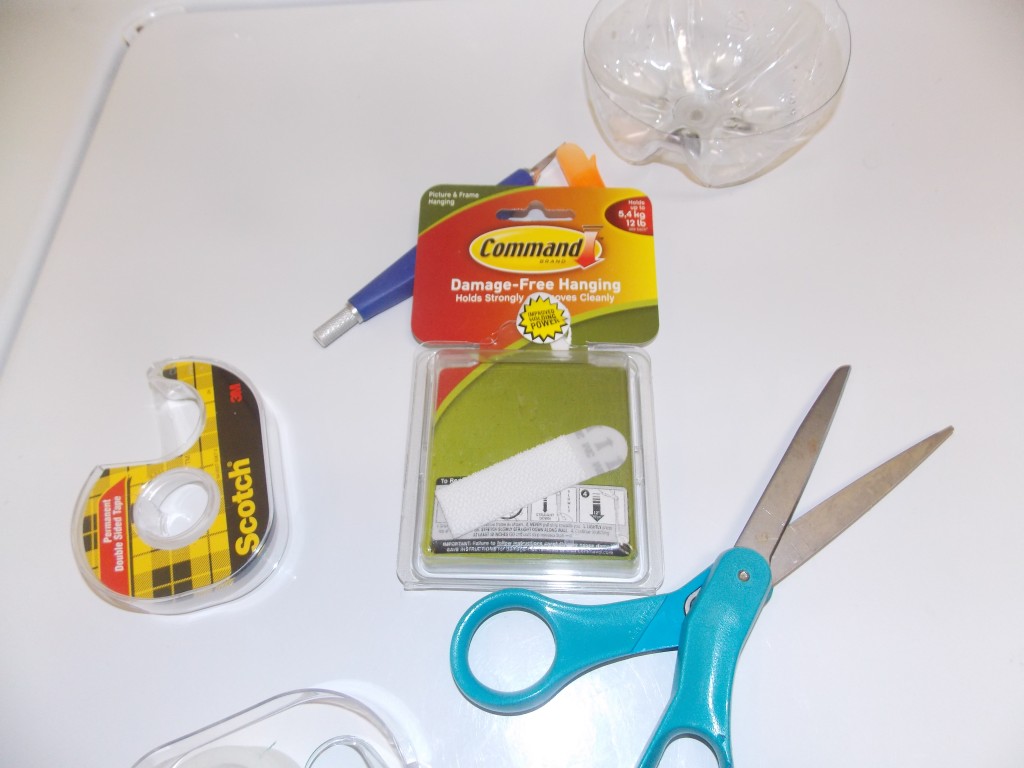
Then I remove the wrapper from the bottle and cover the bottle in card stock. I use double sided tape to attach it.

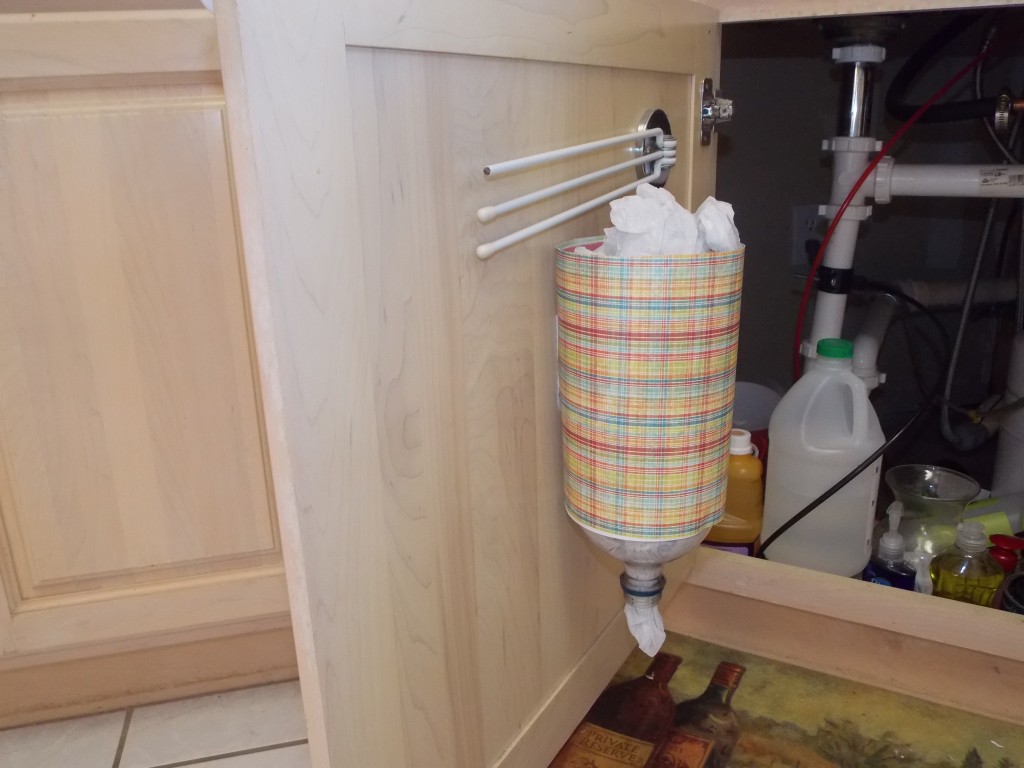
Once the bottle is ready, it’s time to attach it to where ever you want to store your bags. I decided to put mine on the inside cabinet door under my sink. This way it’s out of the way but still handy. To attach the bottle to the cabinet door I used 3M Command Strips. They make strips that are like Velcro. One side attaches to the door, and one side attaches to the bottle. They are super easy to use and can be removed when you need to remove them.

That’s all there is to it! You can even use 20 ounce bottles and put them in your bathroom to keep bags handy for small bathroom trash cans!

A Gift In A Can – A Fun Way To Give Gift Cards

A Gift In A Can – A Fun Way To Give Gift Cards


I love fun ways to give gift cards. Yes, you could stick one in a card but it’s so much fun opening a gift (much more fun that just opening a card). Sometimes I carefully open the bottom of cereal boxes or granola bar boxes (even more fun if they are the recipient’s favorite cereal or granola bars) and stick the gift card in the box, carefully gluing the bottom of the box back together.

But my absolute favorite way of giving gift cards is to put them in a can.
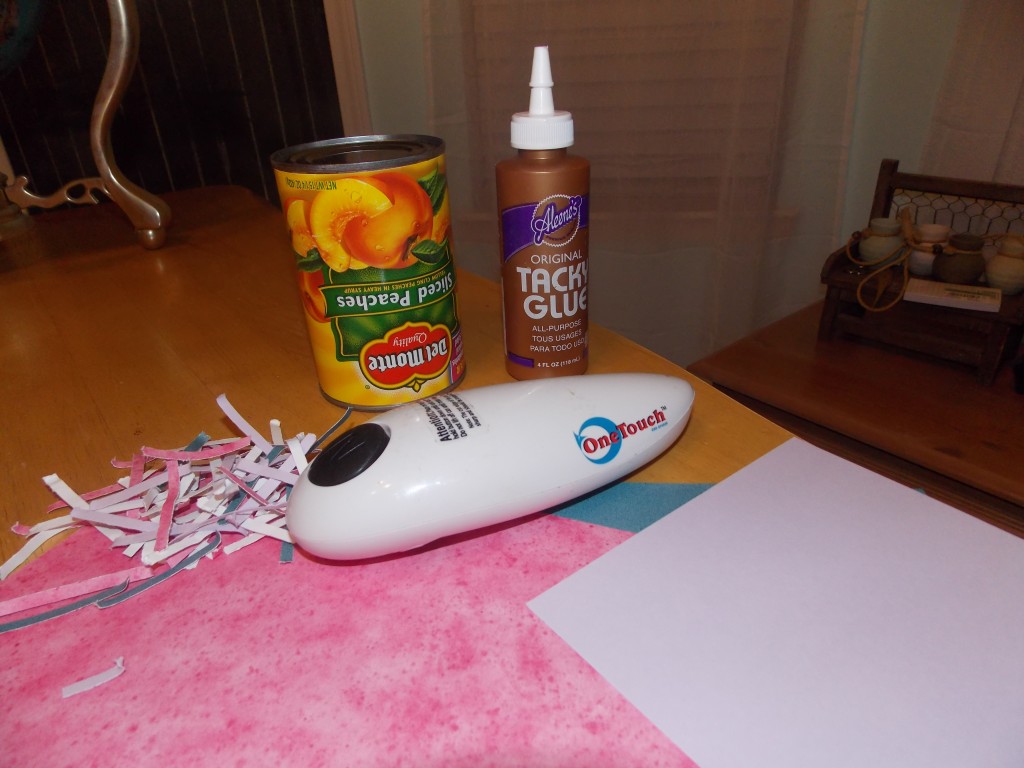
Supplies

Here’s what you’ll need:
*A touchless, battery operated can opener (these open the entire lid of a can, not just the inside of the lid like regular can openers do). I bought mine at walmart for $20.

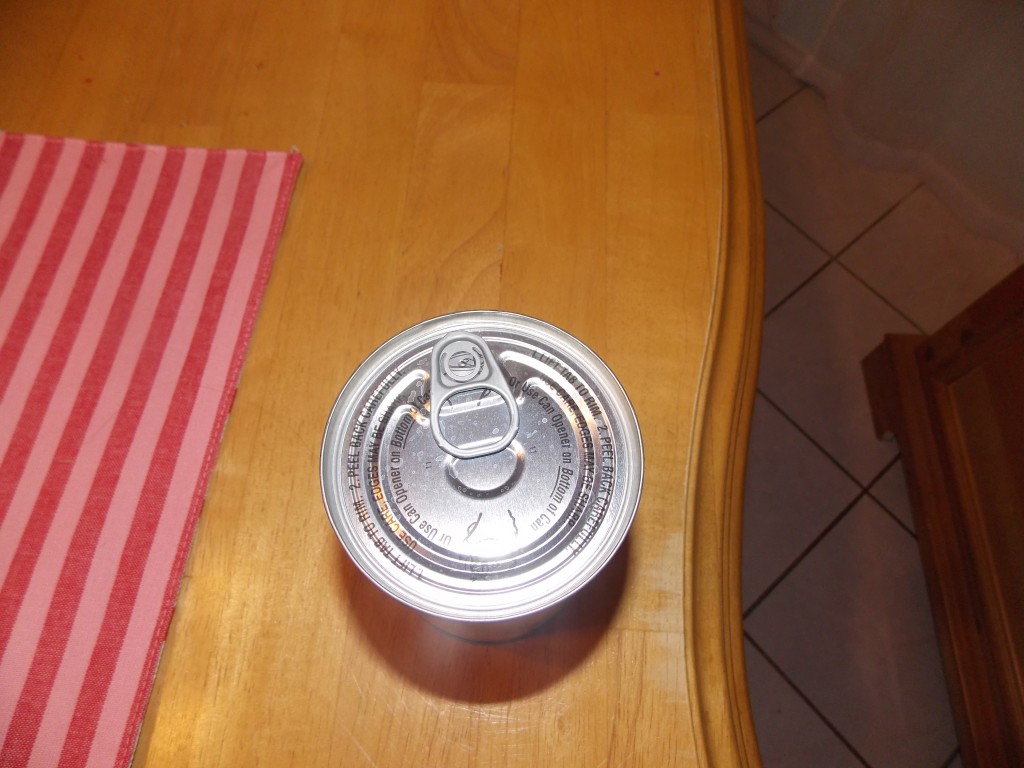
*A can that has a pop top opener (see picture at the very top)

*Colorful paper of your choice

*Aileen’s craft glue (If I was handy with a hot glue gun I might try that too. However, I’m not so I’ll stick with what works for me. If you get a hot glue gun to work for you let me know).

*A gift card (or money, small bottles of lotion, candy or other small gift)

*Something heavy (I use a spaghetti jar)

First, use the touchless can opener to remove the BOTTOM of the can. Don’t take off the top or you’ll ruin it. Dump out contents in a bowl (or eat now if you’re hungry). Wash the can out well. Once it’s clean and dry put your gift inside. I like to also add confetti (that I make with colored paper and my shredder) or tissue paper.
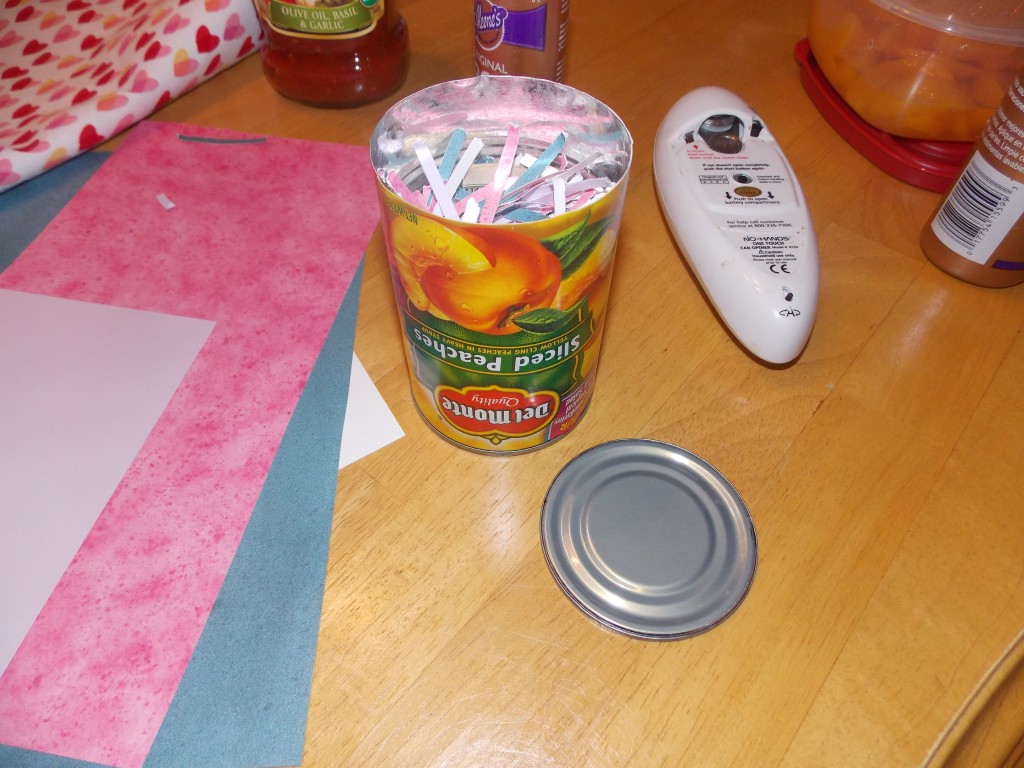
Once the can is full of all the goodies you want to give as gifts it’s time to seal it up. This process took me a few times to get it just right. The key here is patience. First put a line of Aileen’s craft glue all around the top (well, it’s actually the bottom) of the can. Then sit the lid back on. Carefully sit a heavy object on top of the can and let is sit for several hours. I usually let mine sit over night. After several hours take a look at your can. Are there any spaces around the lid where there isn’t glue? If so, use your craft glue and fill in those spots. Let it dry again. DON’T mess with the can while it’s drying or this will end up being a very frustrating project for you.
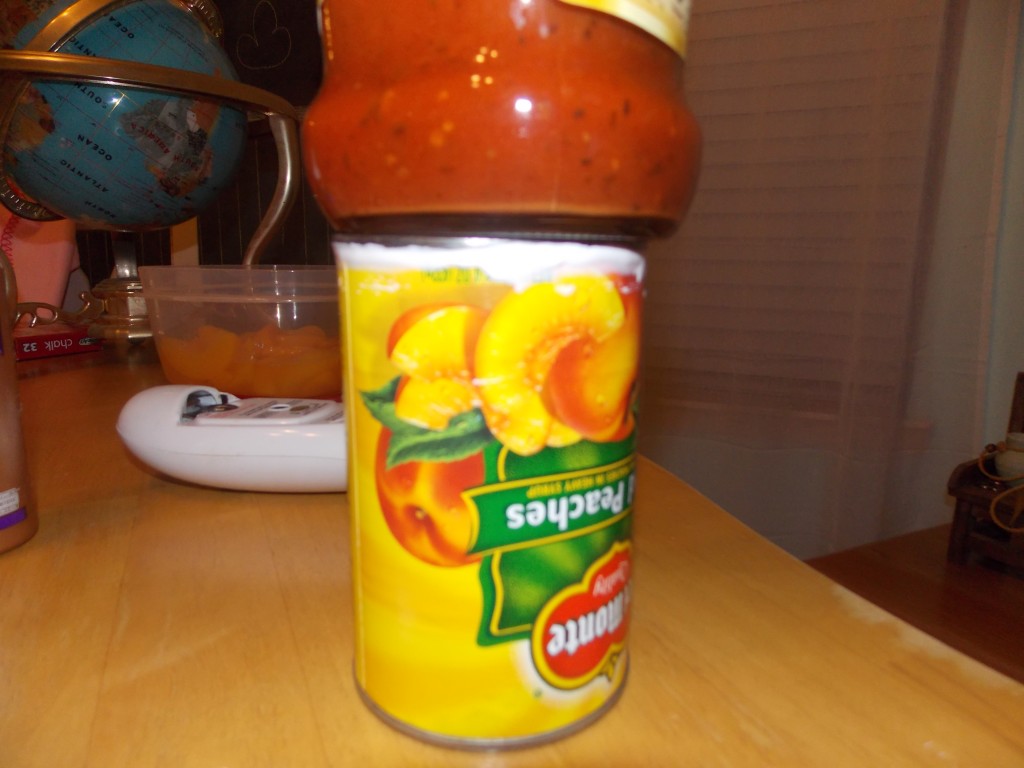
Once the can is dry you can attach pretty paper around the can using glue or double sided tape (I like to use double sided tape so I don’t have to wait for more glue to dry) or just leave it like it is. Sometimes I like to pretty it up (the recipient can use it as a pencil holder after they’ve removed the gift) and sometimes I like to leave it as is. It’s so funny to see people’s faces when you hand them a can of peaches. Is there really something in there? Will a snake jump out at them?

Everyone I’ve given this gift to has really enjoyed it. Yes, it takes patience to make, but it’s worth it!
My Black Bathroom

My Black Bathroom


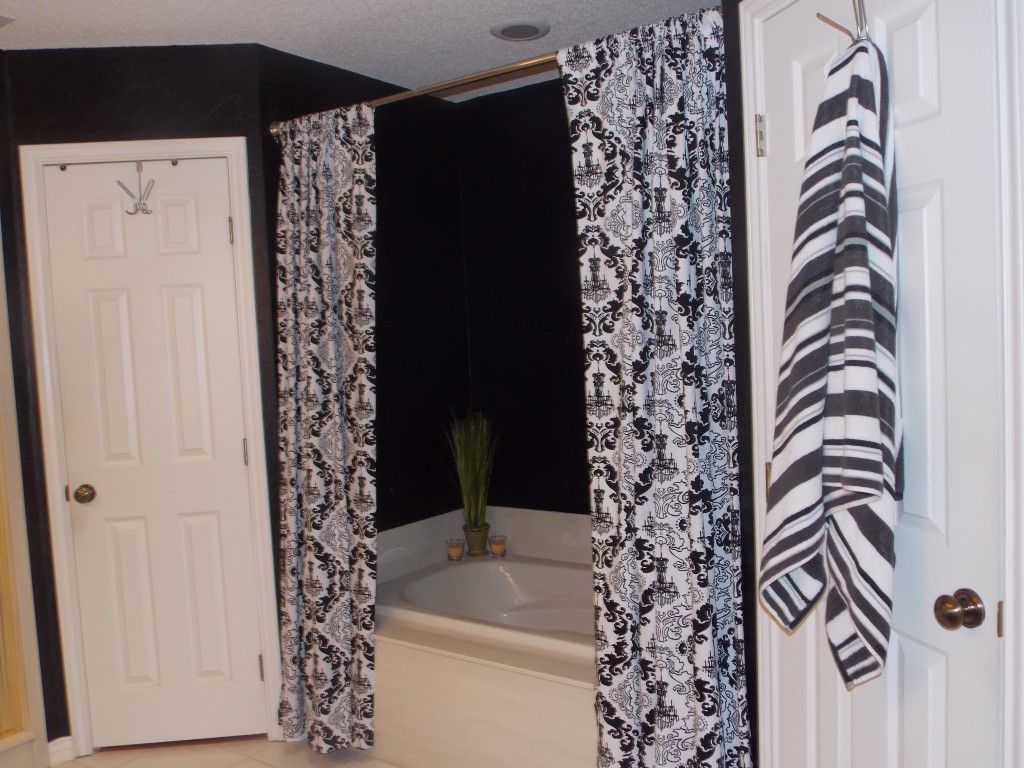
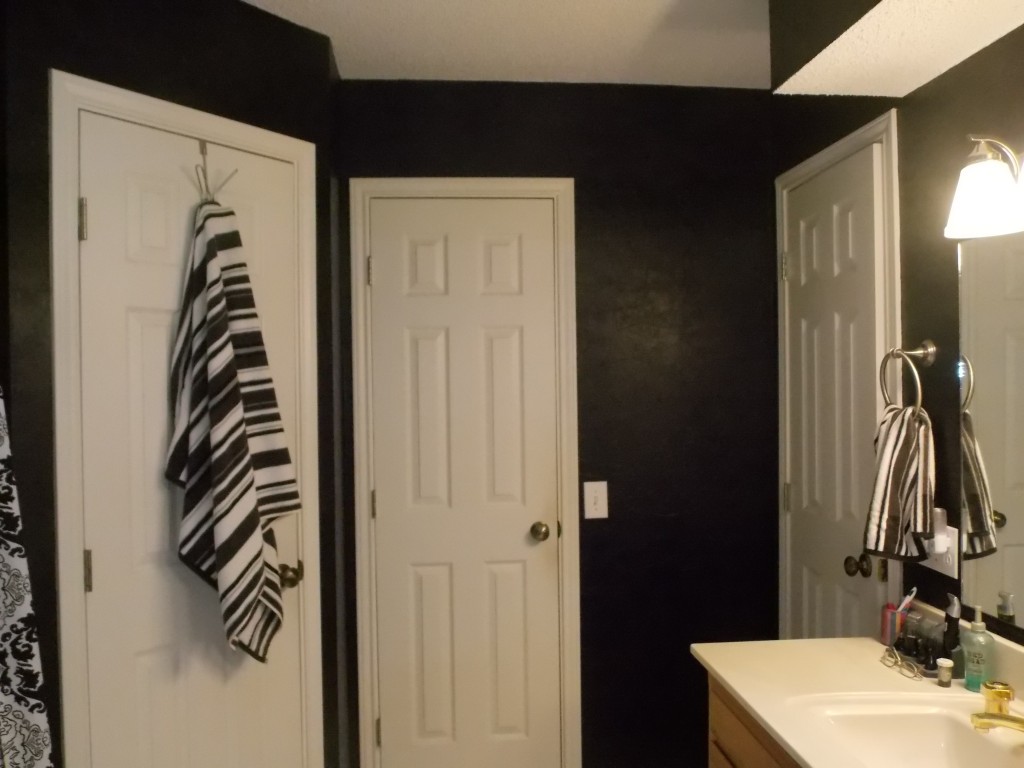
My master bedroom is a light green color. I wanted my master bathroom to be just a few shades darker. After 6 different shades of green samples painted on the walls (all of them hideous) I decided to rethink the green. Maybe I didn’t like the green samples because in my heart I knew I didn’t really want green – I wanted black. Could I convince the husband that a black bathroom would be awesome? I called him in there and broke the news to him gently. Thankfully he just shrugged and said to give it a try. I love that man. He’s used to my crazy ideas but even this felt a little over the top for me. Before either one of us could change our minds I rushed out and got a black paint from Lowes.

Here’s why I thought I could pull off black walls in my bathroom:
* All of my trim in the bathroom is white.
* The bathroom floor is white.
* I have a sky light. You don’t have to have a skylight to use black in a room, just make sure you have plenty of light from some source. If your bathroom lights aren’t bright enough consider replacing them.
* I used a satin paint instead of a really glossy paint. The glossier the paint the more it shows imperfections. Stick with either satin or a matte finish.
* I used a few yellow items in the room to brighten things up a little.

I love to paint and I think out of all the rooms I’ve painted, this one may be my favorite. The room is beautiful and comfortable. Plus our his and hers closets look fabulous with the black. To see our closets check out here (my closet) and here (my husband’s closet).

Adding Storage to Your Bed

Adding Storage to Your Bed

My 11 year old tells me one afternoon that she’s tired of her bunk bed and she wants a new bed – one lower to the ground so she doesn’t have to worry about hitting her head on the ceiling. We make a trip to a local furniture store and of course she picks out the most expensive bed they have – a beautiful single bed with lots of shelves along the back side of it. I really wanted to buy it for her but the $1000 price tag (not counting a mattress) was just a bit too steep for me. I took a picture of it and told her I was sure we could somehow make something similar for a lot less.

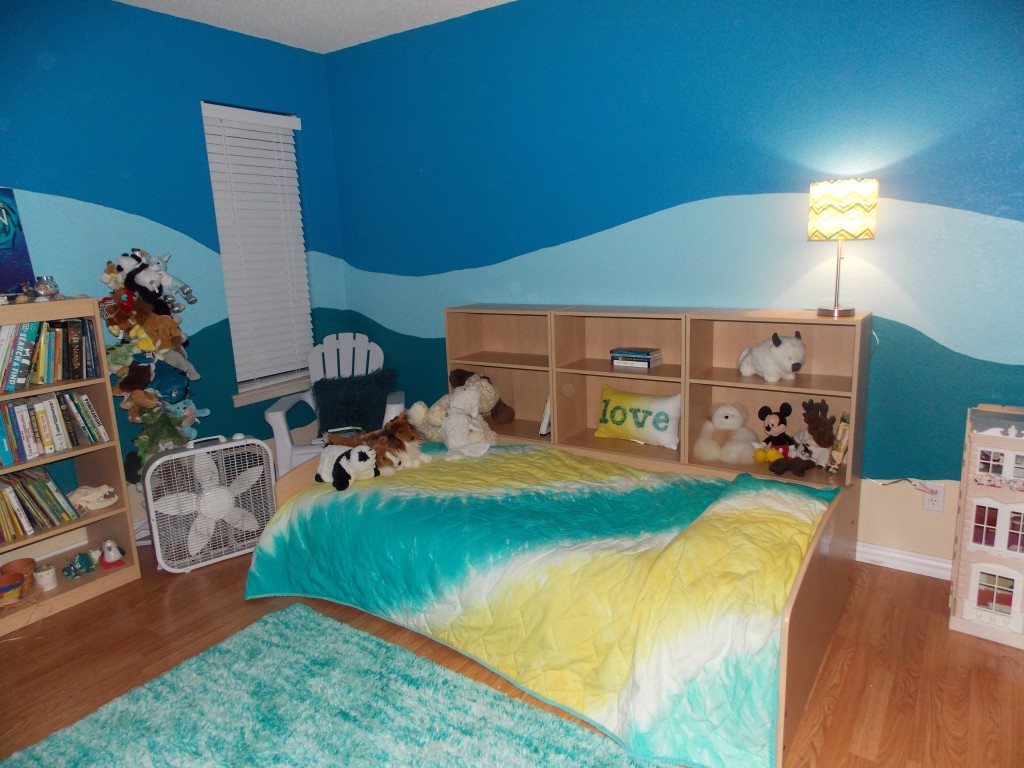
I came home, ate some peanut M&M’s (those help me think better), and came up with an idea. I was so excited I got started right away. I took apart her bunk bed and used one of the bunks. I went to Target and bought three short bookcases the same color as her bed. I lined the bookshelves against the wall and put her bed in front of it. Ta-da! Same concept as the $1000 bed but it only cost me $68!

Not only was it much cheaper but it has another benefit as well. The bed blocks the bottom shelf of all the bookcases but we are still able to use them as storage. She puts things on the bottom shelf that she wants to protect or doesn’t want to get rid of yet. If she ever needs them she can just pull her bed out to get to them.

If you make this yourself keep in mind that different stores sell different size book shelves. The book shelves I got at Target are taller and skinnier than the ones our Wal-mart sells. My three bookshelves were about an inch shorter than the bed but it doesn’t matter – you can’t tell.

She’s one happy little girl. She has a beautiful bed that contains lots of storage. Even the dog likes it 🙂

More Storage in the Kitchen – Adding a Snack Bar

More Storage in the Kitchen – Adding a Snack Bar

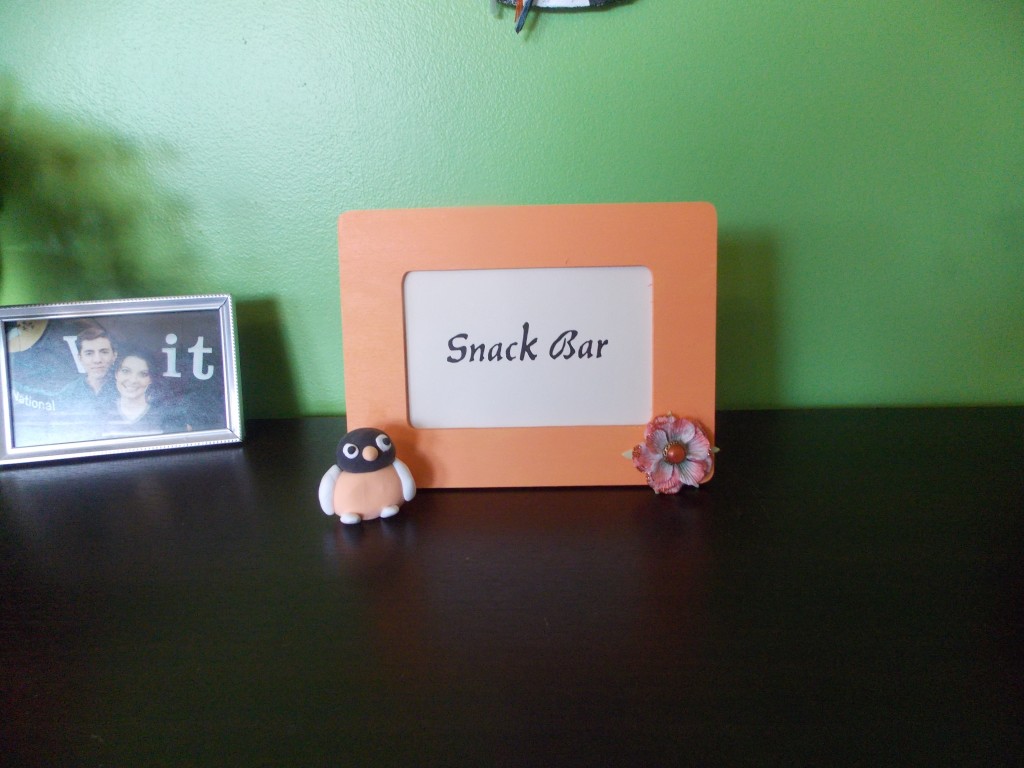
Snack Bar


I have a super tiny pantry. Even when it’s really organized I still don’t have room for things. A bag of chips take up 1/4 of a shelf. Bottle water ends up on the kitchen floor. I needed to come up with another way to store food items. Then it came to me – a snack bar!

I bought the shelves from Target for $80. I also bought the little baskets at Target. I made little labels for the baskets out of card stock and covered them in clear packing tape to “laminate” them.

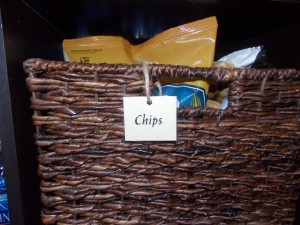
Chips

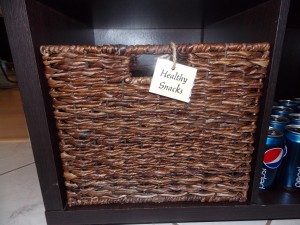
Healthy Snacks

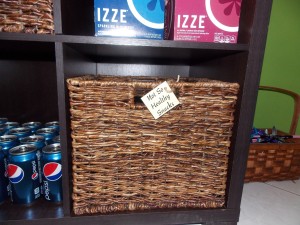
Not So Healthy Snacks

Cleaning Grout on Floors

Cleaning Grout on Floors


I love cleaning the grout on my kitchen floors. I know that probably sounds crazy but it’s true. It’s such a quiet job and it requires no thought what so ever. I just wish I would’ve started cleaning it sooner.

When I first moved into this house a year ago I thought the grout was supposed to be that dark (this is my first house with a tile floor and I just didn’t know any better). Imagine my surprise, then, when I spilled a little bit of paint on the grout two weeks ago and cleaned it up with a toothbrush and some baking soda and the dark grout turned white! Gross! All this time I was mopping my floors and thinking they were clean when there was probably years of dirt build-up in the grout.

I have a fairly large kitchen and eating area and it has taken me a while to clean them but I’m almost finished. I had thought about cleaning the grout with a steam cleaner, but after asking others who have tried using one to clean their grout, I decided not to (others complained that it didn’t do a deep down cleaning like they wanted and they ended up doing it by hand). So I decided to use a little bit of baking soda (with some spearmint essential oils to liven things up – including my mood), a toothbrush and some elbow grease. It turns out it’s not a lot of hard work, it just takes some time. I almost find it relaxing. I just do a small section at a time especially if I’m stressed out or just need to get away from a project I’m working on. It has the same effect on me as doing a word search, only when I’m finished I can walk in the kitchen and say “Dang! That looks good!”

What you need to clean your grout:
*Baking soda (I pour mine in a glass and mix with a few drops of my favorite essential oils but you can just pour it straight from the box).
*A hard bristled toothbrush
*A cup of water to rinse out the toothbrush
*A wet rag to wipe up your mess

Just sprinkle a little bit of baking soda onto the grout and scrub with the toothbrush. Rinse your brush out every few minutes. Wipe the area clean with a wet rag to remove the dirty water and baking soda. Wipe up the area frequently so the dirty water doesn’t settle back into the grout. For extra tough stains, put vinegar in spray bottle and spray it onto the baking soda that you’ve sprinkled onto the grout. After it bubbles, use the toothbrush to loosen the dirt and grime.

Happy Scrubbing!

Great And Cheap Way To Store Your Magazines

Great And Cheap Way To Store Your Magazines

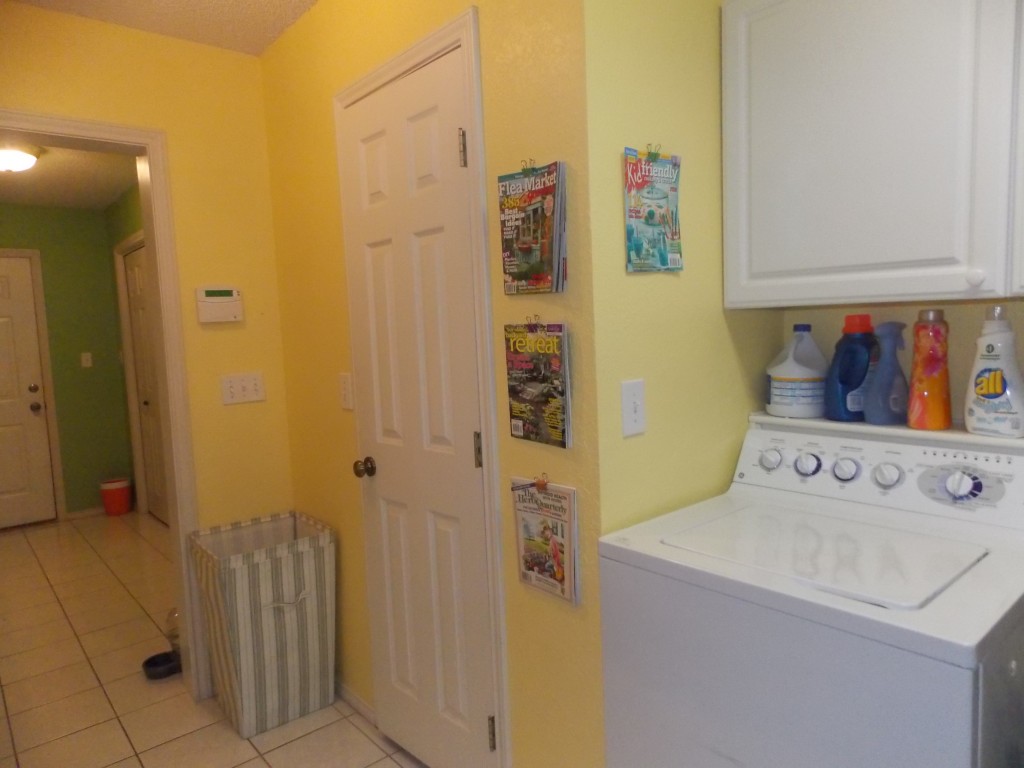
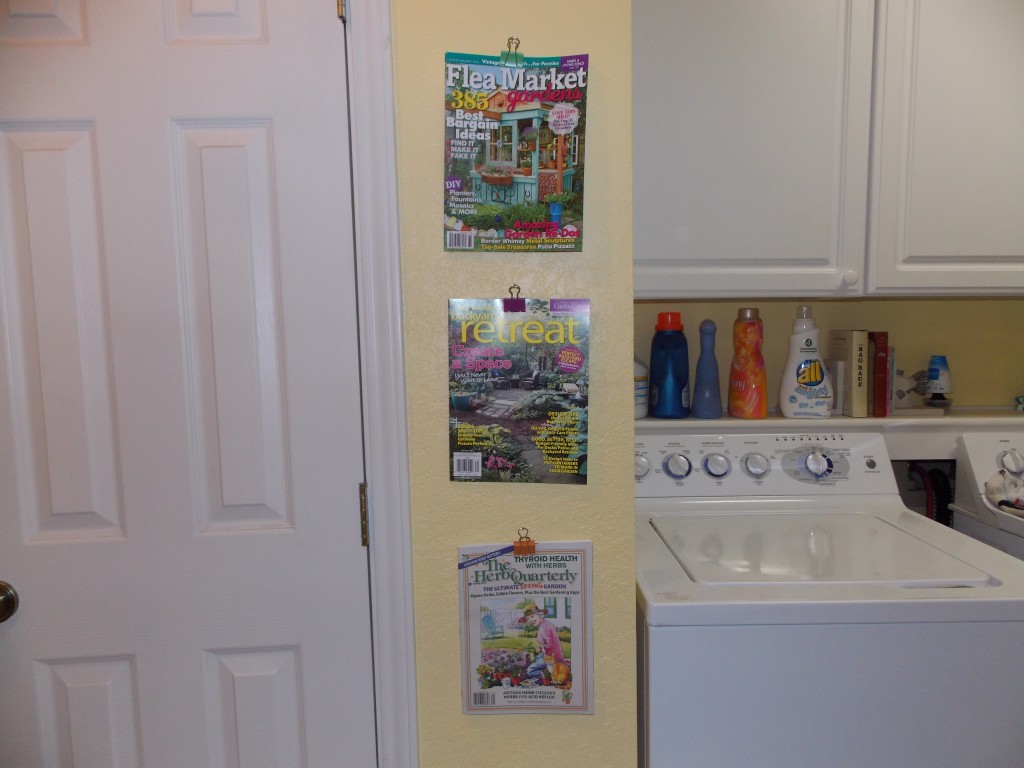
Magaizines hanging in laundry room


I love magazines. I really, really do. I love magazines about gardening, decorating, cooking, scrapbooking…I’ve even bought magazines about goats and I don’t even own any of those cute little creatures. I think what I like most about magazines are the short articles. When I have a few free minutes I can pick up a magazine, read an article, and in about 5 minutes I feel like I learned something new. I especially like to keep magazines close to places where I frequently stand waiting for something – in the kitchen by the stove to read while I wait for a timer to go off, in the laundry room where I sometimes wait to switch out the laundry, and of course the car where I sit and wait on my children when I’m picking them up from somewhere.

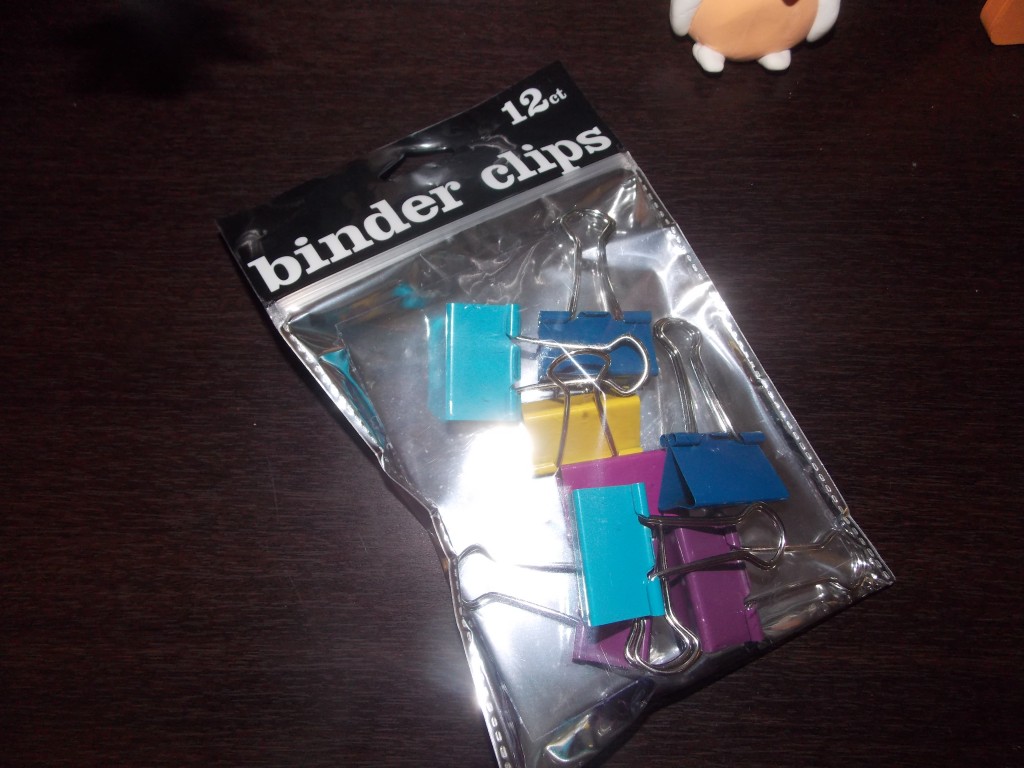
My problem though has always been this – where can I keep them so they don’t get in the way, lost, or damaged (have you ever pried a wet magazine off of a kitchen counter? Not fun.) I came up with this nifty little idea and all it cost me was a few bucks. I bought pretty colored binder clips from Office Depot for $3. I clipped one to a magazine, hammered a little nail in the wall and then hung the clip on the nail. Super simple. Super cheap.

Binder clips

Magazine covers are so pretty! They almost look like art work. Now my laundry room is even more colorful, and I know right where my magazines are!

Cute Way To Store Your Keys

Cute Way To Store Your Keys

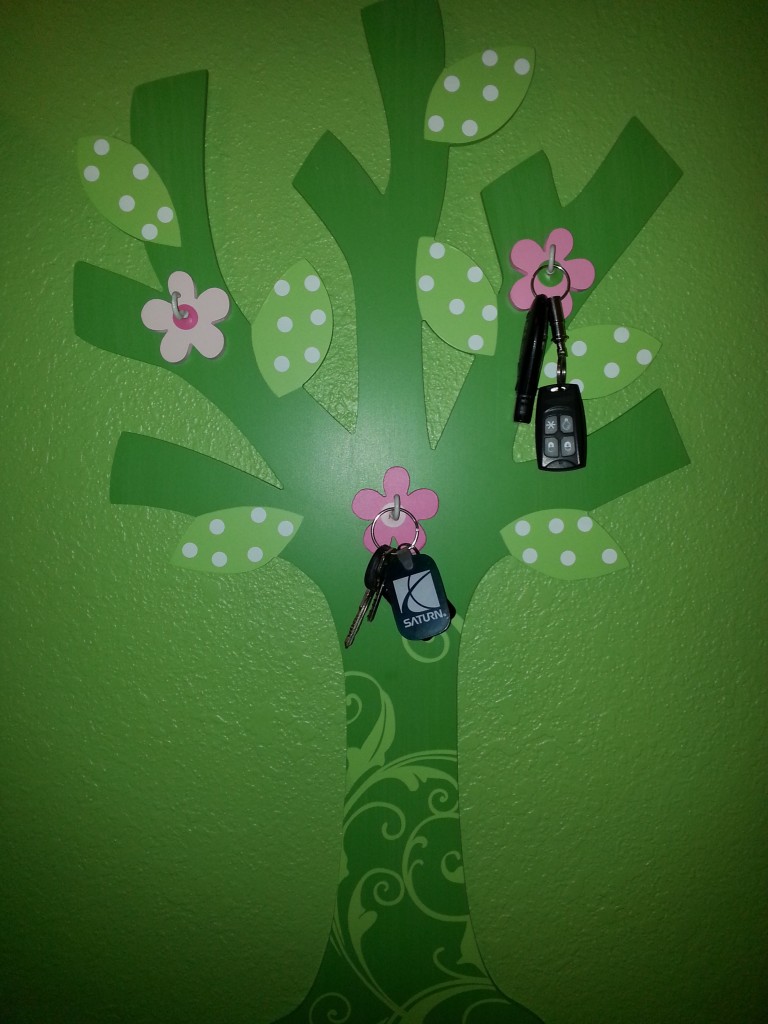
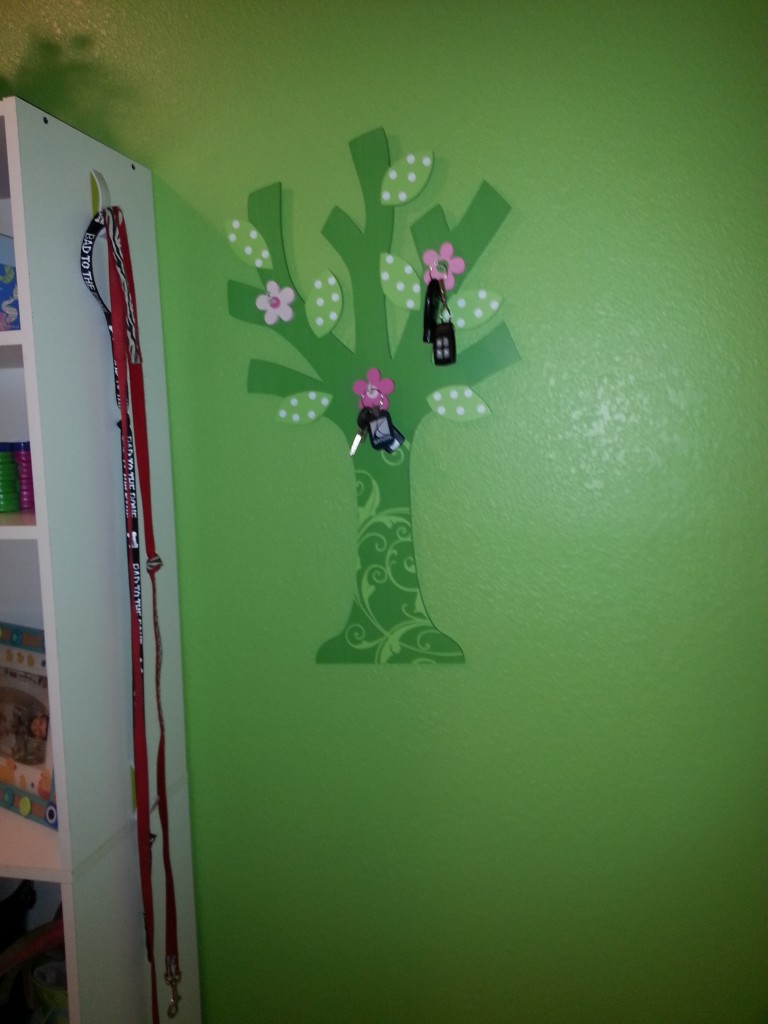
Key Holder

I recently re-did my mudroom and needed a place to hang our keys. I wanted something cute…and cheap. I went to Hobby Lobby (my favorite place to get anything) to see if I could find something I could use. All of their wooden things were 50% off and I just loved this wooden tree. It was $30 on sale for $15 – awesome!

Now to add the hooks! I bought small Ook Hooks (for $3 from Home Depot) and simply screwed them in to the center of each flower (no tools needed). It was that easy! Now I have the cutest place to hang my keys!